Submit and View Documents
After adding your documents and making any changes, the next step is to submit the documents for transmission.
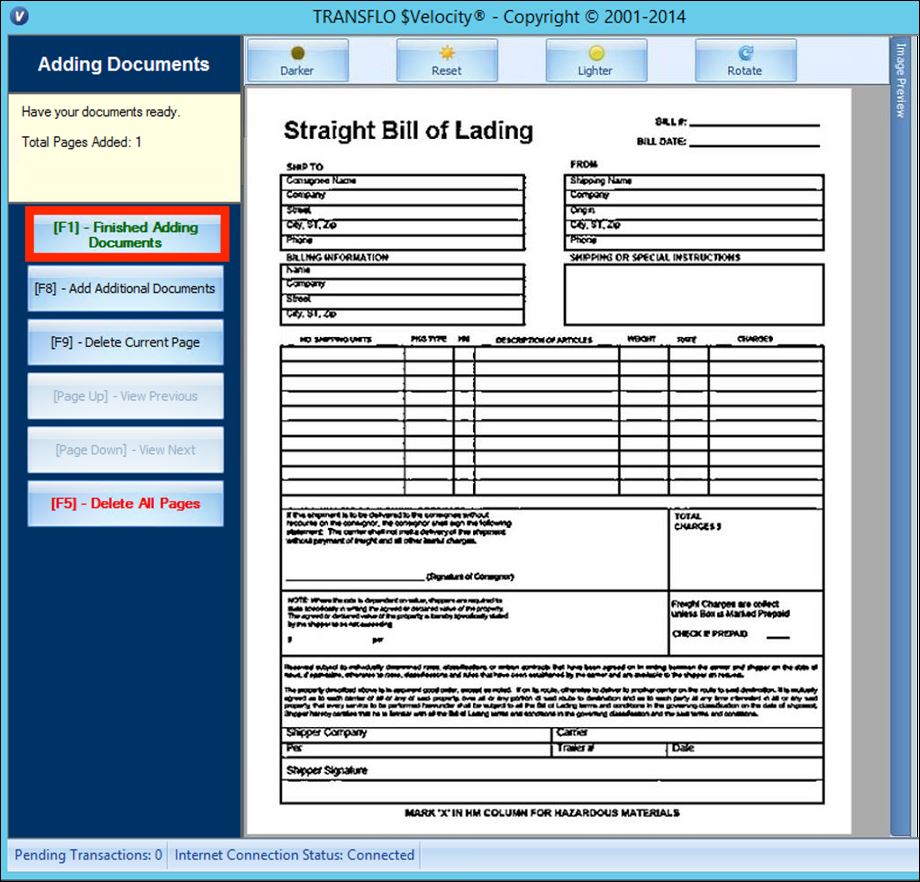
1. From the Adding Documents screen, click the Finished Adding Documents button or select the F1 key on your keyboard.
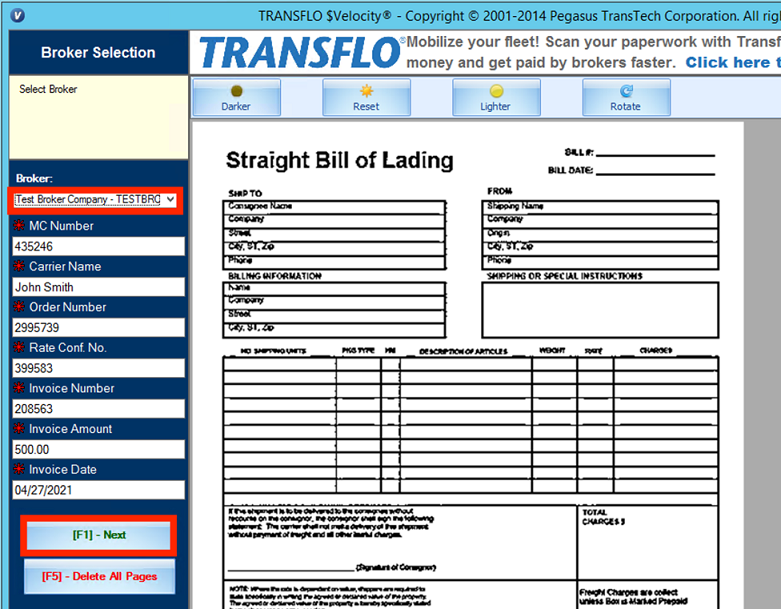
2. Select a Broker from the drop-down menu under Broker.
Fill out the rest of the details about the document, in the blank fields.
Note: Fields marked with a red asterisk are required, and you will not be able to continue, until these fields have been filled out.
3. After filling in the details, click Next or select the F1 key on your keyboard.
To delete the document, click Delete All Pages or select the F5 key on your keyboard.
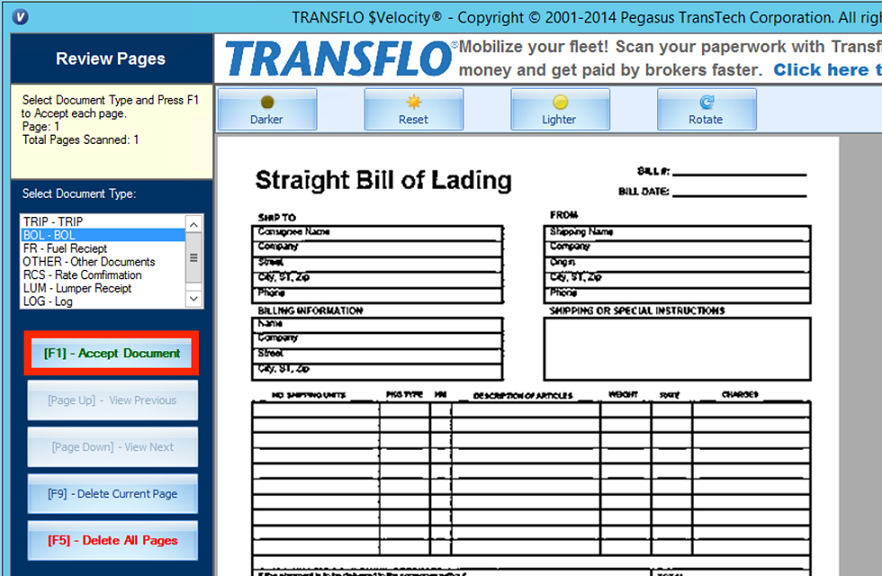
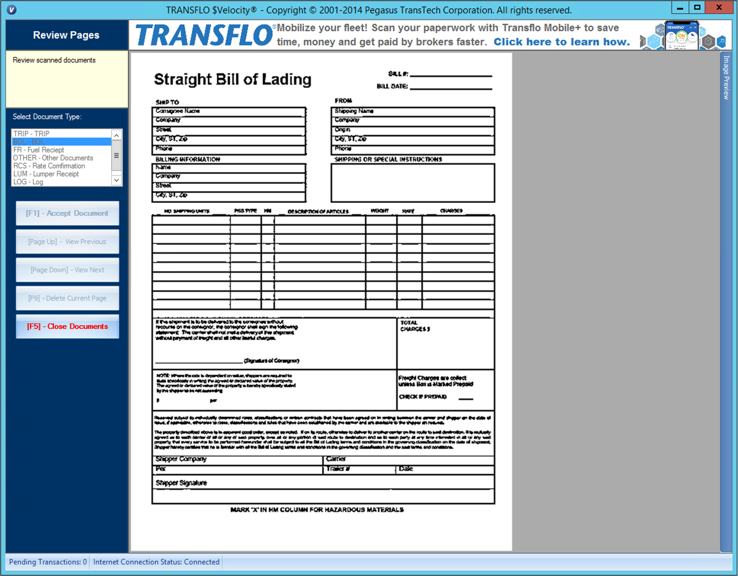
4. From the Review Pages screen, select a type for the document, in the Select Document Type section.
You have the option to view the previous and next pages in the batch or delete a single page or all of the pages, from this screen.
5. After you select a Document Type, click the Accept Document button or select the F1 key on your keyboard.
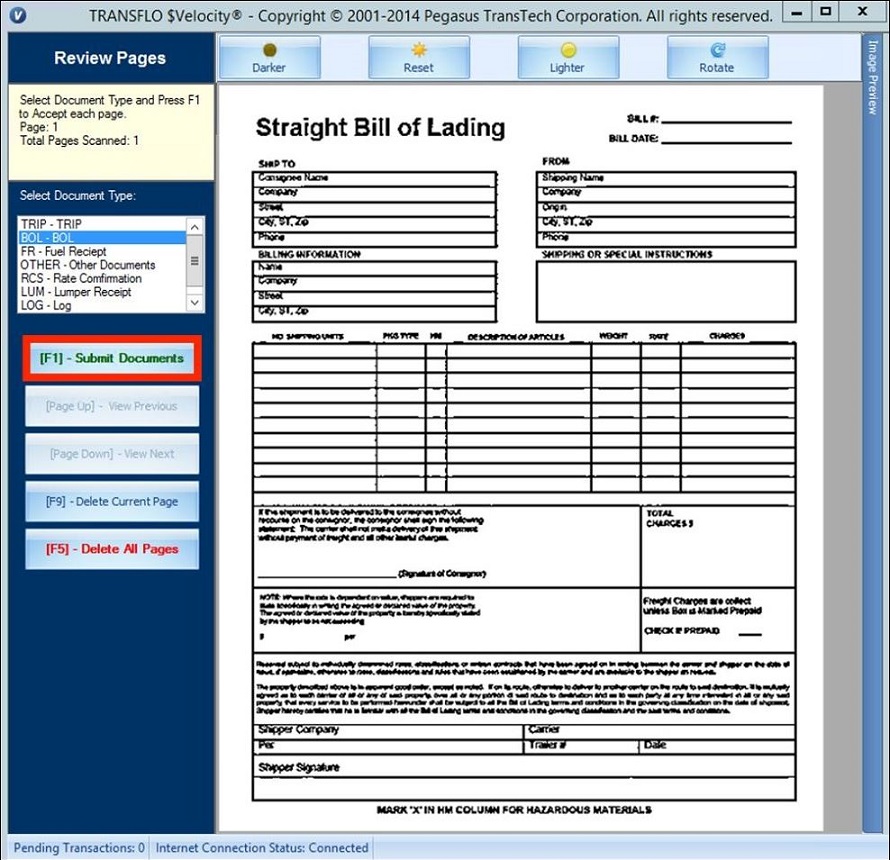
6. The Accept Documents button changes to Submit Documents.
If you are ready to submit the document, click the Submit Documents button or select the F1 key on your keyboard.
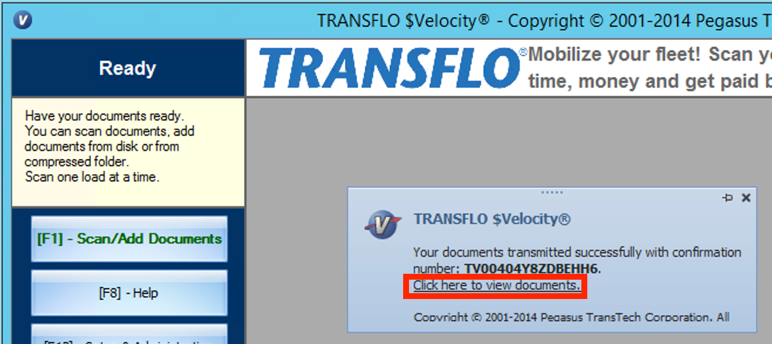
7. The confirmation pop-up appears on your desktop, with the confirmation number and link to select for document viewing.
Batches that have been created can be viewed in the Previously Submitted Documents window.
-
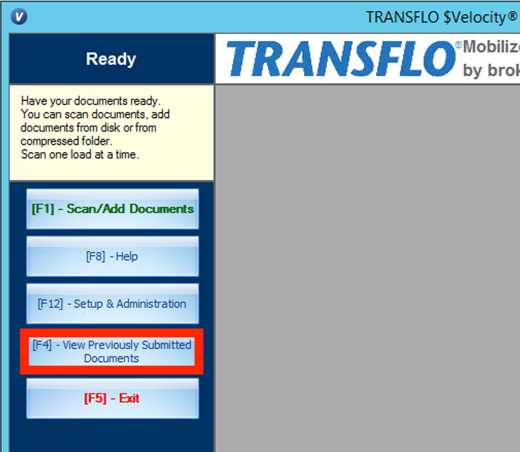
On the Home page, click the View Previously Submitted Documents button or press the F4 key.
-
The Previously Submitted Documents window appears.
-
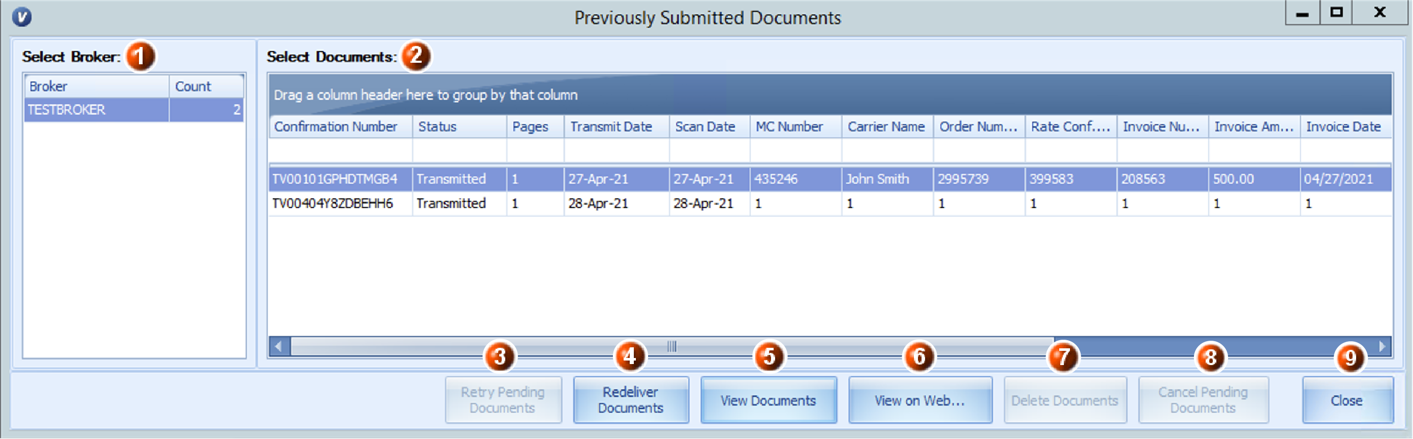
 Select Broker – Displays all the Brokers that are in your Broker list. The number of Batches scanned for each Broker are shown, under the Count column.
 Select Documents – Contains details about the documents that have been scanned. To view all of the columns, use the scroll bar at the bottom of the area, to scroll to the right or left. The columns and their descriptions are shown below.
Confirmation Number: The Confirmation Number is the number that identifies the batch in the TRANSFLO EXPRESS® system. This is only available for Batches that were successfully transmitted.
Status: The Status column provides the status of the Batch's transmission. If the Batch was transmitted successfully, the status is Transmitted. If the batch is waiting for a connection for transmission, the status is Pending. If an error occurred during transmission, the status will be Error.
Pages: Contains the number of pages in each batch.
Transmit Date: Contains the date and time the batch was transmitted to TRANSFLO EXPRESS® system.
Scan Date: The Scan Date column lists the dates and times that the Batches were created.
 Retry Pending Documents – Click this button, to retry sending Batches with a status of Pending.
 Redeliver Documents: Sends documents that have already been sent as a new batch with a status of Transmitted.
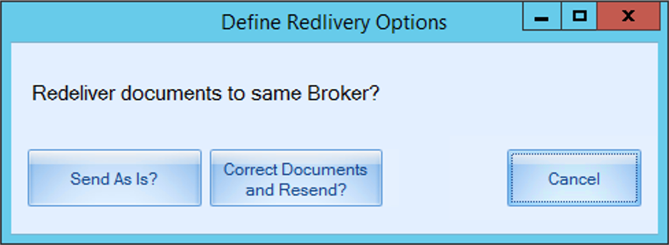
The Define Redelivery Options pop-up appears.
Click Send As Is? to create a new batch with all of the same data, to send to the same Broker.
Click Correct Documents and Resend, to change the Broker or document data, prior to sending the batch.
Click Cancel, to close this window.
 View Documents: Opens the document image in the Review Pages screen, similar to Submit Documents. If the batch has not been Transmitted, you can make edits to it. If it has been Transmitted, you can only view the image.
 View on Web… Allows the User to view the batch on https://viewer.transfloexpress.com.
 Delete Documents: Deletes all Batches with a status of Transmitted and older than 30 days on your computer. To select multiple Batches, click CTRL on your keyboard and click on the batch rows that you wish to select.
 Cancel Pending Documents: Deletes all Batches with a status of Pending. To select multiple Batches, click CTRL on your keyboard and click on the batch rows that you wish to select.
 Close: Closes the Batch History window.