Scan and Index Images in Transflo DMS Field Imaging
The first step in using the TRANSFLO® Field Imaging application is scanning Documents.
-
Complete the following sub-steps before you start scanning:
-
Remove all staples, paper clips, and binding hardware from the Documents to be scanned.
-
Repair any torn Document pages with scotch tape.
-
Place all Documents in the scanner tray, making sure that the pages are aligned at the top.
-
Tape small receipts to blank sheets of paper (use standard size paper).
-
-
Place the Documents to be scanned in the scanner.
-
Click the Begin Scan button or press the [F3] key on your keyboard.

-
The system will begin to scan the set of Documents in the scanner. Once the scanning process is complete, the Indexing window is displayed.
-
In the Indexing window, enter the applicable index information in each field.

-
To use the prior page’s index values for a particular field, click in that field’s box and press [Alt] + [P] simultaneously on your keyboard.
-
To clear all index entries you typed for the current image, press [Alt] + [C].
-
-
(Optional) Rotate or magnify the image:
-
To rotate the scanned document, click the Rotate button or press the [F9] key. The images are rotated 90° to the right (clockwise).
-
To enlarge the view of the scanned image, click the Zoom button or press the [F10] key. The Zoom button label will change to Out,once the zoom action has been selected. To zoom out, either click the Out button or press [F10].
-
To zoom the image down to a specific area of the image, click and hold the left mouse button and drag the pointer to expand a rectangle around the area that you would like to zoom.
-
-
To re-scan and replace the document shown, place the paper in the scanner and click the Rescan button or press the [F6] key. The original scanned image is discarded and replaced with the newly scanned document.
-
If more than one document has been scanned in the batch, click the Next button to view the next document that is available for indexing; or, press the [F2] key. The button label changes to Scan when you reach the final page of the batch.

-
To scan another document for the current batch, click the Scan button or press the [F2] key.
-
When you have entered all of the index values, click the Done button or press the [F8] key.
-
If the batch has multiple pages and you are not on the last page, a dialog box will appear asking you if you wish to save the current document and delete the remaining documents.
-
If you are on the last page of a multi-page batch or if the batch has only one page, then the system accepts the changes and returns to the main Field Imaging window.
-
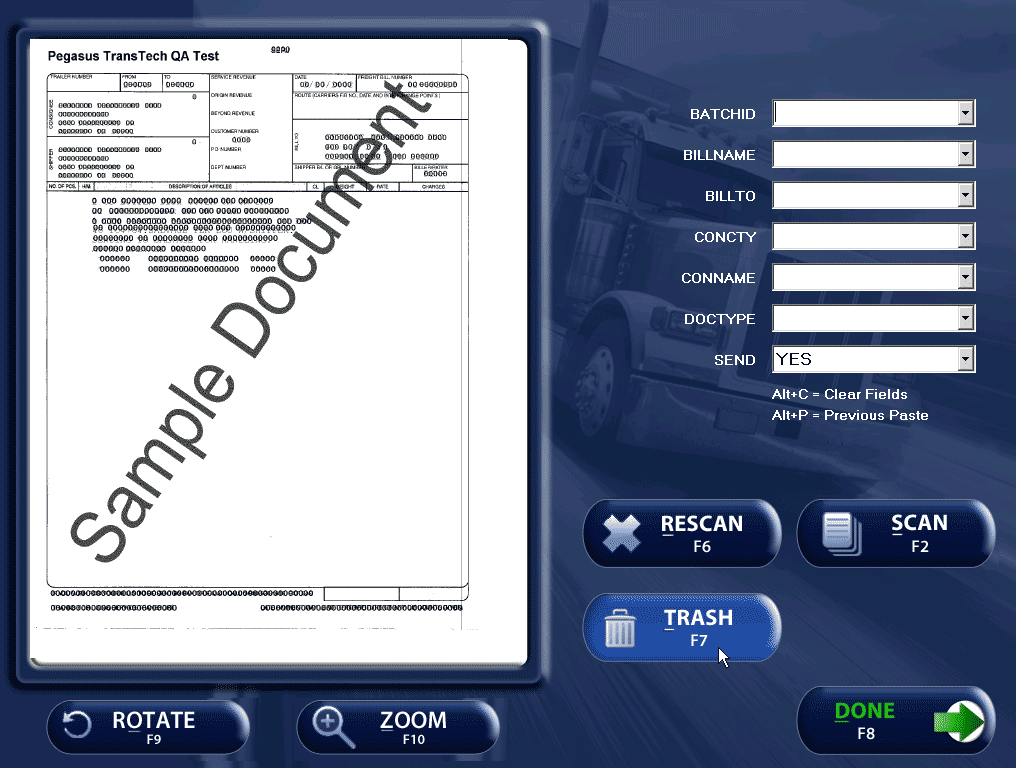
After all of the Documents have been scanned, the first Document in the batch is displayed. The Document image appears on the left side of the screen and the Index Fields on the right side. In this window, you can index a Document, rescan a Document, scan another Document, delete a scanned Document, rotate a Document, zoom to a specific point on the scanned Document, or return to the main window.
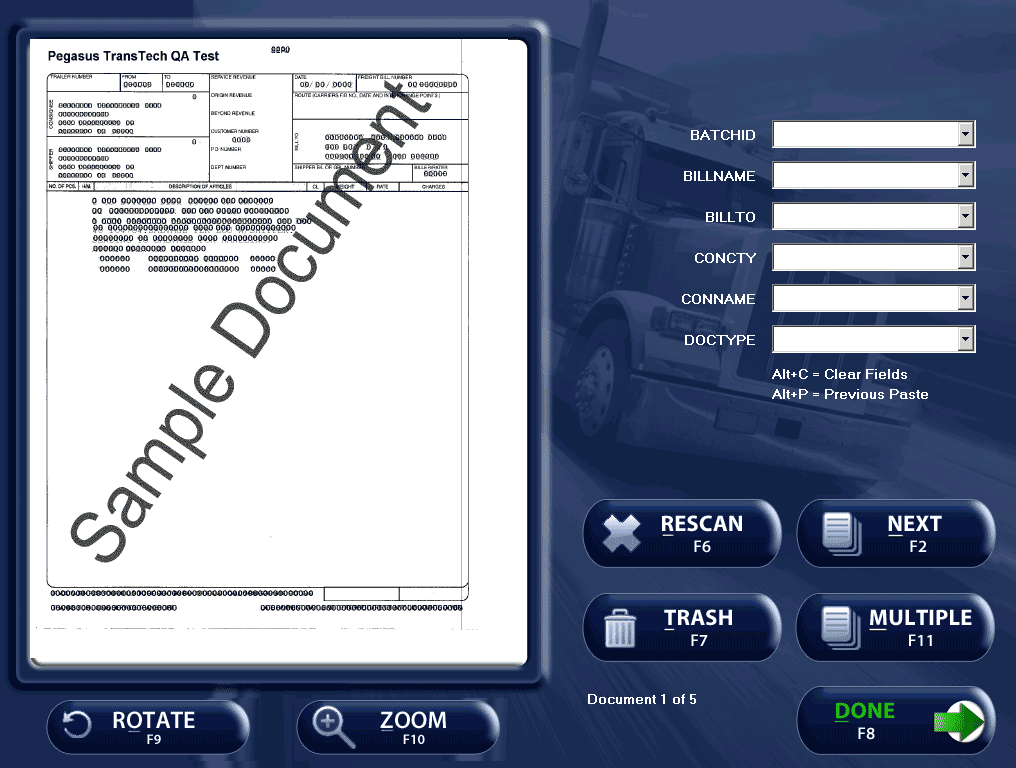
The Index Field values are established on the Index tab of the Field Imaging Administration Tool. The acceptable values and behavior are predetermined. Additional Index Fields can not be created from this window.
-
Enter the applicable Index information in the Fields provided.
-
There is a limitation on the characters that can be entered in the Index Fields. You may only enter: A-Z, 0-9, [space], /, :, and . . The backslash will be replaced with the empty space instead (i.e. 1\1\1111 will be replaced as 1 1 1111). Alphabetic characters will be changed to upper case at Index time.
-
To enter the values from the previous page, press Tab or click inside a field and then press Alt+P. (This option does not apply if the Document is the first in the batch.)
-
To clear all index entries for a Document image, press [Alt] + [C] on the keyboard.
-
-
If your Administrator has configured your Transfer method to “Transferring by Send Flag” you must have an additional Field named SEND with a value of YES.
-
To rotate the scanned Document, click the Rotate button or press the [F9] key. This button rotates the image 90 degrees to the right (clockwise) each time it is clicked.
-
To get a closer view of the Document image, click the Zoom button or press the [F10] key. The button label changes to Out. Clicking the Out button or press the [F10] key again returns you to the original view of the scanned images.
-
If the Document image is unsatisfactory, you can rescan the Document. To do this, while viewing that Document in the Field Imaging indexing window, place the Document in the scanner, and click the Rescan button or press the [F6] key. The original scanned image is discarded and replaced with an image of the newly scanned Document.
-
To apply different sets of Index values for a single Document, enter the first set of values in the Fields provided and click the Multiple button or press the [F11] key. Repeat this for every set of Index values you want to save for the Document. Each time you use this function, a caption under the Trash button will indicate the number of times the Document was indexed.
-
When you have entered the last set of index values, click the Next button or press the [F2] key to display the next image in the batch. Continue entering index values for each Document in the batch.
-
To re-size the view of the Document image in order to see it better, click the Zoom button or press the [F10] key. When the Zoom button is clicked, its label changes to Out. Click the Out button or press the [F10] key again to return the view to its original size.
The percentage by which Field Imaging zooms in on the image is determined by the percentage that your administrator entered on the Zoom tab of the Field Imaging Administration Tool.
-
(Optional) You can also click on the image and drag a rectangle around a specific area that you would like to zoom. When you release the mouse button, the selected area will be zoomed in the image area.
-
The Next button label changes to Scan on the last page of the batch. If there is only one Document in the batch, there will be no Next button. The button will be labeled Scan on the first page.
-
To scan more Documents into the current batch (adding the Documents to the batch), place that Documents in the scanner and then click the Scan button or press the [F2] key.
-
To delete a Document image from a batch:
-
While viewing the desired image on the Field Imaging indexing window, click the Trash button or press the [F7] key.
-
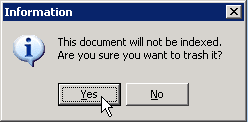
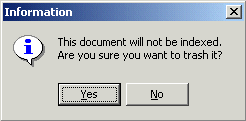
The Information dialog box appears, prompting you to confirm the deletion request. Click Yes to delete the Document image.

-
-
When you finish indexing the batch, Field Imaging makes a copy of the Document for each set of Index values entered using the Multiple functionality. The Multiple button will only be visible if your System Administrator configures the Multiple feature.
-
To close the indexing window and return to the main Field Imaging window, click the Done button or press the [F8] key. Clicking the Done button will not close the Field Imaging application.
-
If the batch has multiple pages and you are not on the last page, a dialog box will display prompting you to either save the current Document and delete the rest of the Documents or delete the entire batch.
-
If you are on the last page in a multi-page batch or if the batch only has one page, then the system accepts the changes and returns to the main Field Imaging window.
-
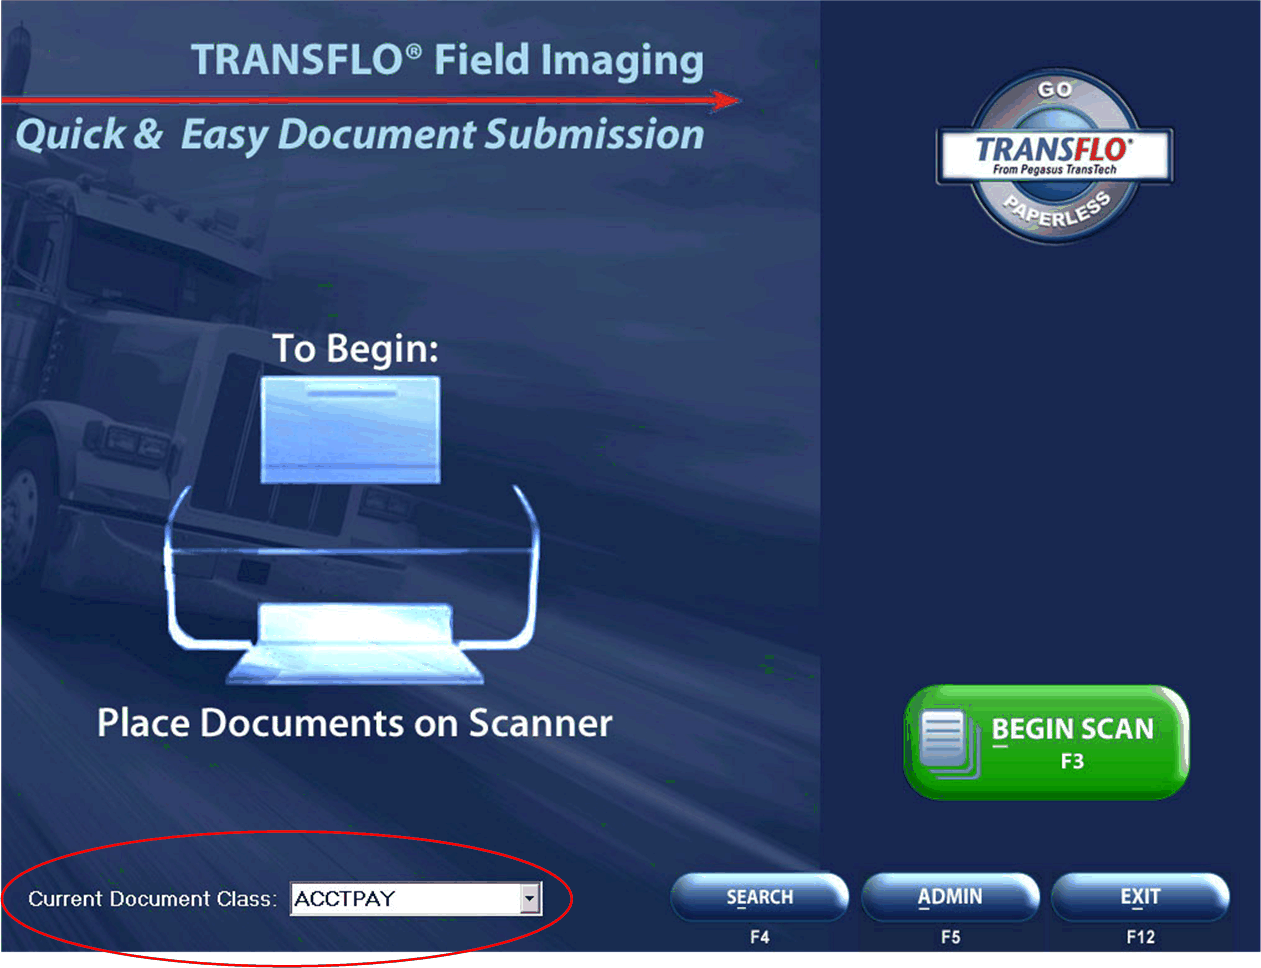
To change the document class (formerly known as the base) for documents to be scanned in the Field Imaging application, follow these steps:
1. Open the Field Imaging application.
The Field Imaging window is displayed.

-
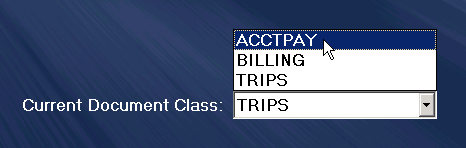
Select a Document Class from the Current Document Class drop down.
-
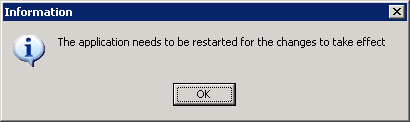
A message box opens informing you that FieldImaging has to be restarted for the change to take effect.
Click OK to save and close the message box.
-
To apply your changes, Field Imaging automatically restarts with the new selected current document class.
If necessary, you can retrieve previously scanned Documents so that they can be viewed and indexed. Search criteria are entered in the Search dialog box, and the results of the search are displayed in the Document Search Hitlist dialog box. The images selected are then displayed in the View Documents window.
To search for Documents that have previously been scanned into Field Imaging:
-
Click the
 Search button.
-
In the Search dialog box, enter the Index Fields for the search in the appropriate boxes.
-
To view the results of the search criteria that you entered, click the Search button.
The results are displayed in the Document Search Hitlist window.
-
To view a document, click its name in the list and then do one of the following:
-
Click row in the list, and click the View Document
 button
 -
Double-click the selected Document
-
Press [Alt] + [V] on the keyboard
-
-
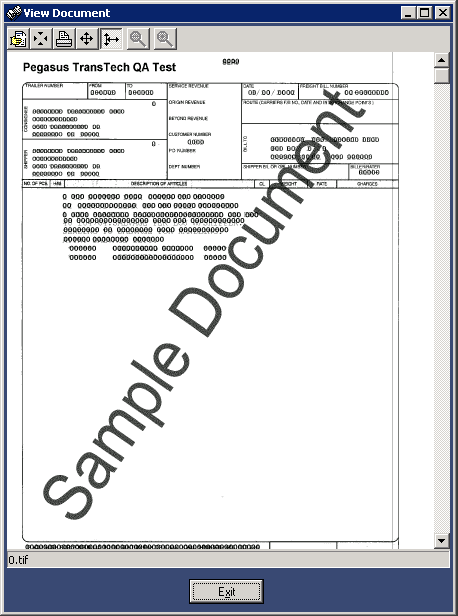
The View Document window shows the selected documents and their indexing data.

-
Use the toolbar buttons at the top of the window to print, fax, or resize the documents.
Button Description  Fax
FaxOpens the Print dialog box so you can select a Fax device to fax the current Document.
 Original Size
Zooms image to the actual size of the scanned paper Document.
 Print
PrintOpens the Print window where you can select options for printing the current document.
 Fill Window
Zooms the image so it fits to the height of the window.
 Fit to Window
Zooms the image so it fits to the width of the window.
Zoom OutDecreases the magnification of the current document.
Zoom InIncreases the magnification of the current document.
-
If the image is zoomed in, you can use the
 Pan tool to view other sections of the document. To use the pan tool, hold the left mouse button down and drag the image to the desired position.
 -
To close the Documents and return to the Document Search Hitlist window, click the Exit button or press Alt + X on the keyboard.
-
To close the Document Search Hitlist window and return to the main Field Imaging window, click the Exit button located at the bottom of the window.
If your Administrator has configured your Transfer method to Transferring by Send Flag you can resend Documents from the Document Search Hitlist window.
To re-send Documents,
-
Click the
Search button. -
In the Search dialog box, enter the Index Fields for the search in the appropriate boxes.
-
Click the Search button.
-
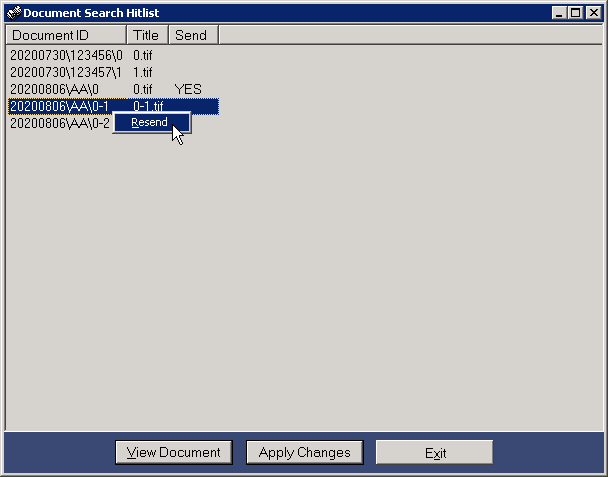
The results appear in the Document Search Hitlist window.

-
Right-click the row of the Document you want to resend in the hitlist.
Click Resend from the context menu that opens.
The Document’s Send flag is set to YES.
The Document will be sent the next time the Remote Transfer application sends Documents.
-
Click the Apply Changes button.
-
Repeat these steps for all Documents you wish to resend.
-
Click Exit to close the Document Search Hitlist window.
-
Click Exit to close the Search window.
-
Start the Remote Transfer application to resend the Documents.
Remote Transfer is used to transfer TIF images and associated index information to the Imaging Server. Remote Transfer can be configured so that once it is opened, it automatically begins processing and stops when complete. It can also be configured to run manually.
To start the Remote Transfer application:
-
On the Windows task bar, click the Start button, point to Programs, point to TRANSFLO®, and click Remote Transfer.
The TRANSFLO® Remote Transfer window is automatically displayed, and Remote Transfer begins to process Batches.
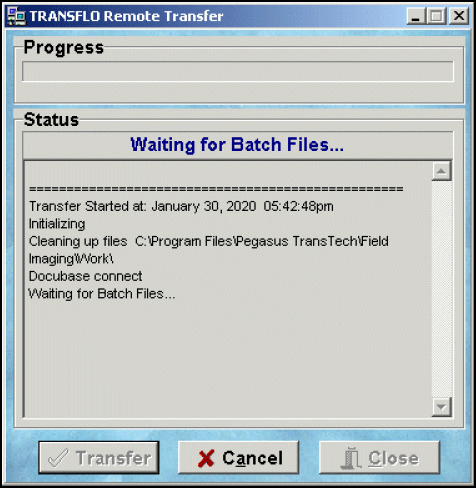
NOTE: If there are Batches waiting to process and the application does not automatically begin to process the files, click the Transfer button to process the pending Batches.
To stop the Batches while processing, click the Cancel button.
-
To close the window once the batches have been processed, click theClose button.
NOTE: If your system administrator configured multiple Document Classes, Remote Transfer will send all pending Documents from all Document Classes at the same time.
To delete images from TRANSFLO® Field Imaging:
-
On the Indexing window, with the image that you wish to delete displayed, click the Trash button or press the [F7] key.
-
The Information dialog box appears, prompting you to confirm the deletion request.
Click Yes to confirm the deletion of the image.
The document will be deleted from the window.