Install the Transflo Printer Driver
As an administrator or advanced user, follow these steps to install the Transflo printer driver (PDF Creator) on any Windows client workstation.
-
Navigate to the CD and double-click the TRANSFLO Printer Driver Setup.exe file.
-
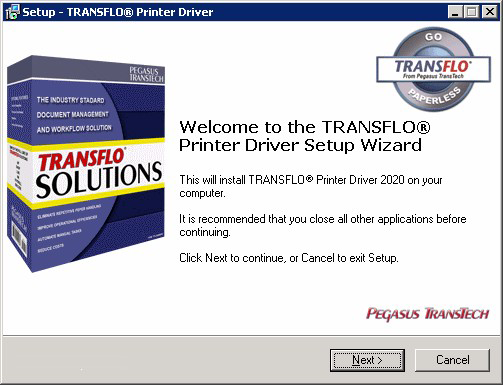
In the resulting Welcome window, click Next.

-
In the Select Destination Location dialog box, you can accept the default location or change the location where the Print Driver is installed. Click Next.
-
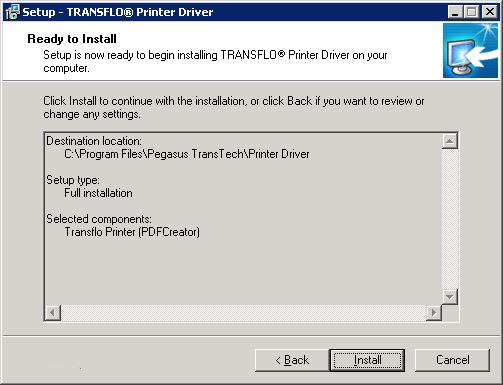
The Ready to Install window opens with information about the installation. Review the settings. To go back and make any changes, click Back. When ready, click Install.

-
The Start Copying Files dialog box appears. When finished, the installer lets you know that it successfully installed the Print Driver. Click Finish.

-
On the Start Menu select All Programs, click TRANSFLO. Verify that Print Driver Configuration is in the list.
-
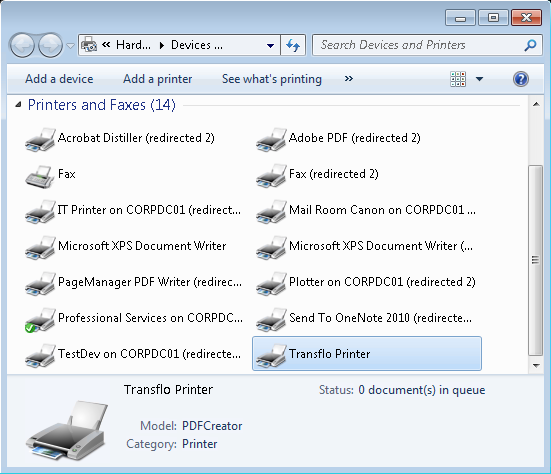
In the Windows Start menu, open Devices and Printers. Verify the TRANSFLO® Print Driver installer created the Transflo Printer.

-
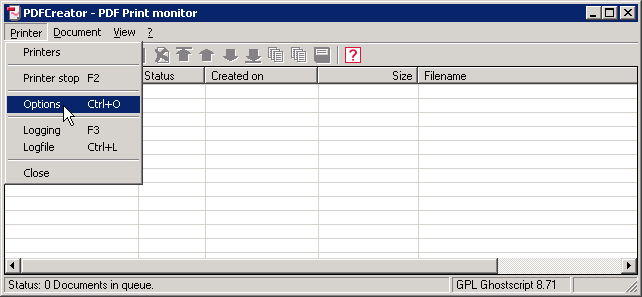
In the Windows Start menu, choose All Programs, TRANSFLO, and then click Printer Driver Configuration. The PDFCreator – PDF Print Monitor window opens.
-
In the Printer menu, click Options.

-
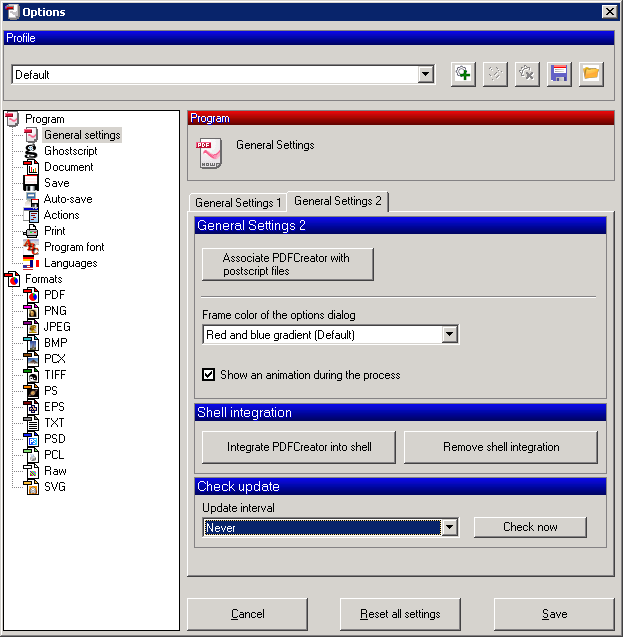
In the left pane of the Options window, click General settings. In the right pane, select the General Settings 2 tab.
-
In the Check update section, change the Update interval drop-down field value to Never.

-
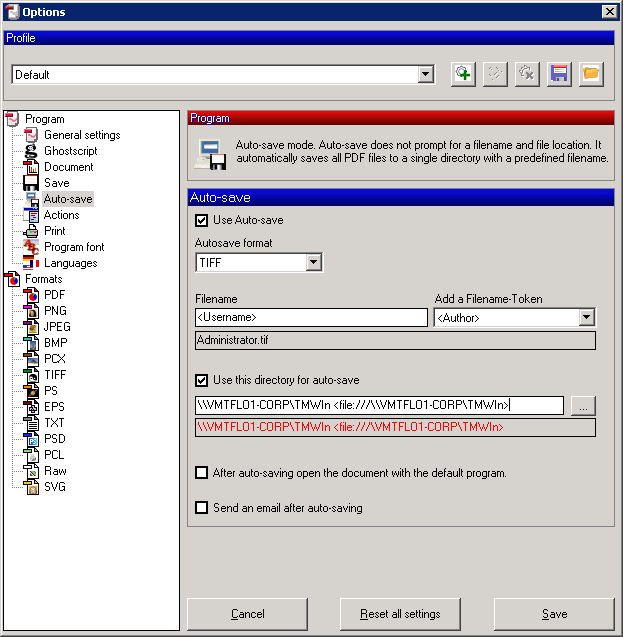
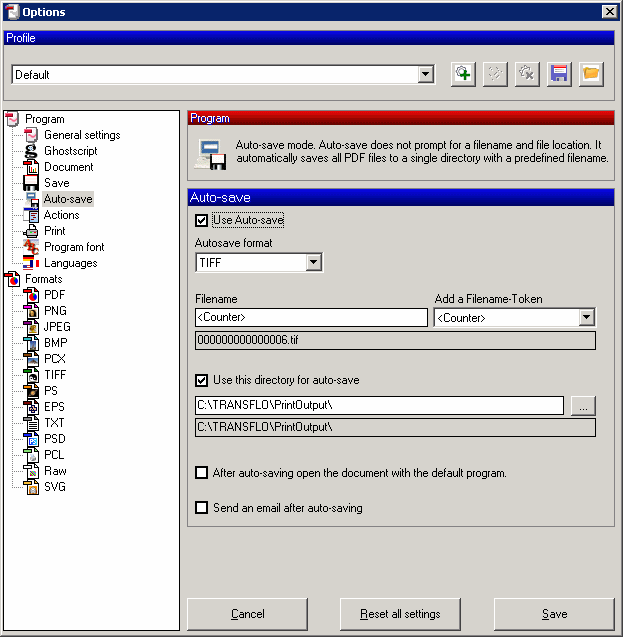
In the left pane, click Auto-save. Auto-save prints to a folder on your file system. Ensure the Use Auto-save check box is checked. Select a file format from the Autosave format drop-down. (The most common formats are TIFF and PDF.)
-
Select a Filename token from the Add a Filename Token drop down. The token is appended to the text in the file name box. You can use more than one token in the file name. (The tokens in the Filename box are used to name the files you print with the Printer Driver.)
-
Check the Use this directory for auto-save check box. Enter the folder path where the printer output will be written in the box below this check box.
-
Click the Save button.

-
Log in to each Citrix App Server as a customer admin user and configure the Transflo printer to output correctly (the printer profiles are different for each user). Correct output settings are given in the following steps.
-
Go to Start -> Programs -> Transflo->Printer Driver Configuration.
-
In the top menu, choose Printer, Options.
-
Select the Auto-Save option on the left.
-
Check Use Auto-save.
-
Change the auto-save format to TIFF in the drop-down.
-
Change the file name to <Title>.
-
Change the output directory to \\VMTFLO1- CORP\TMWIn <file:///\\VMTFLO1- CORP\TMWIn>.
-
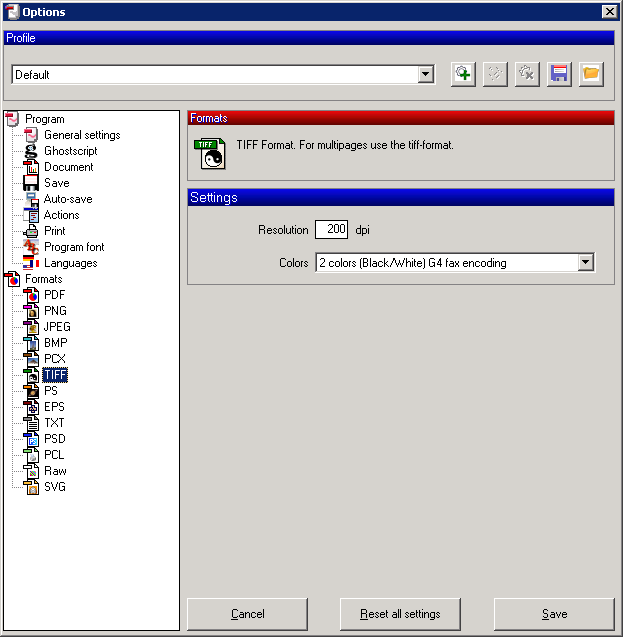
Select the TIFF option on the left under Formats.
- Change the Resolution field to to 200 dpi.
- Change the Colors drop-down to 2 colors (Black/White) G4 fax encoding.

-
Save changes and exit.

-
Citrix administrators have the ability to import registry settings at login. The following path or key is the location of Settings in the registry:
[HKEY_CURRENT_USER\Software\PDFCreator]