Add, Sign, and Submit Load Documents
After creating and saving a new load, you are prompted to add documents to the load.
-
At the Would you like to add documents to this shipment? prompt, select one of the following options:
-
To skip adding documents now, select Skip. You can add them to the load later.
-
To add them now, select Upload Documents and go to the next step.

-
-
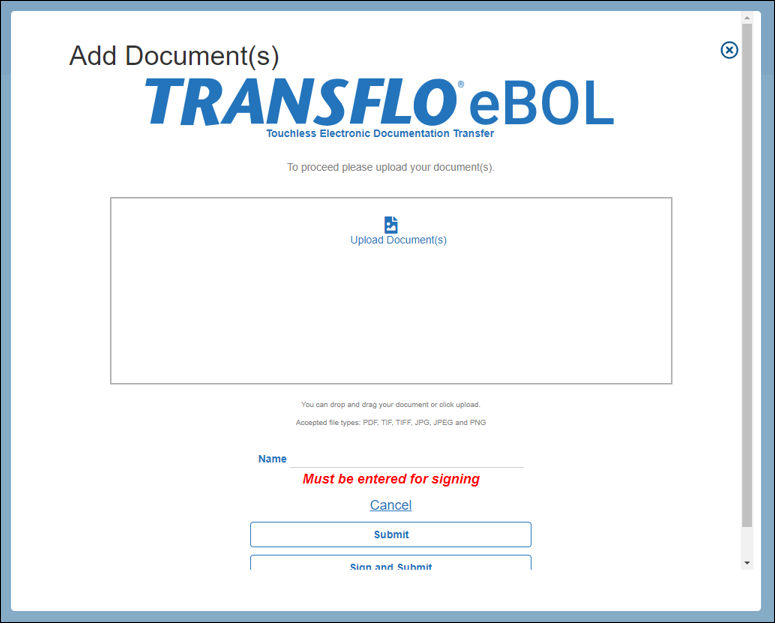
On the Add Document(s) screen, click
 Upload Documents or drag-and-drop a document into the box.
-
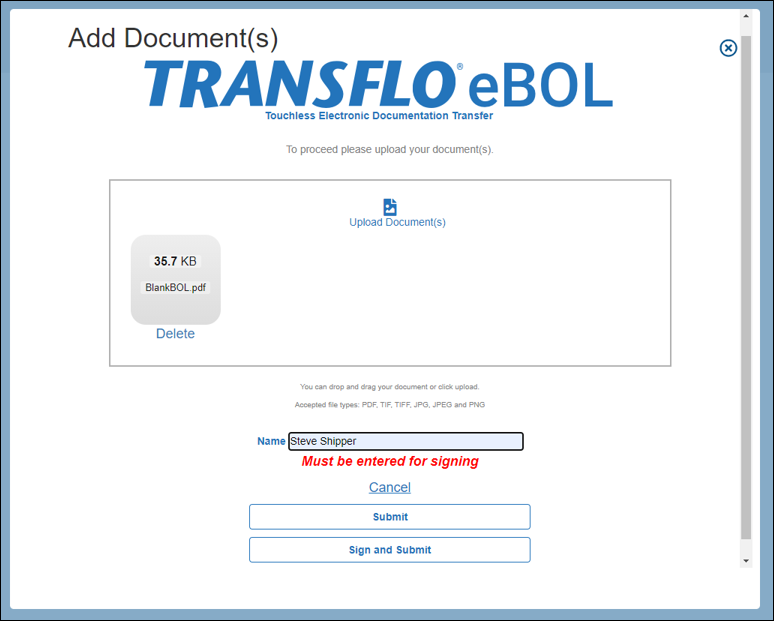
Review the documents you have staged to be uploaded. Continue to add or remove as needed.
-
Enter your name and click Sign and Submit.

-
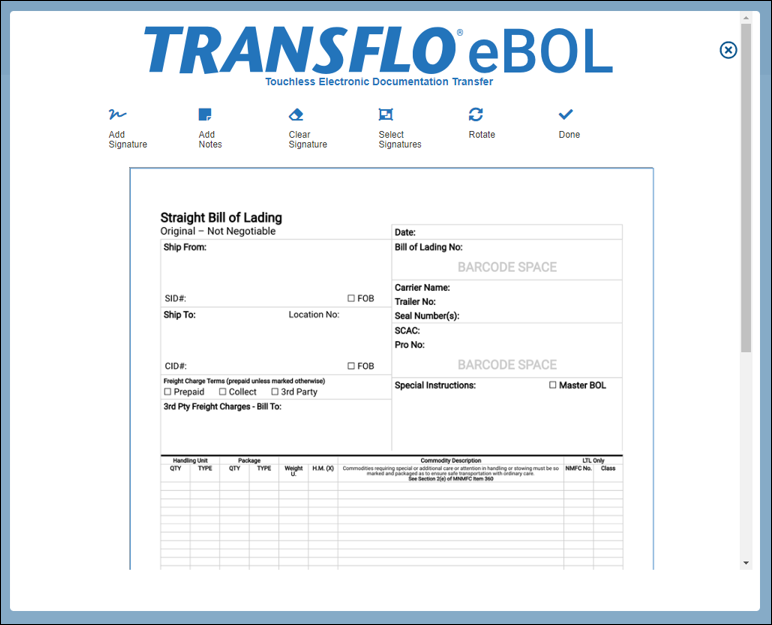
Position the document to add your electronic signature.

-
Click Add Signature, sign your name, and click Done.


Tip: A green signature icon
 after the document name indicates you have already signed a document.
 -
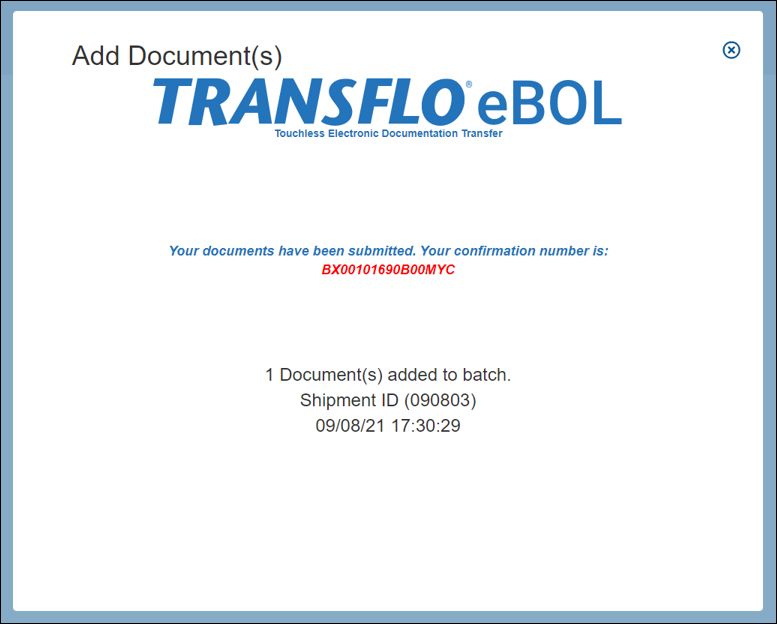
When you are ready to send the documents, click Submit.

-
Your documents are now added to the load. The portal provides you with a visual confirmation message including a unique confirmation number and also displays the shipment number, date, and time. You can save or print the page for your records or safely close the window.