Configure Bulk Print Invoicing with TMW
This topic describes a general Synergize Bulk Print TMW scenario configuration. The TMW provider processes standard invoices, consolidated billing (master bill), and supporting documents based on the following business rules:
-
The file being processed must be a TIFF file.
-
The file must be placed in a directory on which a listener is running.
-
An integer pulled out of the filename is identified as the peg control number. The parsing of the filename to find the peg control number is done with a customizable regular expression (regex).
To assist you in configuring the required settings for your own implementation, use the following example steps for a general Bulk Print TMW scenario. In this example, you want to set up a standard invoicing configuration with TMW as your provider:
-
As an administrator, create a new TMW Scenario in Synergize Server.
-
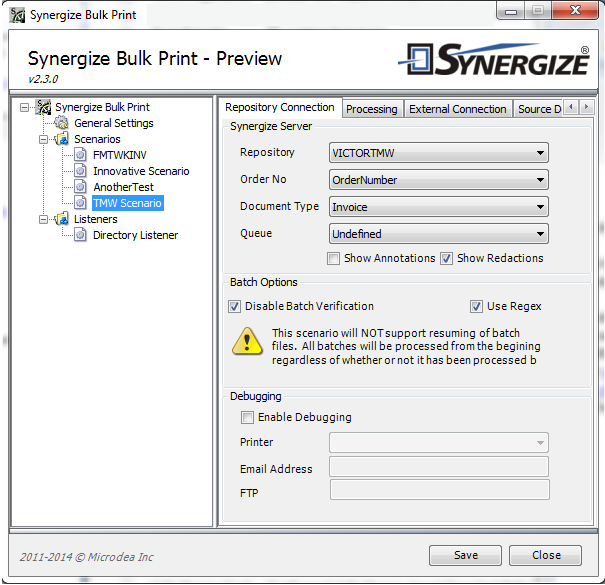
Specify your repository, the order number field, the document type, and (optionally) a workflow queue.
-
We recommend that you always leave redactions on and annotations off, since in most cases the documents are being sent to customers.
-
We also recommend leaving batch verification disabled and regular expressions (use regex) turned on.
-
-
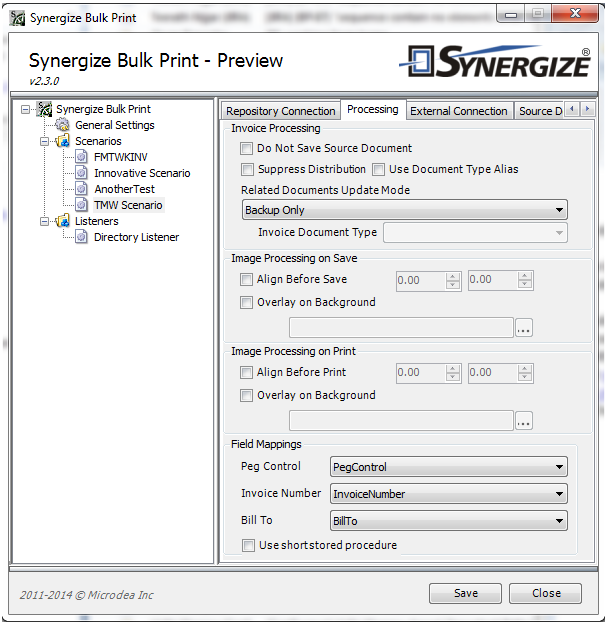
On the Processing panel, you can specify some information about saving the source document and how supporting documents will be updated. You have the following options for Related Documents Update Mode:
-
None
-
Invoice Only
-
Backup Only (the default)
-
All Documents
-
-
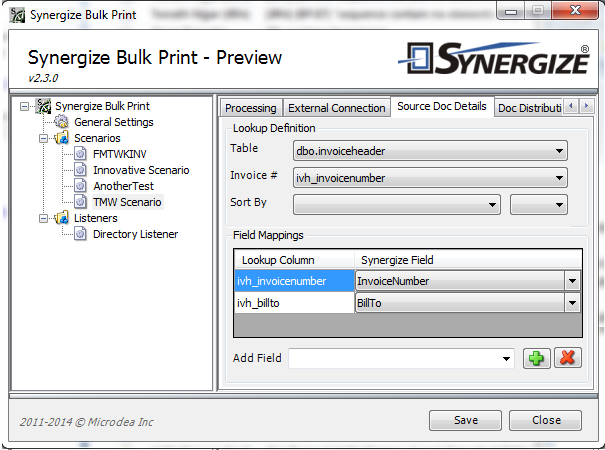
The supporting documents, which must already exist in the Synergize repository, receive updates to their properties. These updated fields are specified in the Field Mapping group: Peg Control, Invoice Number, and Bill To.
-
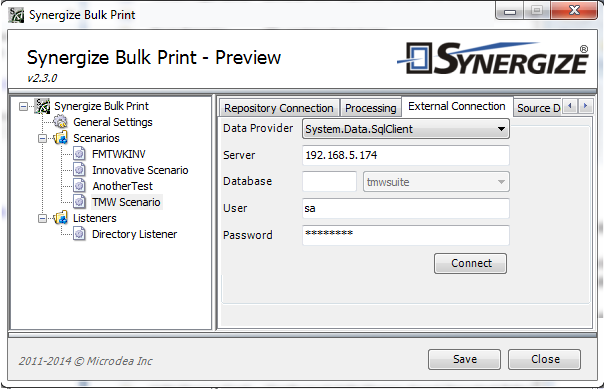
To establish a connection to the TMW database, on the External Connection panel, enter the type of data provider, the server address, the database name (preceded by a schema name if necessary), the Username and the Password.
-
The Source Doc Details panel allows you to specify additional meta-information to be pulled from the TMW databases, to populate properties of the document, when it is saved to the Synergize repository.
-
(Optional) Search workflow queues to find supporting documents.
-
To determine how to do the distribution to customers, use the Bill To Code which identifies to whom the documents should be sent.
-
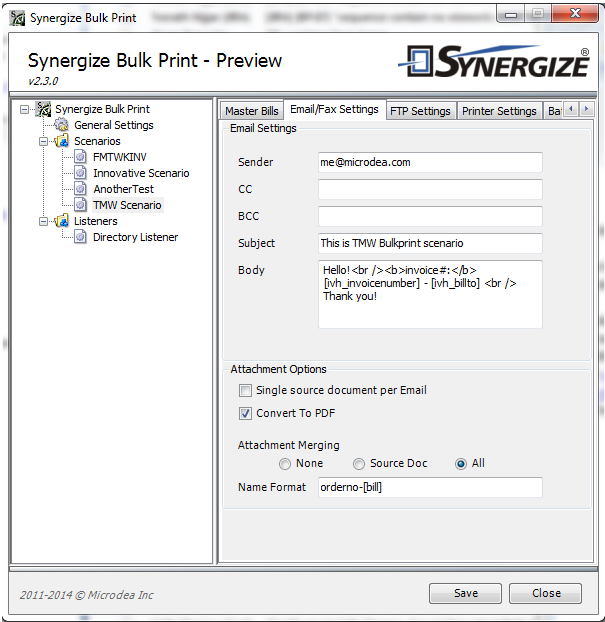
You can use a regular expression to determine how the Email Settings can be broken down to find out exactly how the customer would like the "mailing" to be: invoice only (singlesource), in PDF (converttopdf), with a single attachment (attachmentmerging), and with information about the attachment naming format and the emailsubject line.
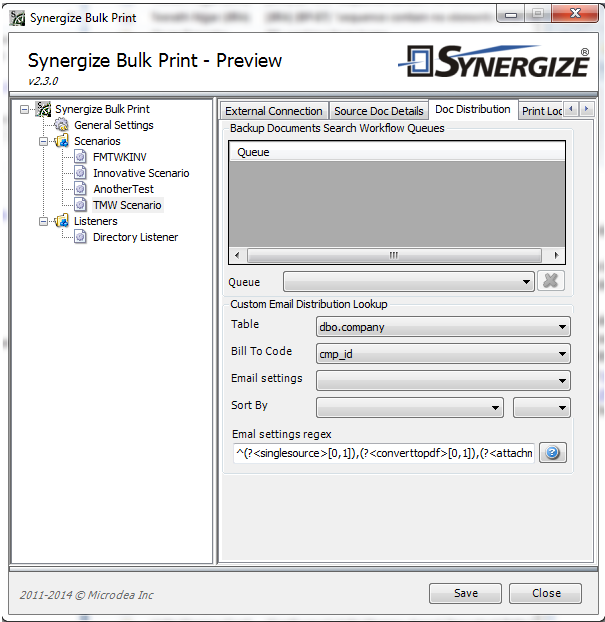
Note that if Email Settings are not provided, then the scenario's default values are used. If the Email Settings value cannot be parsed, the result is an error.
-
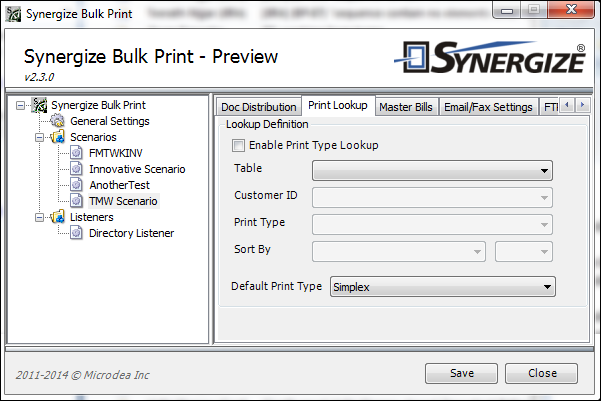
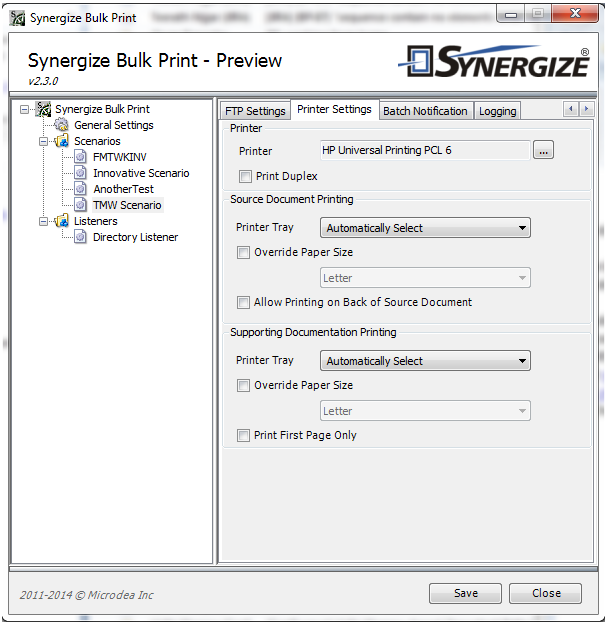
You can specify a lookup for doing printing. This allows you to have a specific type of printout for each customer. You can default to a print type for any customers without a print type specified.
-
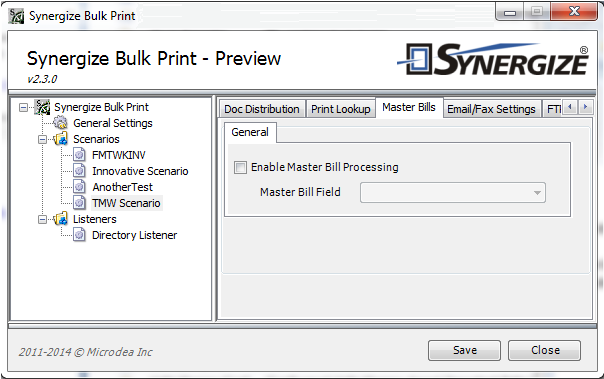
Consolidated billing for TMW Suite can be done by enabling it and specifying the Master Bill Field.
-
In the body of the email message, you can use variables that match the look-up column names specified on the Source Doc Details panel. As mentioned in the earlier step about the Doc Distribution panel, if a customer record does not provide specific email settings, then the scenario defaults are used. The Email/Fax Settings panel is where you set these defaults.
-
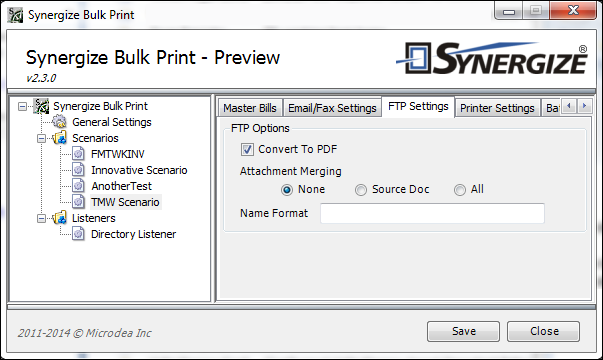
To send the documents to an FTP site, use the FTP Settings panel. These settings are similar to the options for email distribution.
-
The Printer Settings panel allows you to define how to print by default. Note that the Print Lookup panel allowed you do define how to find out about printing for specific customers.
-
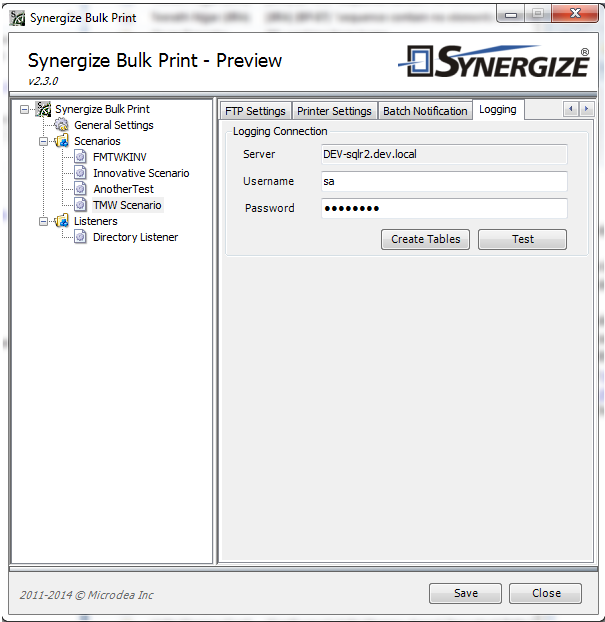
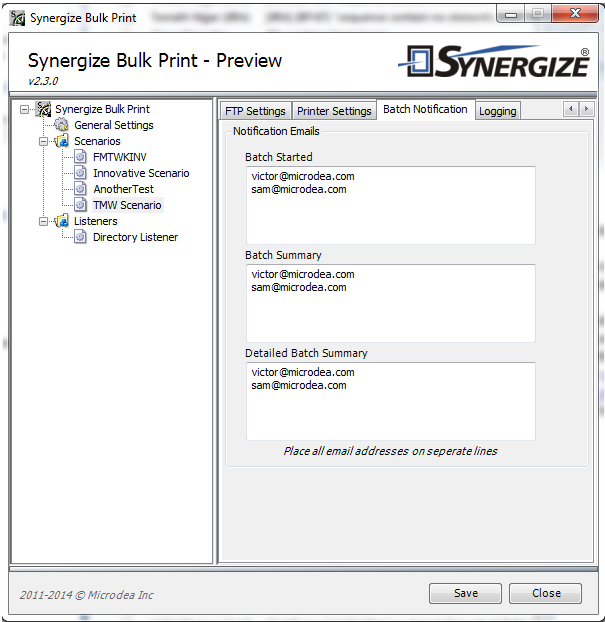
To keep administrators informed of what Bulk Print is doing, notifications can be sent at the beginning and the end of the processing. You can specify who should be given a "start" notification, and when the processing is completed, who should be given a basic summary or a detailed summary of what happened during the batch.
-
You can specify a database server to log activities for this scenario in Bulk Print. Each repository has its own tables and you can create them after specifying the database server connection information. The particular server is related to the repository you specified on the Repository Connection panel. Note that the Create Tables function checks for the existence of the logging tables and creates them if they do not already exist.