Create Synergize OCR Form Extraction Plan Templates
Extraction plans have a structured hierarchy of forms, pages, anchors, and zones.

Each extraction plan can have multiple subordinate nodes. Each extraction plan is usually named for the document type from which they are designed to get data.
-
Verify that you have installed and configured the following prerequisites.
-
Synergize Process Server
-
Synergize Server
-
Form Processing 14.0.0.4 or later
-
-
Start the Synergize OCR Form Processing Designer tool in current designer mode. In an organization with multiple Form Processing Designer clients installed, the first one to start is called the current designer. Until the user in current designer mode closes their Form Processing Designer client application, any others who start their client application cannot create or change any extractions plans. They are in read-only mode.
-
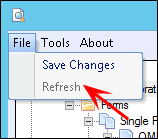
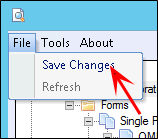
Always refresh before starting work. Click Refresh on the File menu.
-
If the function is not available, it means that you are already the current designer and can proceed with your work.
-
If you are not the current designer, before starting work on your extraction plans, you may need to get the latest changes that other designers may have made.
-
When you click Refresh, the application checks to see if you are now the current designer and any other person has finished making their changes.
-
Once you become the current designer, the Refresh function is disabled and the Save Changes function is enabled.
-
If you are not the current designer, you can use refresh at any time. Conversely, the refresh function is not available when you are the Current Designer. This means you can save your changes but there is no need to refresh your own changes.
-
-
Right-click on the base extraction plan (OCR Extraction) and select Create Extraction Plan.

-
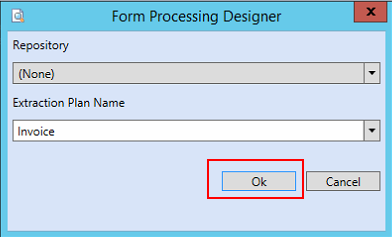
Use the Document Type name as the Extraction Plan Name. Ensure the names match. If the names do not match, the SPS automated process will fail because it will be unable to associate the identified document to a document type.
Click OK.
-
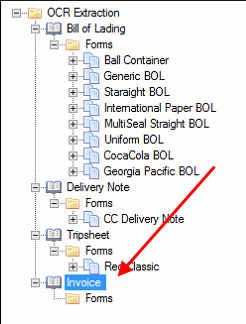
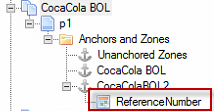
The Extraction Plan is listed in the tree.
-
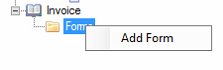
Right-click Forms and select Add Form. A form is like a container for the templates under a specific extraction plan.
-
In the Form Name field, enter a name for your new form.
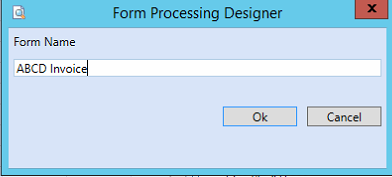
-
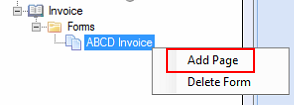
Right-click on the form and select Add Page. This is a sub-setting to configure how a page will be identified.
-
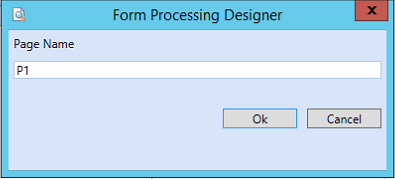
Name the page. Use names to easily identify the page. For example, P1 or BOL-PAGE-01.
-
Click OK.
-
-
Under your new page, click Anchors and Zones.

-
Set up the OCR Zones (defining where to extract data) and the Anchors that help locate the zones on a filled-in form. These settings apply despite elements of scanned pages having a tendency to shift.
OCR Zones mark off regions of the page, where the contents are recognized (read). The problem with positioning regions on the page is that, when scanned, the form might not be in exactly the same part of the page every time. Anchors allow you to position the Zones relative to somewhere that you can find on the page. Anchors can also help when part of a page can grow or shrink, depending on how much data is in it. The Zones above it can be relative to one anchor, while the zones below it can be relative to another. There is no limit to the number of Anchors that a page can have.
-
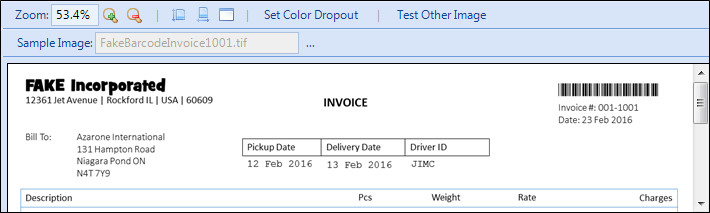
First, click the ellipsis (…) button on the very right of the toolbar (next to the Sample Image text box). A window appears that allows you to navigate a sample (filled-in) image of the page.
-
Draw the Zones and Anchors on the sample page.
-
After you choose an image, it is displayed in the top-right pane of the application.
-
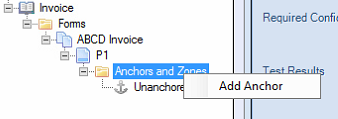
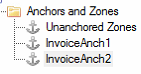
Right-click on the Anchors and Zones folder and choose Add Anchor. Anchors are areas on a document that can be used to orient the rest of the extraction process. For example, determining if it is a valid document, knowing where page breaks occur, and identifying areas that are labels for extractable data.
-
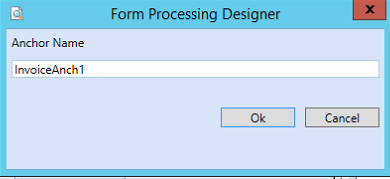
Name the Anchor. Choose a unique name for the Anchor.
-
Select and load your image template by opening it through the sample image tab.

-
Upon successful Load, the image will get saved as an OCR sample image template.
-
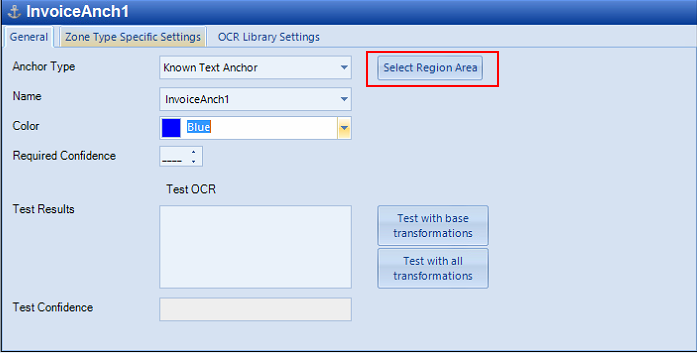
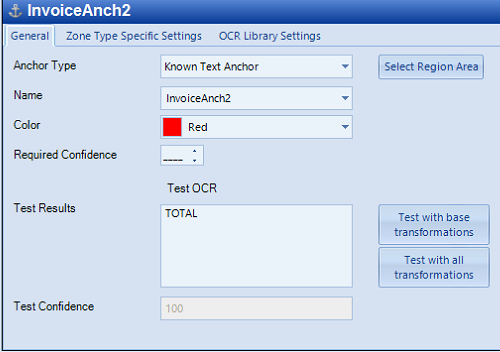
Anchor Type: Currently, there is only one type of Anchor: the Known Text Anchor. To use this Anchor, select a generous area (discussed below) around a word (or set of words) that will always be on the page. In the above example, the word “BOL” is used.
-
Anchor Text: In the Anchor Text field, enter what the text should be. The system locates exactly where the known text occurs on the sample image and position Zones relative to this position. This is the known text that will always be on the page.
-
Color: This is the color used to draw the Anchor on the image in the designer.
-
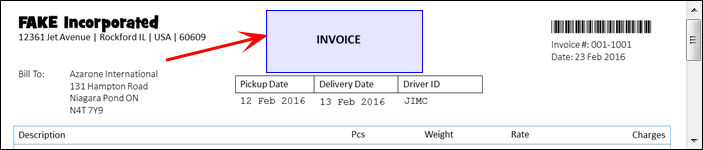
Select Region Area: Once clicked, you are now in “draw” mode. You can draw the Anchor’s region on the image, surrounding some known text. You must draw the top-left corner of the region’s rectangle first, followed by its bottom-right corner. Instead of pressing this button, you can, alternatively, hold the control key while drawing the region.
On the anchor's General tab, click Select Region Area.
-
Extend the Anchor box as much as possible as this will be the area OCR will try to look for the item to parse. You want to accommodate shifted or slightly askew images.
-
Required OCR Accuracy: When text is read by the extractor, each letter is assigned a confidence value. The required OCR accuracy sets the minimum confidence level for any letter in the read text.
-
If the confidence of any letter is below this minimum, then the field is invalid.
-
In the case of the anchor, it means that the anchor cannot be used.
-
-
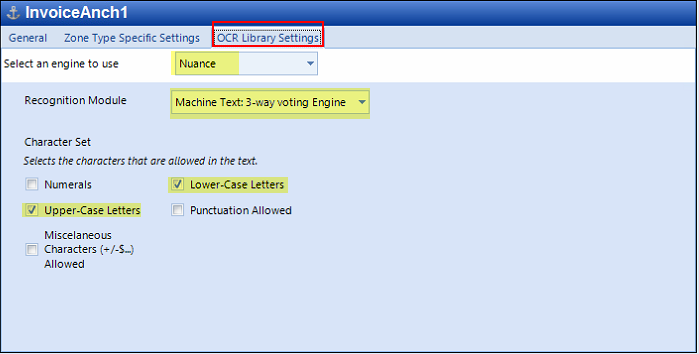
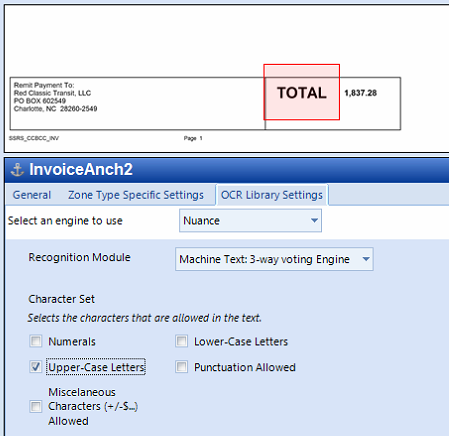
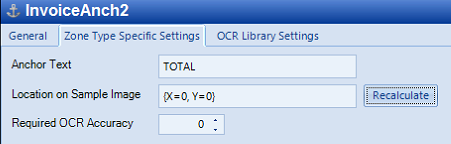
Go to OCR Library Settings. Depending on the text to capture, select the Character Set that applies. Select the Machine Text: 3-way voting engine for printed texts.
-
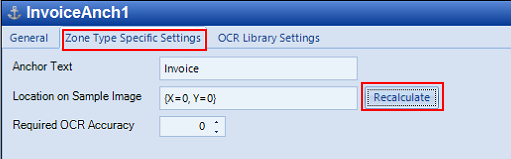
Select Zone Type Specific Settings and type in the Anchor Text to capture. This can be a full word or just a few characters that identify the document. Click Recalculate to ensure that the OCR knows where to find the text within the anchor.
-
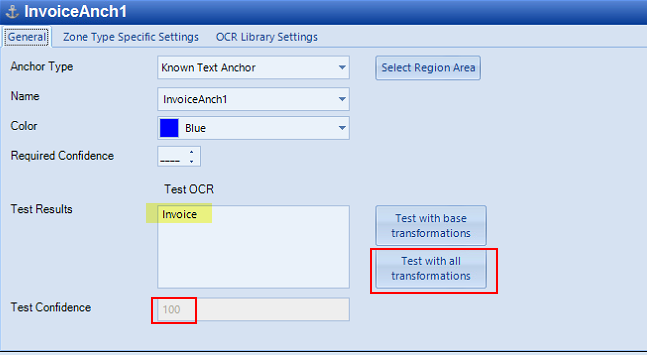
To test, select General and click Test with all transformations. The result is displayed in the Test Results area with the Test confidence percentage. Continue to move the anchor, modify the 6. 6. Anchor text and OCR Library settings, to get to an acceptable Test Confidence.
-
Add another anchor when applicable.
-
Go back to the Page level and select Identification. You can now combine the created Anchors so either or both conditions are met.
-
Select “OR” In Groups, “AND” Between Groups
-
Select both Anchors in the “Current Identification Condition” for extraction plans with 2 or more anchors
-
Verify that both Anchors are in the same group “Group 0”

-
Verify the condition as shown: “Anchor ‘InvoiceAnch1’ was found OR Anchor ‘InvoiceAnch2’ was found”
-
-
-
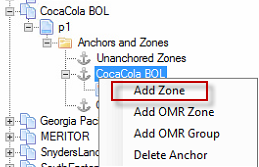
Create an Extractable Value (Zone). Once we have an anchor setup, we can create Zones. To create a zone, right-click on the Anchor and select Add Zone. This will create a new zone that will be relative to the given Anchor. Right-click any anchor under a page and select Add Zone.
-
Name the new zone as a Synergize Field, similar to the way you named the Extraction Plan the same as a document type.
-
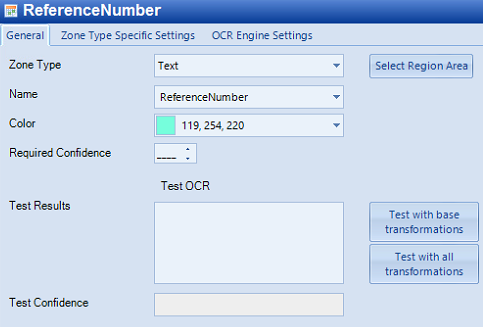
Locate the character to be extracted in the image and select the General Tab.
-
Ensure the following fields have the correct values:
-
Zone Type: Text
-
Name: ReferenceNumber
-
-
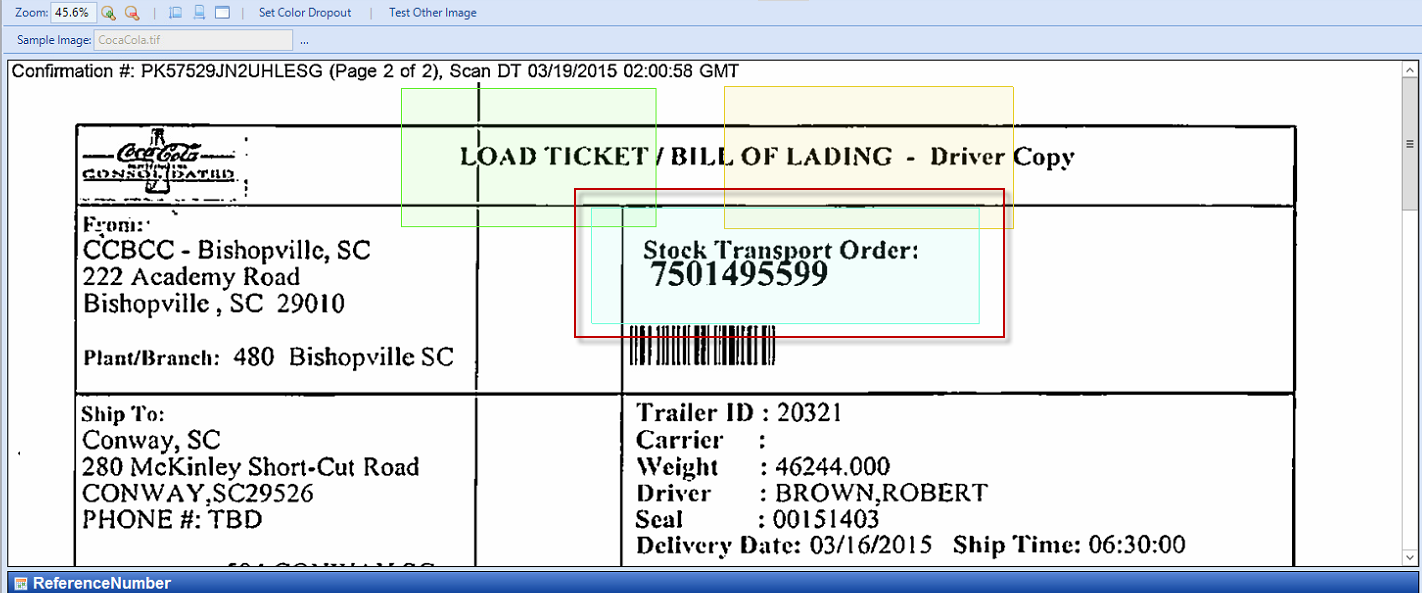
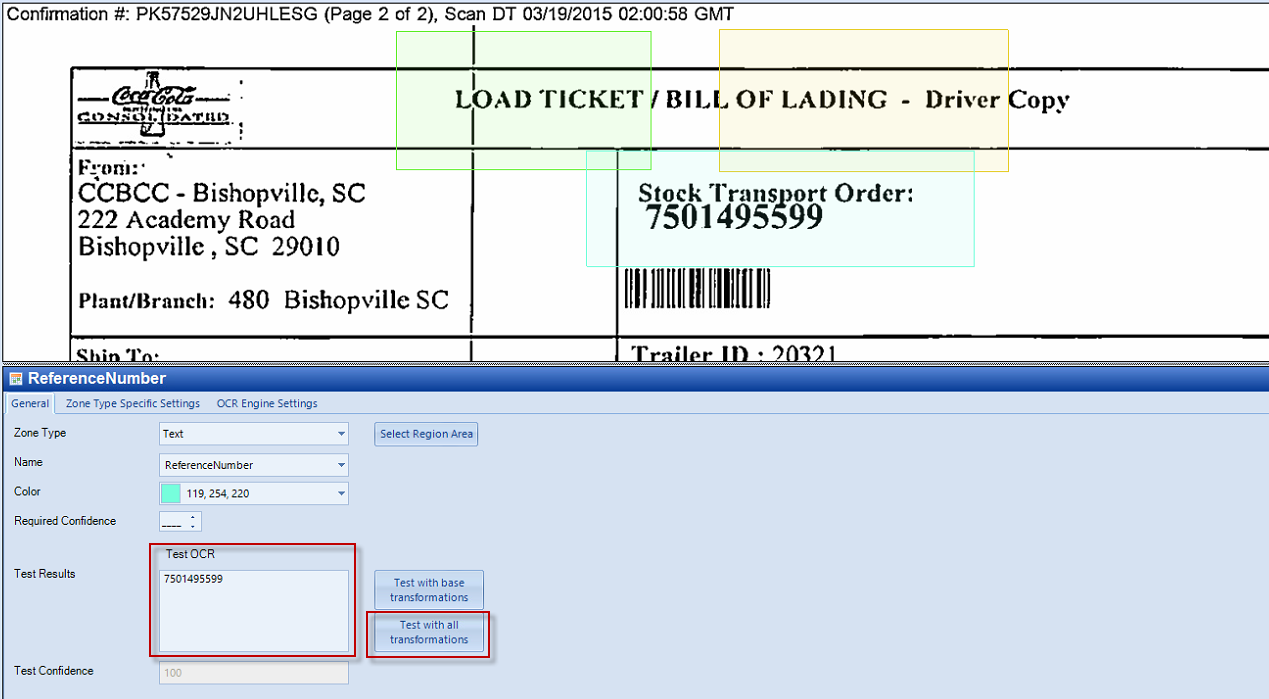
Hit the “Select Region Area” button to activate the region area selection tool. Highlight the character to capture.
Sample: The value 7501495599 is boxed in the rubber band/region.
-
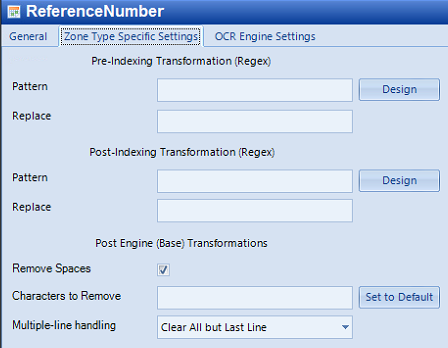
Configure the Zone Type Specific Settings:
-
Enable Remove Spaces when applicable
-
Add certain characters in the “Characters to Remove” field to strip from the capture when applicable
-
If multiple line items exist in the capture, select which method applies to the value’s to capture in the Multiple-line handling pull-down.
-
-
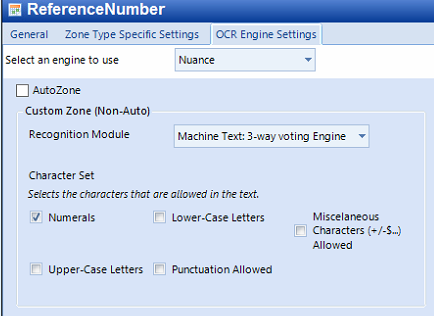
Configure the OCR Engine Settings Tab. Synergize OCR has an Auto-Zone feature that can automatically adjust the character capture borders. This option can be turned on/off. The Auto-Zone feature can be disabled and have the Synergize OCR engine be manually configured to capture specific characters based on module.
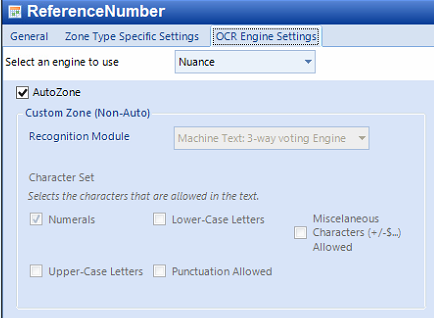
- Select the Machine Text: 3-way voting Engine, when capturing non-handwritten characters.
- Select the character set that applies to the capture (for example. if capturing only numbers, it’s better to only select Numerals in the Character Set check box).
-
-
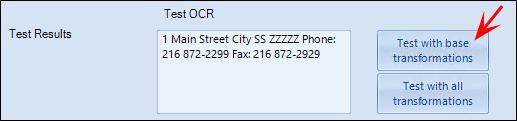
Once all the tabs have been configured, go back to General tab and test the settings used.
-
Hit the Test with all transformations button to test the settings.
-
From here, the settings can be further tweaked, until the desired capture result is displayed in the Test OCR result box.
-
-
If needed, edit your zones. Zones are regions of the page from which information is extracted.
-
Zone Type: You can choose between text zones and OMR zones. If you choose an OMR zone, the tab for the library settings changes to OMR Library Settings.
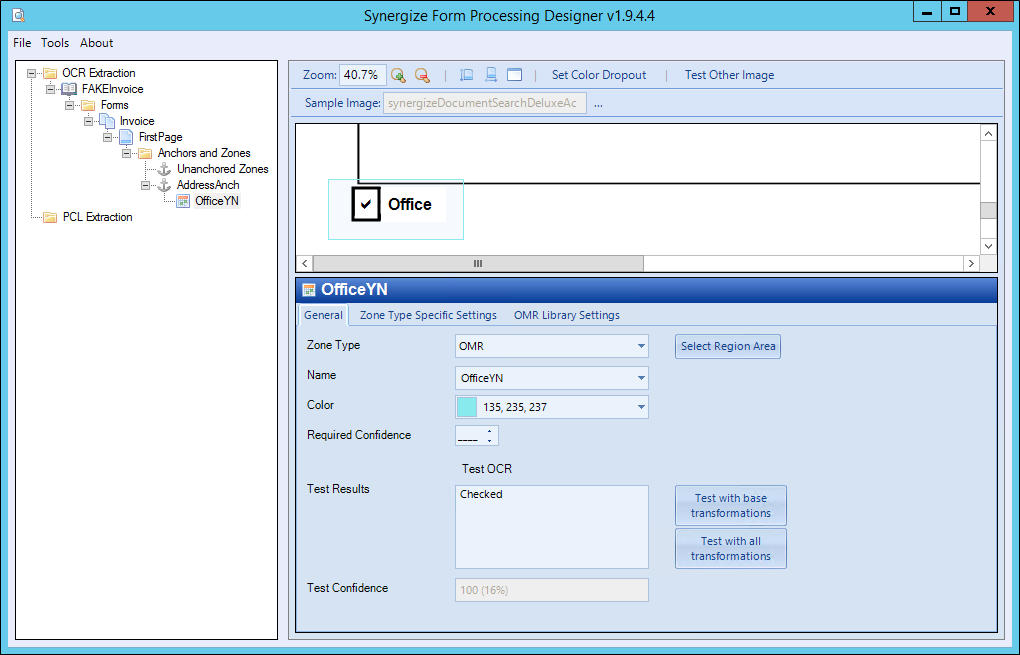
-
You can choose the Nuance or Microdea OMR engine.
-
Note that you can group OMR zones into OMR groups if you need to pull out a value from a mutually exclusive or independent set of values. For example, if you have three related check boxes, you should create three OMR zones, determine which of the three is checked and that will be the value represented by the OMR group. You can also nest OMR groups within one another so that you can represent more complex sets.
-
Name: This is the name of the zone. To extract a field using this Zone, set the name of the Zone to match the name of the Field.
-
Color and Select Region Area: See the Anchor Window for descriptions of these properties.
-
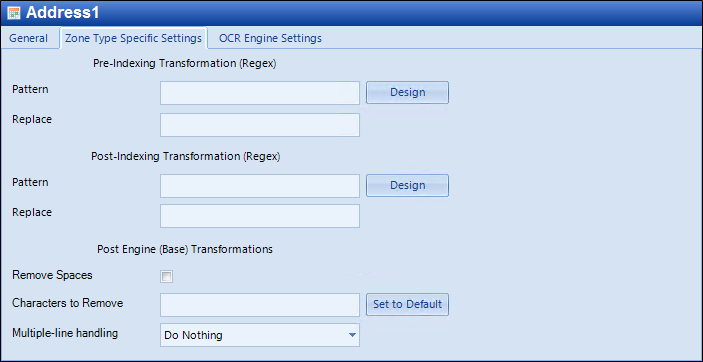
OCR Zone Type Specific Settings: For OCR zones, the following options are available:
-
Pre-Indexing Transformation (Regex)
-
Post-Indexing Transformation (Regex)
-
Post Engine (Base) Transformations
-
-
The transformations can manipulate the data you find on a form at various points in the process. Regular expressions are used for pre- and post-indexing transformations.
-
Transform the Extracted Data (Pre- and Post-Indexing)
-
RegEx refers to Regular Expressions, which can be used to create powerful manipulations of the extracted data.
-
You need to run the base transformation test first (on the General tab) to have sample text to work with in the Regular Expression Editor.
-
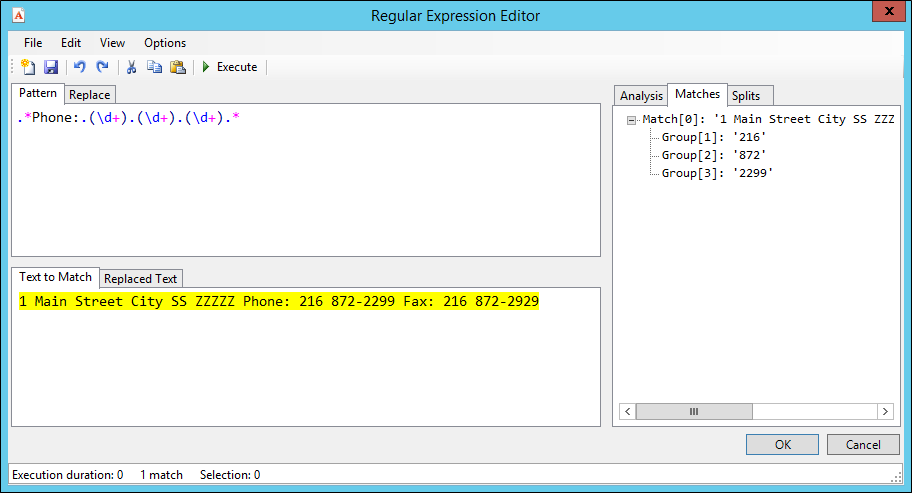
Click Design, to access this window. The output from the test is used in the Text to Match tab.
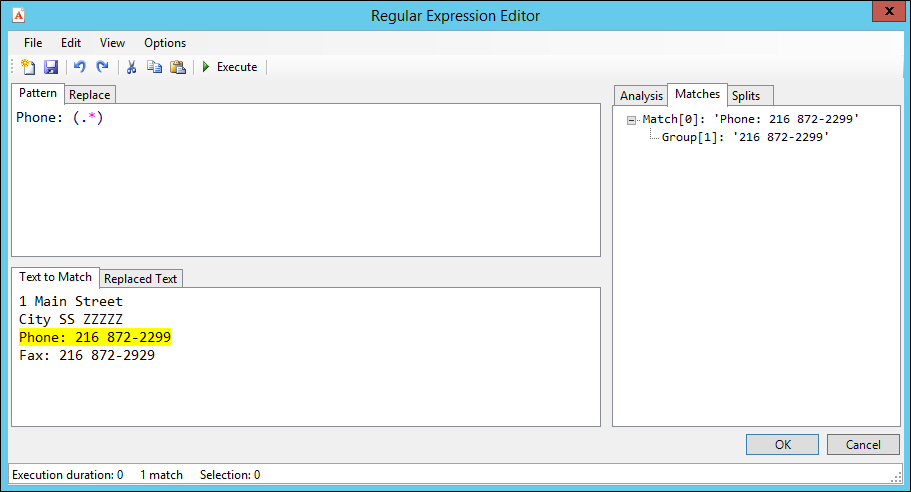
In the above example, for a zone called MainPhone, the regular expression pulls in the line containing the exact text "Phone: " and any characters after that to the end of the line. This becomes a group because it is in parentheses. You can refer back to groups using $ substitution notation, as illustrated in the following example.
Another Example: This time for MainPhone, we're going to be very specific about finding and manipulating the phone number. Start by concatenating the entire found text into a single long string:
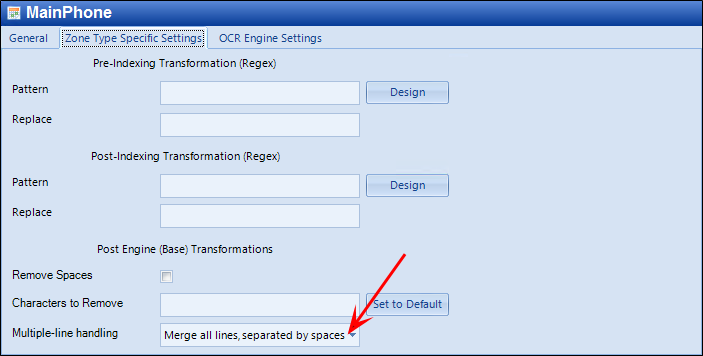
Next, re-run the test so that you can be sure your base transformation now includes the multiple-line handling and to get the found text ready for the regular expression editor:
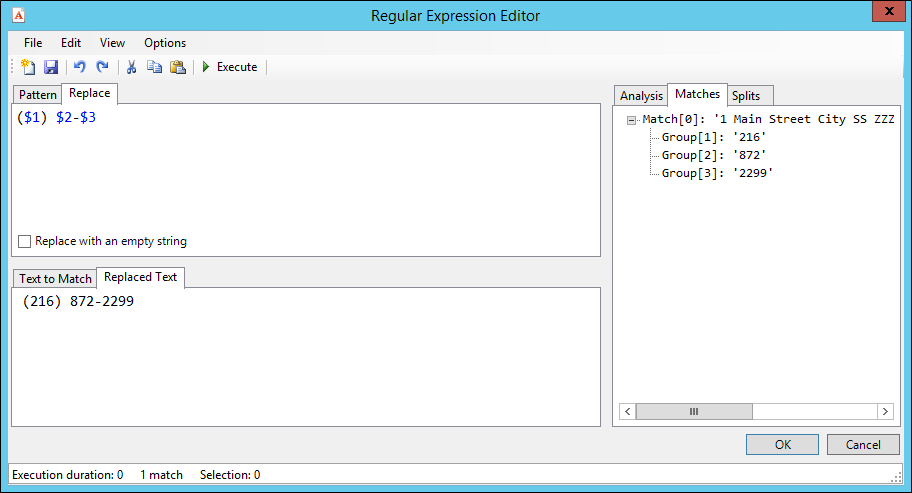
Now click on Pre-Indexing Transformation Pattern Design, to get to the Regular Expression editor to enter a more complex search, which picks up the whole string but pulls the phone number out into three separate groups:
Finally, use the three matched and numbered groups to replace the found text with just the reformatted phone number:
-
Post Engine (Base) Transformations: On the General tab, there is an option to test base transformations. Usually this is the raw output from whichever OCR engine you have chosen. However, on the Zone Type Specific Settings tab, you can modify the output before the test is run in the following ways:
-
Removing spaces
-
Removing specific characters
-
Handling multiple lines in various ways
-
-
-
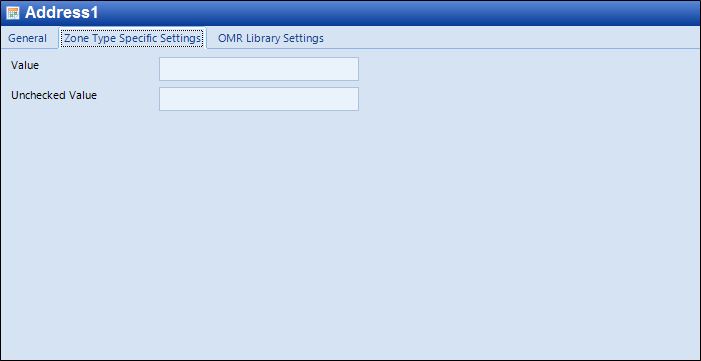
OMR Zone Type Specific Settings: For OMR Zones, you can specify what a checked or unchecked state actually represents with the following entries:
-
Value
-
Unchecked value
-
-
-
Select File and select Save Changes. After you create or edit extraction plans, you must save them. The information is saved to the configured shared folder for the Form Processing Service, making the changes available to other form designers in your organization.
-
At the confirmation prompt, click OK.
-
To test other images, launch Windows Services and restart the Synergize Form Processing Service. Once you have created your Extraction Plan, you can test it against another document that belongs to the same category and should work with your template. For example, once you have created an invoice extraction plan, you want it to work with all similar invoices. This allows you to ensure that the extraction plan will still pick up information from slightly different variations of the invoice.