Change the Synergize Bulk Print Service Printer
Use this article to change the printer in the Bulk Print Service application on the Synergize server.
-
Identify where the Synergize Bulk Print application is installed. Typically, it's installed on one of the Synergize on-prem or cloud servers.
-
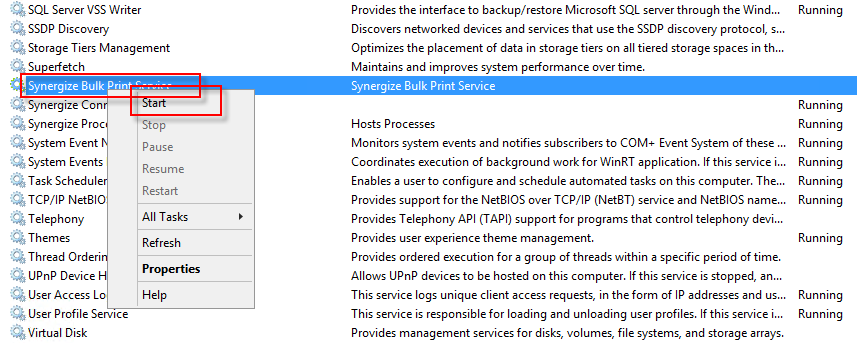
On the appropriate server, search for Services from Windows Start on the server. Locate the Synergize Bulk Print Service from the available Services.

-
Right-click on the service and choose Refresh.
-
Verify the Synergize Bulk Print service is active and running:
-
If the service is in a running state, leave it as is and skip ahead to the next numbered step.
-
If the service is not running, launching Bulk Print preference will give you an error. Right-click on "Synergize Bulk Print Service" and choose Start'.
-
-
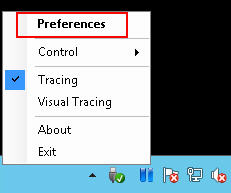
Launch Synergize Bulk Print Monitor from windows search.

-
If it is already launched, find the Monitor tab in System Tray. Right-click on the Bulk Print icon and select the preferences.
-
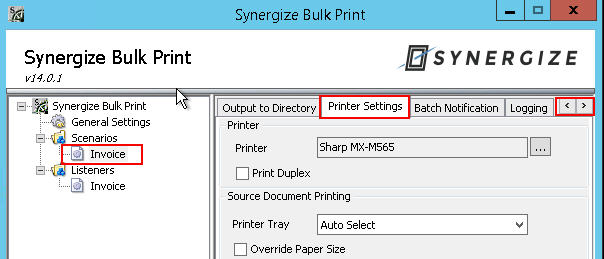
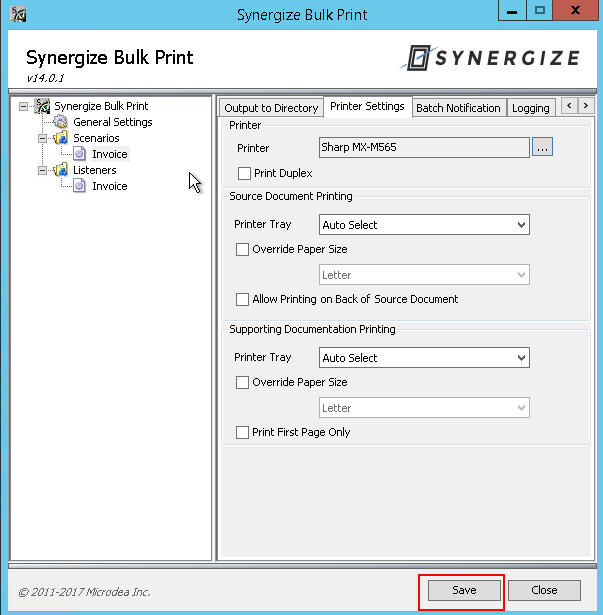
In the Preferences window, select the scenario where the printer needs to be changed. Use the arrows on top right to move between tabs. Find the Printer Settings tab as shown below.
-
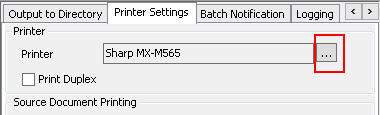
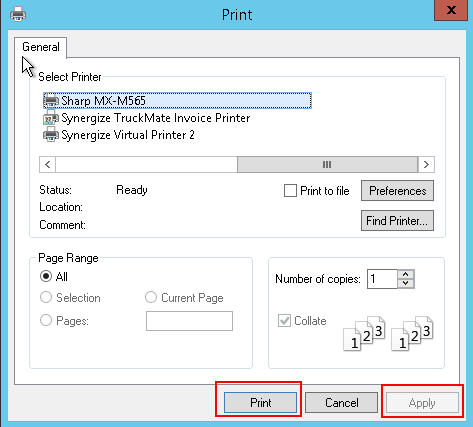
Click the 3 dots next to "Printer" field, this will bring up the list of printers available on the server.
-
Select the specific printer from the list and click on Print or Apply.
-
Click Save to save preferences to service.
-
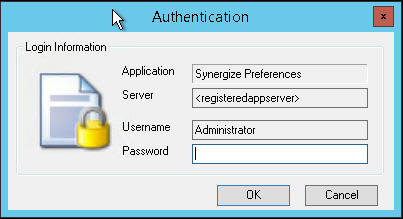
An Authentication window appears. Enter your password. (Contact Synergize Support if you forgot this password.)
-
Close the Preferences tab and verify your changes by performing a simple test.