Release the Lock on Checked-Out Documents in Synergize
Use this article to clear locks on checked-out documents. If a user checked-out the document, only the same user can check-in the document. If a user is not able to check-in the document on the same workstation using their credentials, the document will be locked to the specific user.
Follow these steps in the Synergize repository database to identify the document and remove its checked-out flags.
Note: Exercise care and observe proper syntax when entering your queries. If you are unsure of any steps, please reach out to the Synergize support team for assistance.
-
Find the document that is checked-out by a user and locked out.
-
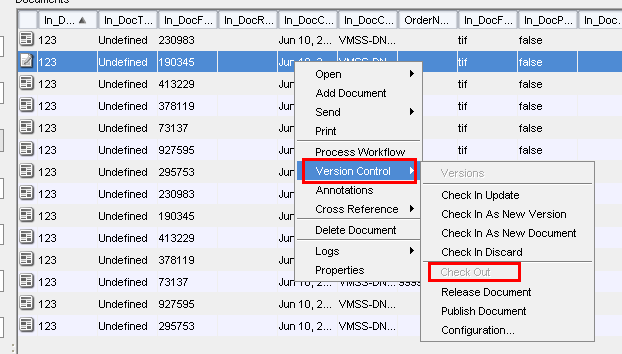
Right-click on the document, select Version Control to confirm Check Out option is grayed out as shown below.
-
Find the Synergize ID (In_DocID) for the document.
-
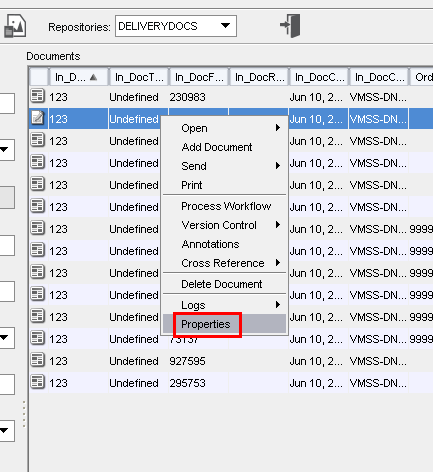
Right-click on the document and select Properties.
-
In the Properties window, select Custom tab, click on Show Field Info. Syn ID for current document is listed beside In_DocID.

-
-
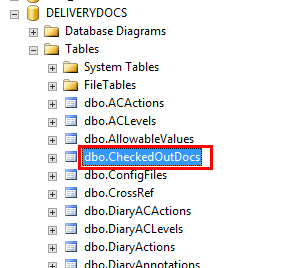
Log in to Synergize associated SQL server and browse to repository database. Expand Tables node and find the dbo.CheckedOutDocs table.
-
Open new Query Editor Window and run following SQL command:
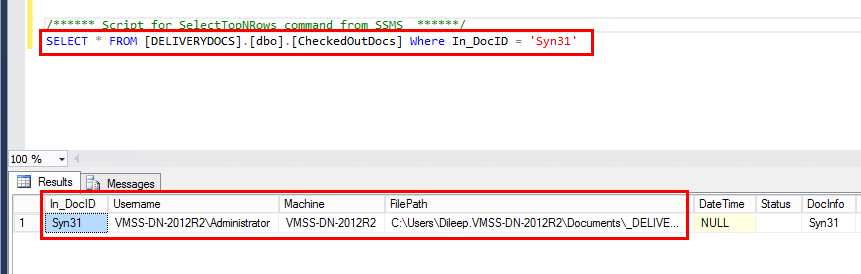
Note: In this example, the repository name is DELIVERYDOCS and the Document ID is Syn31. Change the values according to your data.
-
In the Results grid, you can view which user locked the file, on which machine, and the location of the checked-out document.
-
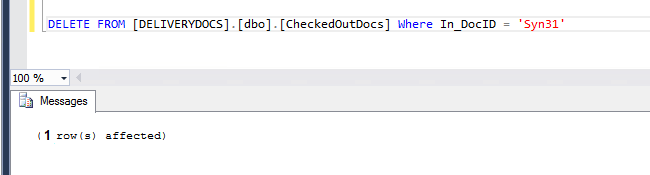
To remove the checked-out and locked status on the document, remove this entry from the CheckedOutDocs table by running the following query:
-
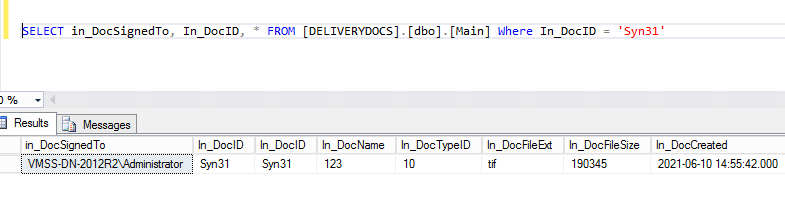
Find the document entry in Main table within same repository table. Run the following query to find the row.
-
To release the document, assign NULL to In_DocSignedTo field for this specific row in Main table. Run following query to assign NULL.

Note: Exercise care and observe proper syntax when entering your query. Do not forget to use the Where parameter in the SQL statement.
-
Document should be reverted to original state after these steps. Go back to explorer and find the document, right-click and choose Version Control. The Check Out menu option should be active now.
