Install Synergize Process Server
This KB article covers installation, configuration, and troubleshooting of Synergize Process Server (SPS) for advanced users and administrators.
-
Windows Server 2019, 2022, or newer (legacy configurations on Windows 2003 sp2 x86, Windows 2008 R2 x64, or Windows Server 2012 are no longer supported)
-
Synergize Server 2007 or higher
-
Microsoft Management Console 3.0
-
Microsoft .NET Framework 3.5 sp1
-
Synergize Process Server License and one concurrent Synergize Process Server license for every process running
-
Windows Domain account to run the Synergize Process Server Service (privileges include member of Local Administrator Group, Run as a Service)
-
Synergize Deployment Email settings configured (if not present, this can be configured after the SPS installation)
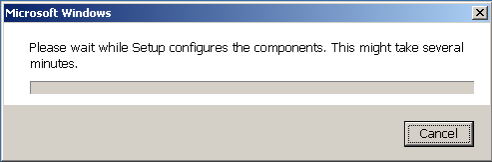
1. Run the Synergize Process Server setup.exe as an "Administrator".
This will run a prerequisites check and launch Synergize Process Server.msi
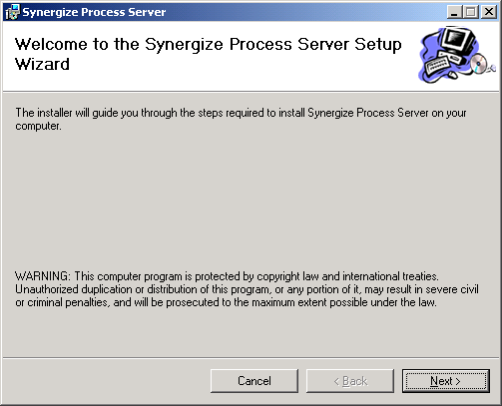
2. At the Welcome screen, click Next to continue.
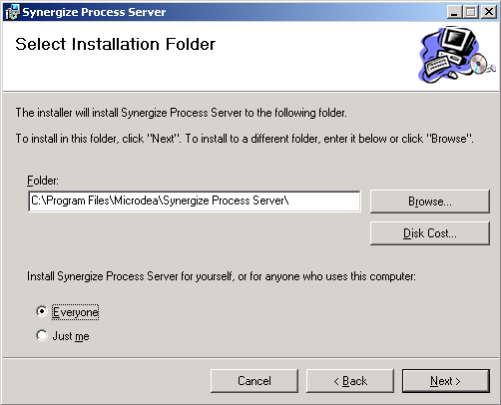
3. At the Installation Folder screen, select Everyone and click Next to continue.
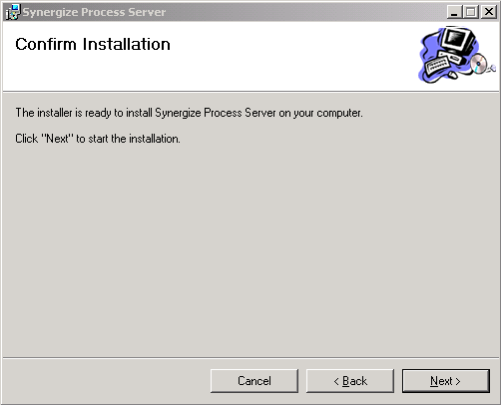
4. At the Confirm Installation screen, click Next to continue.
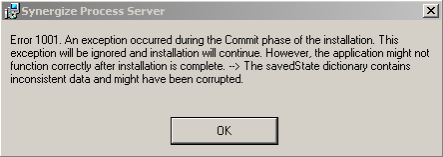
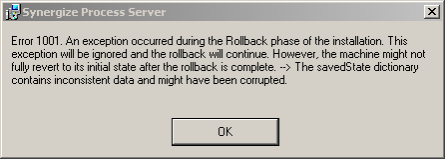
5. You will receive a pop up error message "Error 1001" click on "OK" and you will receive another pop up error message "Error 1001" click on "OK".
The installation will roll back and at the Installation Complete screen, select "Close".
Refer to "Installation error: MSI install error" section below for screenshots.
6. Proceed back to Step 1 of these installation steps, to reinstall SPS and it will install without error.
7. If you do not have your email server settings configured in EMC you will be notified during the installation.
To continue select "OK".
Refer to "Installation error: Deployment email settings" section below for screenshots.
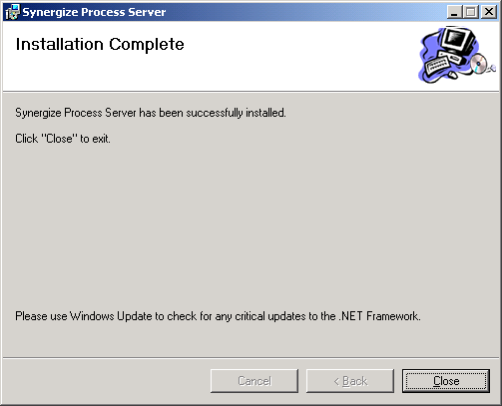
8. At the Installation Complete screen, click Close to complete the installation.
1. Editing the clientsettings.xml file.
2. Locate the clientsettings.xml file on the SPS Server and open it as an Administrator in notepad.
The file can be found in the "bin" folder in the installation path used during install.
Default c:\Program Files (x86)\Microdea\Synergize Process Server\bin
3. http://microdea.atlassian.net/wiki/display/KnowledgeBase/How-to-configure-SPS-clientsettings.xml (Step 2 in this link is the section most commonly used, copy it and overwrite the content in your clientsetting.xml file).
4. Edit the information for the Data Source= , Initial Catalog= , User ID= and proceed to the next step. (You can find this information in your Deployment in EMC)
5. Encrypting the Activity Log database password.
6. http://microdea.atlassian.net/wiki/display/KnowledgeBase/How-to-use-Synergize-Encryption-tool
7. Setting up the Synergize Process Server service account.
8. Go to Administrative Tools – Services - and select the Synergize Process Server service.
9. Right click and open the Service properties.
Select the Log On tab and click on "This account" and enter a domain account with minimum local administrative and log on as a service privileges.
10. Enter and confirm the password, click on Apply and OK.
11. If Possible win2008 and on Set the Service to Automatic (Delayed Start) by right clicking and open the Service properties and in the General tab, change startup type from Automatic to Automatic (Delayed Start).
12. Click Apply and restart the service by right clicking the service and selecting "Start" or "Restart"
13. Configuring SCS as a service dependency to Synergize Process Server.
14. Synergize Process Service requires that Synergize Connection Service (SCS) be running prior to starting.
If SCS is on the same machine as SPS set the Service to 'Automatic (Delayed Start)'.
1. Locate the Microdea.ProcessServer.Service.exe.config file in the "bin" folder in the installation path used during install.
Default is c:\Program Files (x86)\Microdea\Synergize Process Server\bin and open it with Notepad as an Administrator.
Add the following line in the <appSettings> section after the last key in the list.
2. <add key="AutoStartProcesses" value="1" />
3. Save and close the Microdea.ProcessServer.Service.exe.config file
1. Locate the Microdea.ProcessServer.Service.exe.config file in the "bin" folder in the installation path used during install.
Default is c:\Program Files (x86)\Microdea\Synergize Process Server\bin and open it with Notepad as an Administrator.
Locate the following line in the <appSettings> section after the last key in the list.
2. <add key="DisableLogging" value="0" />
3. Leave value="0" for debugging to remain turned off or change value="1" to turn it on.
4. Save and close the Microdea.ProcessServer.Service.exe.config file.
1. Locate the Synergize Process Designer.msc file in the root folder of the installation path used during Install.
Default is c:\Program Files (x86)\Microdea\Synergize Process Server.
Right click it and Send to - Desktop (create shortcut)
2. From the desktop, right-click it and run it as an Administrator to launch the Synergize Process Server Designer.
3. Left click on Synergize Processes on the left side pane to high lite it in blue, right-click on the Synergize Processes and select Create Process and an Untitled Process will appear.
4. Left click the untitled process to select it and right-click to select Process Designer.
On the right side Properties section, change the activity name from Untitled to TEST and click on save and OK.
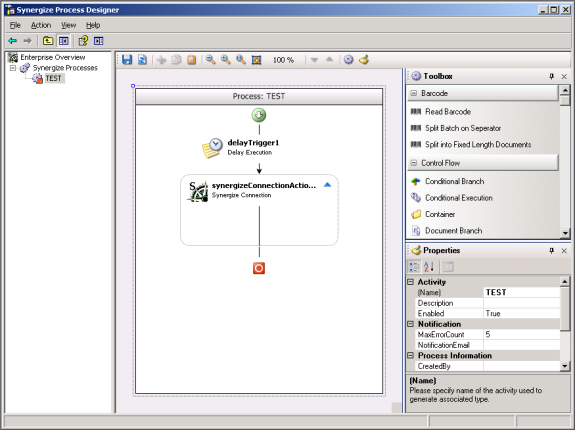
5. Under the Toolbox in the top right scroll down to select the Delay Execution action, left click it and drag it to the line between the green and red icons and release the mouse.
6. Under the Toolbox in the top right scroll down to select the Synergize Connection action, left click it and drag it directly under the Delay Execution action to where the small green "-" sign is displayed and release the mouse.
7. Proceed to fill in the connection properties for the Synergize Connection action. (on the right side under the toolbox)
8. Select the ConnectionParamaters line and then select the ellipse box.
9. Enter your primary User's username and password and select "Connect".
10. Ensure you have the correct Synergize Server selected from the Server drop-down list and then select the Repository you wish to connect to for this specific SPS process and select "OK".
11. Save your process.
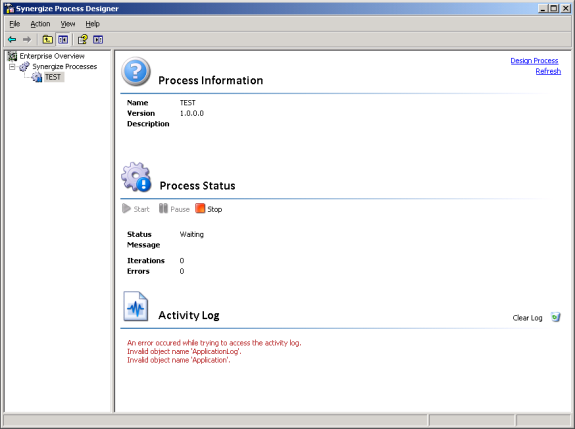
12. Right click on your TEST process on the left side pane and from the context menu choose Process Overview.
13. Select the Start (play) button and verify your results by looking in the Activity log section of the screen.
14. A successful installation, configuration and test will not show any errors in the Activity Log.
The activity log will show "Starting" and "Stopped" over and over again until you stop the process using the red square in the Process Overview screen.
As an admin, you might need to apply the following workarounds and fixes during SPS installation and configuration.

1. If Microsoft .NET framework minimum version (see pre-requisites above) is not installed you will be prompted to download and install it.
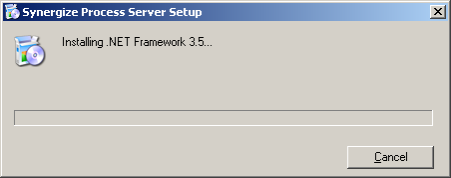
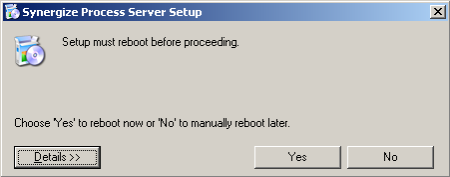
Component .NET Framework 3.5 requires a reboot before setup can continue.
2. Once the installation is complete, you can continue with the SPS installation.
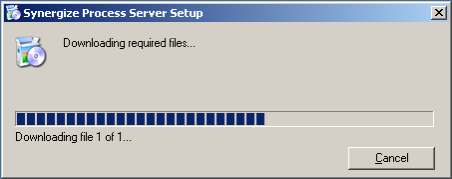
1. If Microsoft .NET framework installation stalls, you can download this directory from the Microsoft site.
-
During installation, you might encounter either or both of the following non-critical errors:
-
Error 1001: An exception occurred during the Commit phase of the installation...
-
Error 1001: An exception occurred during the Rollback phase of the installation...
-
-
Click OK.
-
Continue, resume, or restart the installation.
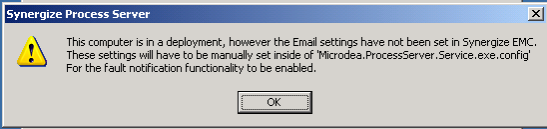
1. If your Synergize Deployment does not have email settings configured you will receive the following error message.
2. To resolve the issue, log into Synergize EMC as a Primary User and expand the Deployment Profiles tree.
Select your Deployment and click on the Email Settings button.
3. Enter your email server, port and hello command.
4. Next you will open the Microdea.ProcessServer.Service.exe.config file and add the same email information to the following section:
<add key="EmailServer" value="EMAIL_SERVER" />
<add key="EmailPort" value="25" />
<add key="EmailHelo" value="HELLO" />
5. Close and save the file.
6. Restart the Synergize Process Server.
1. Check your database username/password in the clientsettings.xml file
1. Use Windows Task Manager to force close the Synergize Process Server application.
2. Ensure that SCS is started in your EMC on the Synergize server.
3. Shut down the Synergize Process Server Service in the Services menu.
4. Use Start/Run and type in "iisreset" without the quotes. (wait until this has finished resetting)
5. Start up the Synergize Process Server Service in the Services menu.
6. Launch the Synergize Process Designer.msc file in the root folder of the installation path used during install.
Default is c:\Program Files (x86)\Microdea\Synergize Process Server.
Right-click it and launch as an Administrator.
7. Retest using the above Testing Steps.
8. If above steps do not fix the issue, open up the .sdj file for the process causing the problem and remove the properties from the Synergize Connection or other database connection actions, save and try again.
See Synergize Process Server Actions and Action Binding.