Verify Transflo DMS Client Configuration Settings
For client applications such as DMS QuickView to communicate with TRANSFLO® server, the TRANSFLO® Client Configuration application must be properly configured. If you are experiencing connection problems with TRANSFLO® Server, you should verify the settings in the TRANSFLO® Client Configuration application. Follow these steps:
-
On the Windows server, click the Start menu and choose All Programs, TRANSFLO, Client Configuration.
-
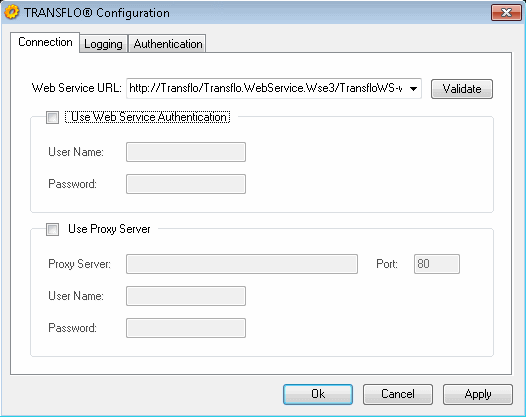
The TRANSFLO® Client Configuration window appears.
-
In the Web Service URL field, enter the address of the TRANSFLO® Web service being used for communications with TRANSFLO® Server. The default address is shown in the following image:

-
Click Validate to ensure that the connection is active.
-
If your TRANSFLO® Server installation requires authentication, select the Authenticated Access check box and type the appropriate user name and password in the boxes provided.
-
If the local computer connects to the Internet by proxy server, select the Use Proxy Server check box and type the proxy server address, connection port number, user name, and password in the boxes provided.
-
When you have finished entering or verifying connection information, click Apply, and then click the Logging tab.
-
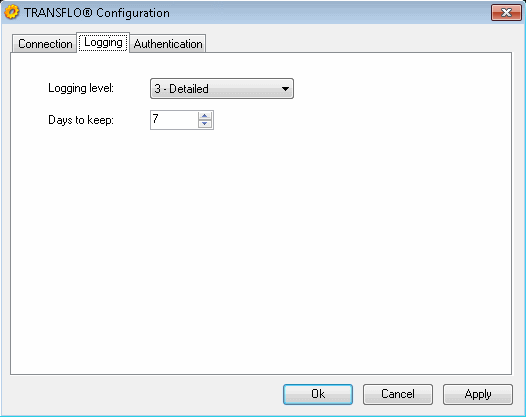
On the Logging tab of the TRANSFLO® Client Configuration window, enter or verify the logging settings that should be used for TRANSFLO® applications.

-
To enter or verify logging settings, expand the Logging Level list and click the desired level of complexity for logged events.
-
In the Days to keep box, enter the number of days that events should remain in the log, before being erased.
-
When you have finished configuring the logging settings for your TRANSFLO® client applications, click Apply to save your changes.
-
Click the Authentication tab. If you would like to use TRANSFLO® authentication, on the Authentication tab of the TRANSFLO Client Configuration window check the Store TRANSFLO Authentication Information check box and enter a User Name and Password in the corresponding boxes.

-
When you have finished configuring your TRANSFLO Client Configuration, click OK.
-
(Optional) To troubleshoot and resolve potential issues, you can temporarily override the Log Level from the file system.
-
With Windows® Explorer, navigate to the log folder. This is typically is C:\Program Files\Common Files\Pegasus TransTech\Transflo Client\Logs\Transflo.ClientConfig.
-
Create a text file in the log folder and rename it to Log.Config. Open the file with a text editor and add the following line to the file:
<Config LogLevel="[Level]" />
[Level] is an integer between 0 and 4 indicating the log level.
The available log levels are:
0: No Logging
1: Errors Only
2: Errors and Warnings
3: Detailed
4: Trace
Example: To set the log level to Trace, make the following entry in the Log.Config file:
<Config LogLevel="4" />
-
Save and close the Log.Config file. The log level has changed.
-
To revert to the default log level, rename the Log.Config file to Log.Config.Old.
-