Configure Transflo DMS Document Manager for a Docubase System
Document Manager supports all versions of the Docubase image repository that use the Docubase 32-bit toolkit.
Note: This legacy KB article describes deprecated features that are no longer supported as of March 2020. Transflo DMS no longer supports environments running the Docubase repository. This KB article is no longer updated.
To configure Document Manager for Docubase image repository, follow these steps:
-
Click on the Windows Start menu and choose All Programs, TRANSFLO, Document Manager Configuration.
-
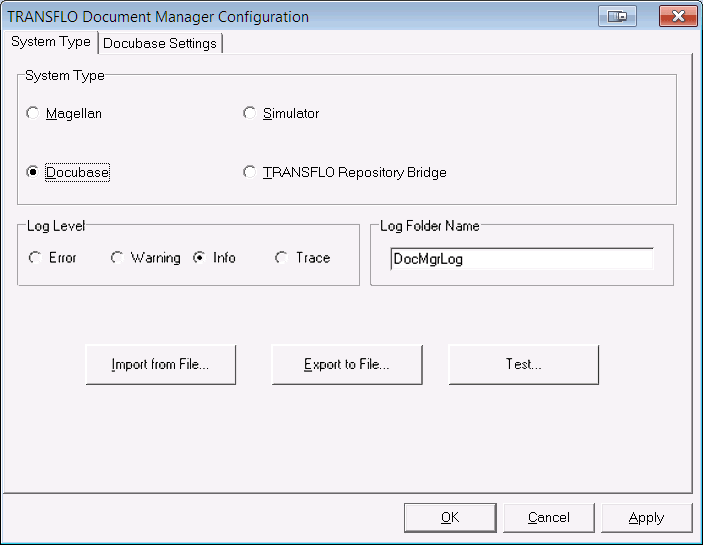
The TRANSFLO Document Manager Configuration Window opens on the System Type tab.
-
Select the Docubase option in the System Type group box.

-
Select a Log Level from the Log Level group box. The available log levels are:
-
Error – Errors Only
-
Warning – Errors and Warnings
-
Info – Detailed Logging
-
Trace – Trace Logging
-
-
Enter a name for your log folder in the Log Folder Name box. The default folder path name for the log folder is:
C:\Program Files (x86)\Pegasus TransTech\<calling app install folder>\DocMgrLog\
<calling app install folder> is the application root folder of the application that is using Document Manager.
Example: The calling application is Rendition Print Service. The path name of the log folder is:
C:\Program Files (x86)\Pegasus TransTech\Rendition Print Service\DocMgrLog\
-
To import the configuration from an INI file, click the Import from File... button and navigate to the file and open it.
-
To save the configuration to an INI file click the Export to File... button and navigate to the folder and save it.
-
To test the configuration, click the Test... button.
-
If you are prompted to apply the changes, click Yes in the message box. The Document Manager Test window opens.
-
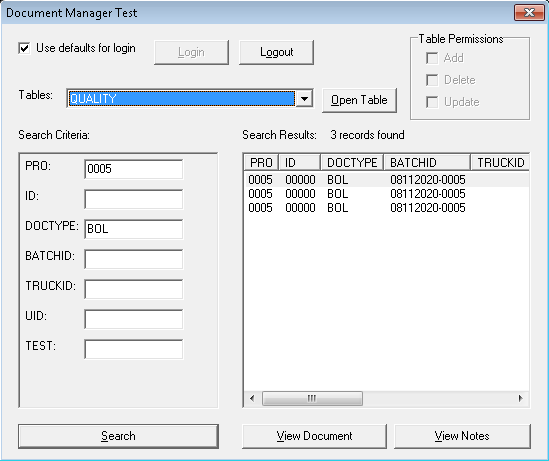
To log in using the default user and password check the Use defaults for login check box and click the Login button. To use a different user un-check the Use defaults for login check box and click the Login button. You will be prompted to enter a User and Password.
-
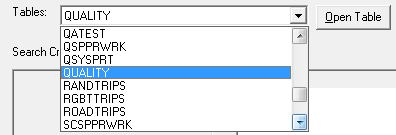
Select a table from the Tables drop down and click the Open Table button.
Note: The configuration test is performed after you have completed the Document Manager configuration.
-
The table fields open in the Search Criteria pane. Enter search criteria in the boxes next to the fields and click the Search button.
-
The search results open in the right pane.

-
Click a row in the Search Results pane, and click the View Document button.
-
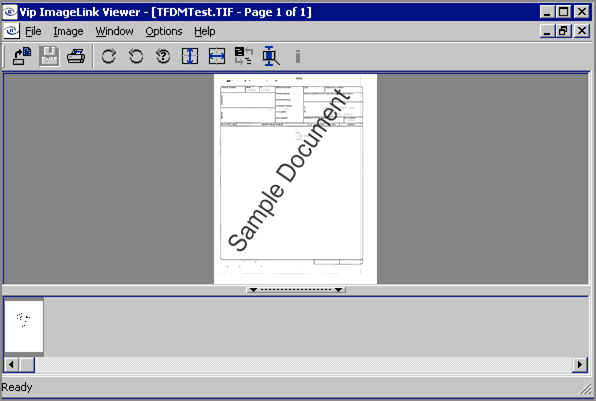
The Vip ImageLink Viewer window opens with an image of the document you selected.

Toolkit and server settings, login defaults, restrictions and compatibility settings are configured on the Docubase Settings tab.
To configure the System Type tab:
1. Click on the Docubase Settings tab.
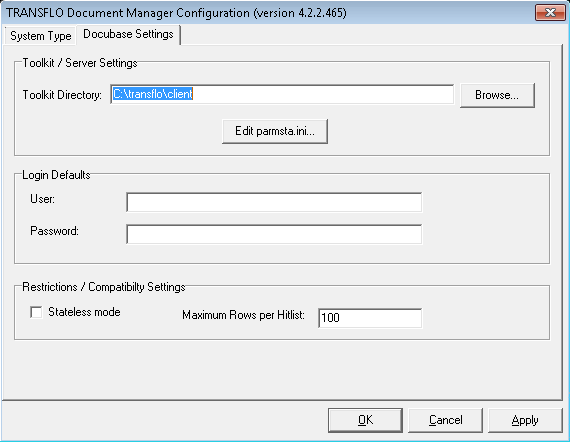
2. Type the path to the Docubase toolkit folder in the Toolkit Directory box in the Toolkit/Server Settings group box, or click the Browse… button to navigate to it.
3. To edit the parmsta.ini file click the Edit parmsta.ini… button, and modify the file in the default text editor.
4. Some applications that use the Document Manager component use the default user name and password to login to Docubase.
Enter the default user name and password in the User and Password boxes respectively.
5. In the Restrictions/Compatibility Settings group box check the Stateless mode check box if the application using the Document Manager component requires stateless operation.
Web applications running in IIS are an example of applications requiring stateless operation.
6. Enter the maximum number of Documents to be returned at a time in the Maximum Rows per Hitlist box.
7. Click OK to save your changes and to close the TRANSFLO® Document Manager Configuration application.