Configure Transflo DMS Document Manager Repository Bridge
Transflo DMS includes its own repository and can operate without a third-party imaging system. To configure Document Manager for the Transflo DMS repository, follow these steps:
-
Click the Start menu and choose All Programs, TRANSFLO, Document Manager Configuration.
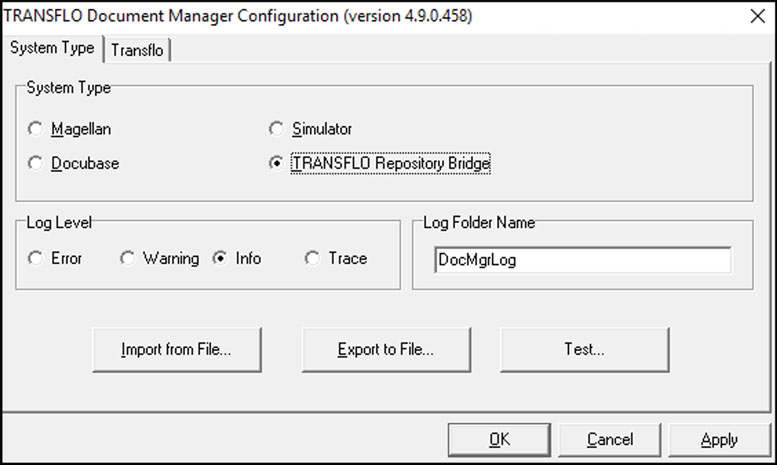
The TRANSFLO Document Manager Configuration window opens on the System Type tab.
-
Select the TRANSFLO Repository Bridge option in the System Type group box.

-
In the Log Level section, select a log level:
-
Error: Errors Only
-
Warning: Errors and Warnings
-
Info: Detailed Logging
-
Trace: Trace Logging
-
-
Enter a name for your log folder in the Log Folder Name box.
The default folder path name for the log folder is:
C:\Program Files (x86)\Pegasus TransTech\<calling application installation folder>\DocMgrLog\
<calling application installation folder> is the application root folder of the application that is using Document Manager.
Example: If the calling application is Rendition Print Service the pathname of the log folder would be:
C:\Program Files (x86)\Pegasus TransTech\Rendition Print Service\DocMgrLog\
-
To import the configuration from an INI file click the Import from File.... To save the configuration to an INI file click the Export to File... button.
-
Navigate to the folder and save it.
-
To test the configuration, click the Test... button.
-
If a message window asks you to apply the changes, click Yes.
-
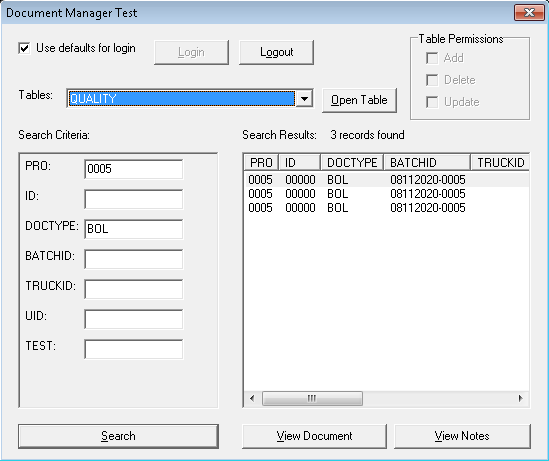
The Document Manager Test window opens.
-
To log in using the default user and password check the Use defaults for login check box and click the Login button.
-
To use a different user, un-check the Use defaults for login check box and click the Login button.
-
-
You will be prompted to enter a User and Password.
-
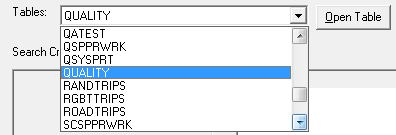
Select a table from the Tables drop down and click the Open Table button.

-
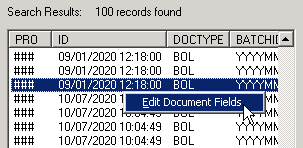
The fields for the selected table open in the Search Criteria pane. Enter search criteria in the boxes next to the fields and click the Search button. The search results open in the right pane.

-
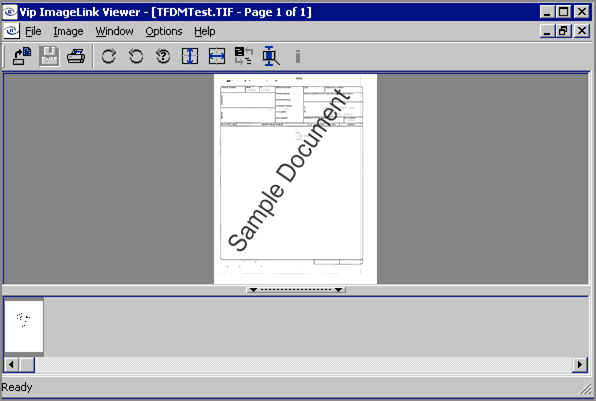
Click on a row in the Search Results pane, and click the View Document button. The Vip ImageLink Viewer window opens, with an image of the document you selected.

Note: The changes you make to your Document Fields will be made directly in your Image Repository database and will not record an activity in the TRANSFLO System.
-
To edit Field data for a Document, right-click the Document row, and select Edit Document Fields.

-
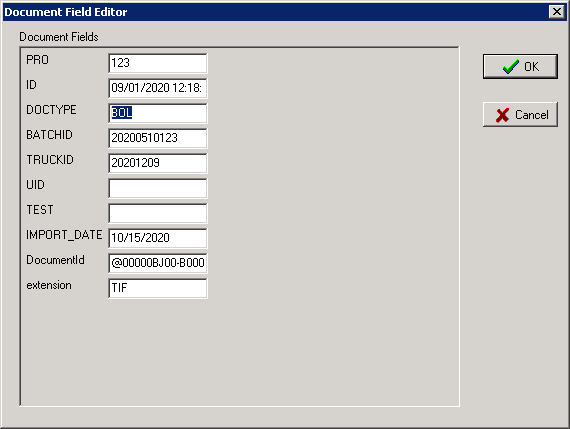
The Document Field Editor window opens. Change the Index Fields value(s) as needed, and click OK to save your changes.

You will not be able to edit IMPORT_DATE, DocumentId, or extension.
-
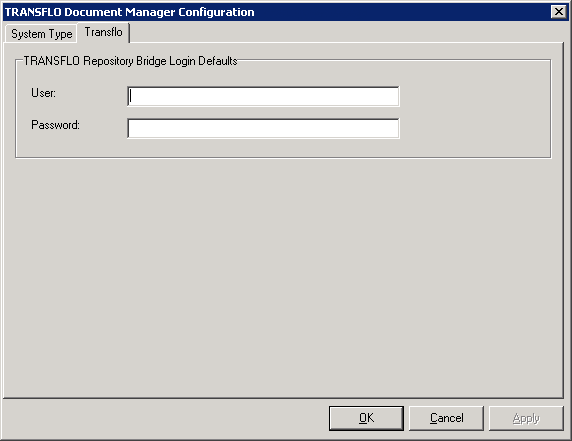
To complete the TRANSFLO Repository Bridge Configuration, click the Transflo tab.

-
Some applications that use the Document Manager component use the default user name and password to log in to TRANSFLO via the TRANSFLO Repository Bridge. Enter the default user name and password in the User and Password boxes respectively.
-
Click OK to save your changes and to close the TRANSFLO® Document Manager Configuration application.