Install Transflo DMS Client Applications
As an administrator, you can install one or more of the following Transflo DMS client applications on a Windows PC for each licensed end-user:
- Barcode Engine
- Batch Scan
- Cache Management
- Capture (Index)
- Field Imaging
- QuickView
- Import
- Index Management
- Index Validation
- Maddox Invoice Interface
- TMW Invoice Interface
To install and configure Workflow client applications and Workflow Studio, see the Transflo Workflow System Administrator Manual.
All Transflo client application installers include the Transflo deployment agent service. As an administrator, you can use the deployment agent service to monitor and update the client application versions installed on client machines.
Important! To install the deployment agent successfully with a client application, the DeploymentAgent Setup.exe file must be in the same location as the client application installer.
The following command line parameters can be used with any Transflo client application installer:
/SILENT
Setup will not display the installation wizard window but will show a window with a progress bar.
/VERYSILENT
Setup will execute in the background and not display any windows.
/DIR=“<path>”
The default directory name will be overridden with the specified path. The path name must be a fully qualified path.
Example:/DIR=“C:\mydirectory”
All Transflo client application installers create a log file during installation in the current user temporary folder. After installation, the installer copies the log file to the application destination or target folder and changes the file name from Setup Log YYYY-MM-DD #NNN.txt to InstallationLogFile.Log.
To access this folder:
-
Enter run in the Microsoft Windows Start menu.
-
Enter the following command in the Open field of the Run application window:
%TEMP%
-
Click OK.
The log file name has the following structure:
Setup Log YYYY-MM-DD #NNN.txt
-
YYYY is a 4-digit year
-
MM is a 2-digit month
-
DD is a 2-digit day
-
NNN is the next available 3-digit sequential number.
McAfee VirusScan users:
-
Prior to installing any client application, ensure that your client machines are running McAfee VirusScan version 8, patch 11 or higher.
-
If the application log is close to being full on a workstation and the product update is run, you will receive an error that the installation can't continue and the install will fail. You will then have to empty the application log and run the product update install again.
To enable Transflo applications to read barcodes, it is necessary to install the Transflo Barcode Engine on any machines where these applications reside.
To install the Transflo Barcode Engine:
-
Open your installation CD, DVD, USB drive, or network volume and run the Transflo Barcode Engine Setup.exe file.
-
After the Welcome window opens, click Next.
-
Setup searches for the required Microsoft .NET Framework which is typically already installed.
-
If it is not installed, the Microsoft .NET Framework installer opens so you can install it.
-
To view the .NET requirements and installation steps, see Third-Party Software.
-
-
The Ready to Install window opens.
-
After reviewing the setup type and target folder information, click Install.
-
Setup completes the installation.
-
Click Finish .
Transflo Batch Scan is used to scan original documents into the Transflo DMS system. Batch index fields can be added during scan time or later from barcodes on the scanned pages. Batch Scan will not run without the required Kofax Adrenaline application. Adrenaline does not need to be installed prior to installing Batch Scan, but must be installed before running Batch Scan.
To install Batch Scan:
-
Open your installation CD, DVD, USB drive, or network volume and run the Batch Scan Setup.exe file.
-
The Welcome window opens. Click Next.
-
Setup searches for the required Microsoft .NET Framework which is typically already installed.
-
If it is not installed, the Microsoft .NET Framework installer opens so you can install it.
-
To view the .NET requirements and installation steps, see Third-Party Software.
-
-
The Select Destination Location window opens. Select a folder where Batch Scan will be installed.
-
To accept the default installation path shown in the Destination Folder field, click Next.
-
To install to a different folder, click the Browse button. In the Browse for Folder window, navigate to your preferred installation folder and click OK. The updated installation path appears.
-
-
Click Next.
-
In the Ready to Install window, review the destination location, setup type, and selected components.
-
If the information is not correct, click Back to return to the previous steps and make the necessary changes.
-
When the information is correct and you are ready, click Install.
-
-
Setup will complete the installation.
-
To run Batch Scan immediately after installation, select the Run Client Configuration Application check box.
-
Click Finish.
-
If you didn't already install the required Kofax Adrenaline application, install it now.
In order for Transflo client applications to communicate with the Transflo Server, the Transflo Client Configuration application must be properly configured. If you are experiencing connection problems with Transflo Server, you should verify the settings using this application. To access the Transflo Client Configuration application and verify its settings:
-
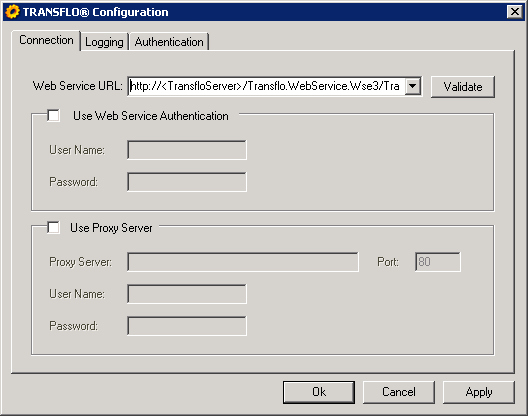
On the Windows server, navigate to TRANSFLO and click Client Configuration. The Connection Tab of the Transflo Client Configuration window opens.

-
To configure the Connection tab:
-
In the Web Service URL drop down, select or type the address of the Transflo Web service being used for communications with Transflo Server. The address must be of the format:
http://<TransfloServer>/Transflo.WebService.Wse3/TransfloWS-wse3.asmx
<TransfloServer> is the name of your Transflo Server.
-
Click Validate to ensure that the connection is active.
-
If your Transflo Server installation requires authentication, select the Authenticated Access check box and type the appropriate user name and password in the fields provided.
-
If the local computer connects to the Internet via a proxy server, select the Use Proxy Server check box and type the proxy server address, connection port number, user name, and password in the fields provided.
-
When you have finished entering or verifying connection information, click Apply.
-
-
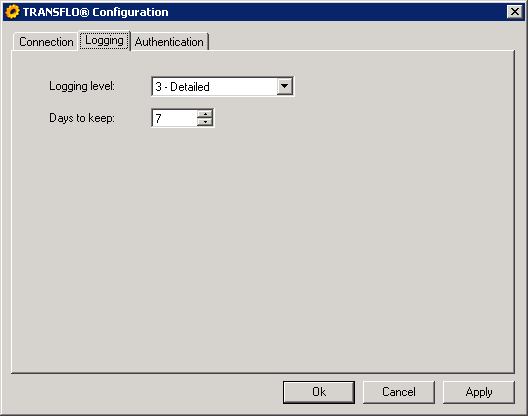
To enter or verify the logging settings that should be used for Transflo applications, click the Logging tab of the Transflo Client Configuration window.

-
Expand the Logging Level list and click the desired level of complexity for logged events.
-
In the “Days to keep” field, enter the number of days that events should remain in the log before being erased.
-
When you have finished configuring the logging settings for your Transflo client applications, click Apply to save your changes.
-
-
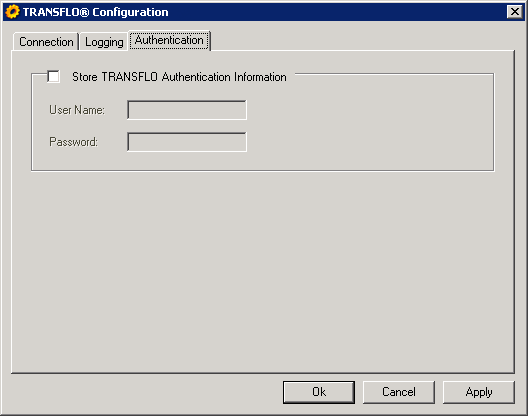
To use Transflo authentication, click the Authentication tab of the Transflo Client Configuration window, select the “Store Transflo Authentication Information” check box, and enter a User Name and Password in the corresponding fields.

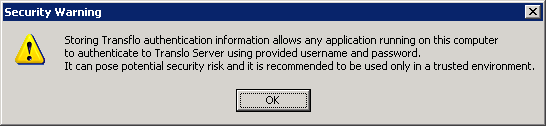
The following warning appears:

Note: This is not recommended because it poses the security risk that any application running on the client machine can access your Transflo Server including the Data stored on the Server.
-
When you have finished configuring your Transflo Client Configuration, click OK.
The Transflo Capture application is used to add Index Field data to Documents in your Transflo system. This data can be entered manually, or can be automated using the Autoprocess feature so that only exceptions have to be entered manually.
To install Transflo Capture:
-
Open your installation CD, DVD, USB drive, or network volume and run the Transflo Capture Setup.exe file.
-
The Welcome to the Transflo Capture Setup Wizard window opens. Click Next.
-
Setup searches for the required Microsoft .NET Framework which is typically already installed.
-
If it is not installed, the Microsoft .NET Framework installer opens so you can install it.
-
To view the .NET requirements and installation steps, see Third-Party Software.
-
-
The Select Destination Location window opens.
-
Select the folder where Capture will be installed. To accept the default installation path shown in the box, click Next. To install to a different folder, click the Browse button. In the Browse For Folder dialog box that opens, navigate to the desired installation folder and click OK. The updated installation path is displayed in the Destination Folder area.
-
Click Next. The Ready to Install window opens. Review the “Destination location”, “Setup type”, and “Selected components” information.
-
If the information is not correct, click Back to return to the previous steps and make the necessary changes. If the information is correct, click Install. Setup will complete the installation. This may take a few moments. When the installation is complete, the “Completing the Transflo Capture Setup Wizard” window opens. Click Finish to conclude the installation process.
To install Transflo Field Imaging:
-
Open your installation CD, DVD, USB drive, or network volume and run the Transflo Field Imaging Setup.exe file.
-
The Welcome to the Transflo Field Imaging Setup Wizard window opens. Click Next.
-
Setup searches for the required Microsoft .NET Framework which is typically already installed.
-
If it is not installed, the Microsoft .NET Framework installer opens so you can install it.
-
To view the .NET requirements and installation steps, see Third-Party Software.
-
-
The Choose Destination Location window opens. Select the folder where Field Imaging will be installed.
-
To accept the default installation path shown in the text box, click Next.
-
To install to a different folder, click the Browse button.
-
In the Browse For Folder dialog box that opens, navigate to the desired installation folder and click OK.
-
The updated installation path is displayed in the Destination Folder area.
-
Click Next.
-
-
-
In the Ready to Install window, review the destination location, setup type, and selected components.
-
If the information is not correct, click Back to return to the previous steps and make the necessary changes.
-
If the information is correct, click Install. Setup will complete the installation. This may take a few moments.
-
When installation is complete, the “Completing the Transflo Field Imaging Setup Wizard” window opens. Click Finish.
Note: Only Kofax VRS 4.5 or above is supported on 64-bit Windows 7, 8.1, 10, or newer.
Transflo QuickView is used to find Documents in your imaging system. It can also be configured to edit data, notes, and orientation.
To install Transflo QuickView:
-
Open your installation CD, DVD, USB drive, or network volume and run the Transflo QuickView Setup.exe file.
-
The Welcome to the Transflo QuickView Setup Wizard window opens. Click Next.
-
Setup searches for the required Microsoft .NET Framework which is typically already installed.
-
If it is not installed, the Microsoft .NET Framework installer opens so you can install it.
-
To view the .NET requirements and installation steps, see Third-Party Software.
-
-
The Choose Destination Location window opens. Select the folder where QuickView will be installed.
-
To accept the default installation path shown in the text box, click Next.
-
To install to a different folder, click the Browse button. In the Browse For Folder dialog box that opens, navigate to the desired installation folder and click OK. The updated installation path is displayed in the Destination Folder area. 4 Click Next.
-
-
The Ready to Install window opens. 5 Review the “Destination location”, “Setup type”, and “Selected components” information. 6 If the information is not correct, click Back to return to the previous steps and make the necessary changes. If the information is correct, click Next.
7 Click Install to begin installing QuickView. Setup will complete the installation. This may take a few moments.
The “Login - Transflo QuickView” window opens.
8 Type your login credentials, and click OK.
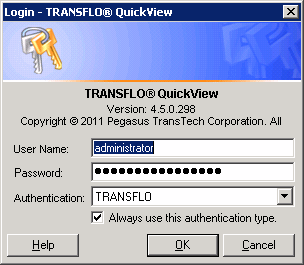
QuickView will be running in the background as a Windows® Tray application.
When installation is complete, the “Completing the Transflo QuickView Setup Wizard” window opens.
9 Click Finish to conclude the installation process.
The Import application is used to send Documents and data to your image repository. It is also used by Workflow to initiate Workflow cases. If you are upgrading your Import installation from an earlier version and you use the Gauss™ VIP Enterprise™ image repository with your Import installation, you must back up your spyview.ini file prior to beginning the Import upgrade, because the existing spyview.ini file will be overwritten.
To install Transflo Import:
-
1 From your installation CD, run Transflo Import Setup.exe.
-
The Welcome to the Transflo Import Setup Wizard window opens. 2 Click Next.
-
Setup searches for the required Microsoft .NET Framework which is typically already installed.
-
If it is not installed, the Microsoft .NET Framework installer opens so you can install it.
-
To view the .NET requirements and installation steps, see Third-Party Software.
-
-
The Ready to Install window opens. 3 Review the “Destination location”, “Setup type”, and “Target folder” information. 4 If the information is not correct, click Back to return to the previous steps and make the necessary changes. If it is correct, click Install. Setup will complete the installation. This may take a few moments. When installation is complete, the “Completing the Transflo Import Setup Wizard” window opens. 5 Click Finish to conclude the installation process.
Transflo Index Validation is used to query third party databases and return Index data to indexing applications such as Transflo Capture.
To install Transflo Index Validation:
-
1 From your installation CD, run the file Transflo Index Validation Setup.exe. The Welcome to the Transflo Index Validation Setup Wizard window opens. 2 Click Next.
-
Setup searches for the required Microsoft .NET Framework which is typically already installed.
-
If it is not installed, the Microsoft .NET Framework installer opens so you can install it.
-
To view the .NET requirements and installation steps, see Third-Party Software.
-
-
The Select Destination Location window opens.
-
Select the folder where Capture will be installed. To accept the default installation path shown in the box, click Next. To install to a different folder, click the Browse button. In the dialog box that opens, navigate to the desired installation folder and click OK. The updated installation path is displayed in the Destination Folder area.
-
Click Next. The Ready to Install window opens.
-
Review the “Destination location”, “Setup type”, and “Selected components” information.
-
If the information is not correct, click Back to return to the previous steps and make the necessary changes. If the information is correct, click Install. Setup will complete the installation. This may take a few moments. When the installation is complete, the “Completing the Transflo Index Validation Setup Wizard” window opens.
-
Click Finish to conclude the installation process.
Use the Advanced Find tool from Gauss to edit index values and delete documents directly from the Gauss 8.7.3 image repository. This tool should not be installed on a regular Windows user PC.
To install the Advanced Find tool on a super user PC:
-
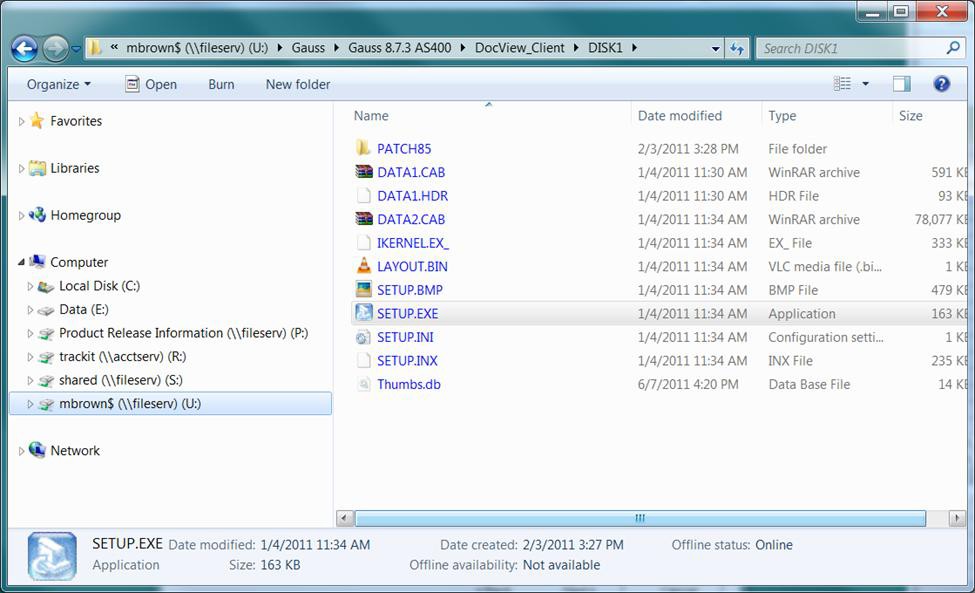
Run the SETUP.EXE file from the DISK1 folder in the DocView_Client installation media.
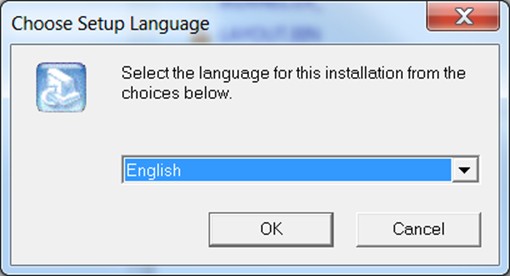
2. The Choose Setup Language window opens.
Select a language from the drop down, and click OK.
3. The installer will prepare to install the Advanced Find tool.
This may take a few moments.
4. The Welcome to the Install Shield Wizard for VIP Doc View window opens.
Click Next.
5. The License Agreement window opens.
Read the license agreement and click Yes.
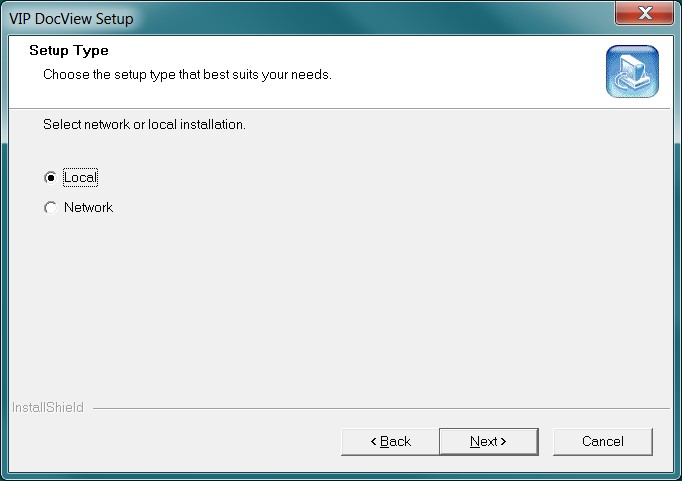
6. The SetupType window opens.
Select the Local radio button, and click Next.
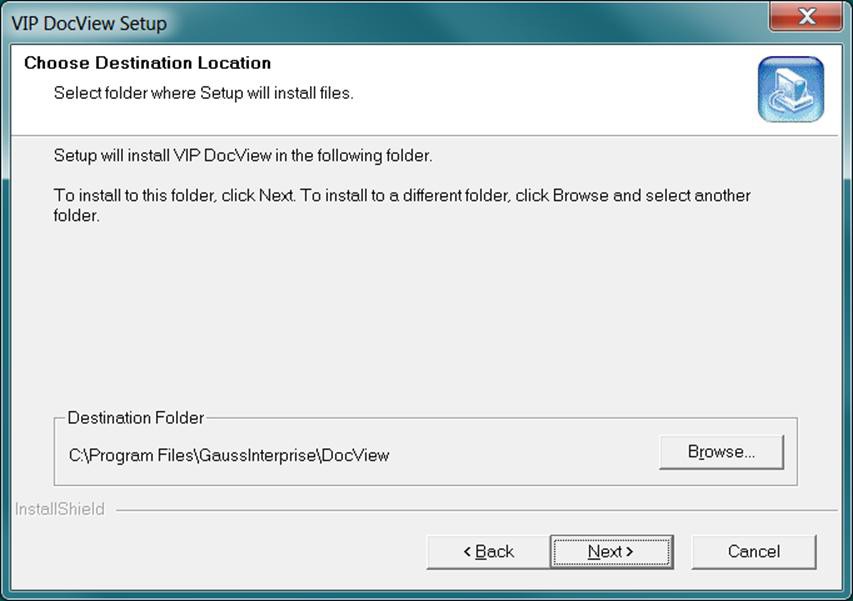
7. The Choose Destination Location folder window opens.
Click Next.
8. The Setup Type window opens.
Select the Custom radio button, and click Next.
9. The SelectComponents window opens.
Check the RevisionControl and Full TextSearch check boxes.
Ensure all other options are not selected.
Click Next.
10. The Local Installation Options window opens.
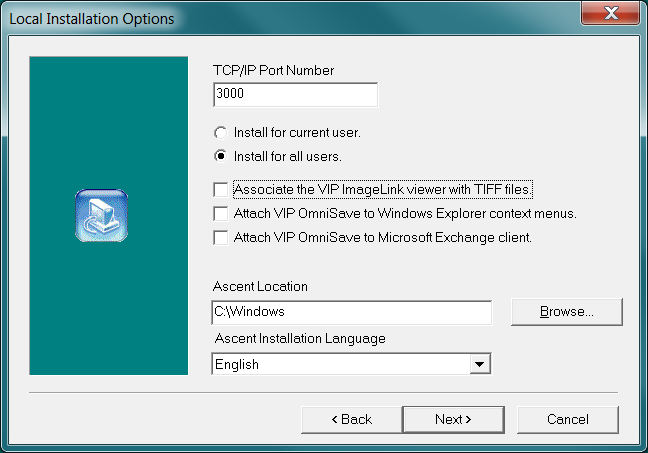
Enter a port number in the TCP/IP Port Number box.
The default TRANSFLO® TCP/IP port is 3000.
-
Select the Install for all users radio button.
-
Un-check all three check boxes.
-
Type “C:\Windows” in the Ascent Location box.
-
Click Next.
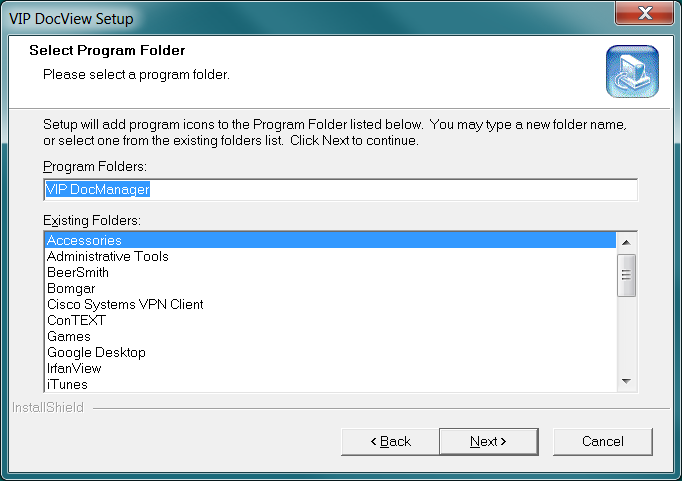
11. The Select Program Folder window opens.
Click Next.
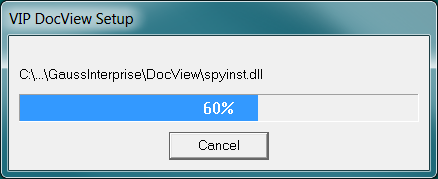
12. Setup will install the program on your machine.
13. The InstallShield Wizard Complete window opens.
Ensure the Yes, I want to restart my computer now radio button is selected.
Click Finish.
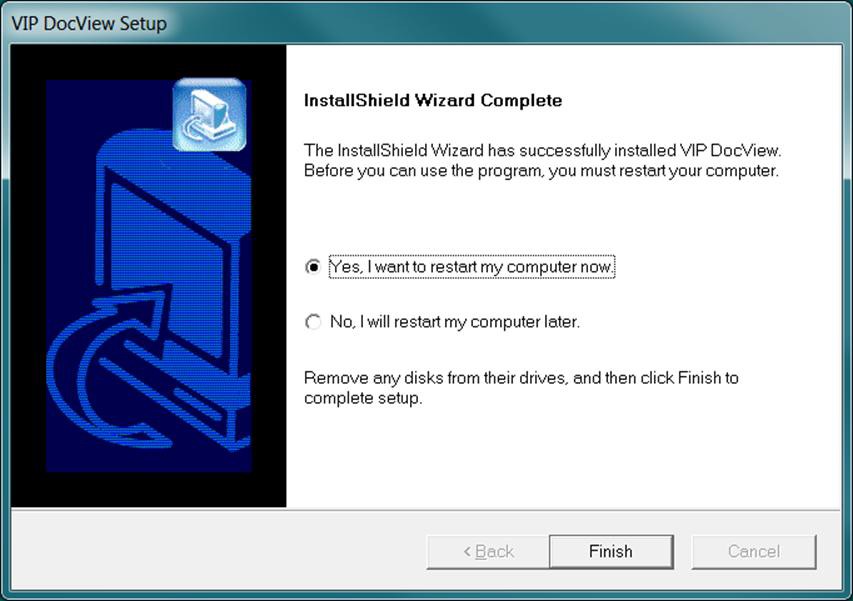
14. Your computer will restart.
15. The Advanced Find tool is installed on your computer.