Configure the Transflo DMS Workflow Web Client
The Workflow Web client has several layers of configuration. It supports separate configurations for each user group and for multiple document classes for each user group.
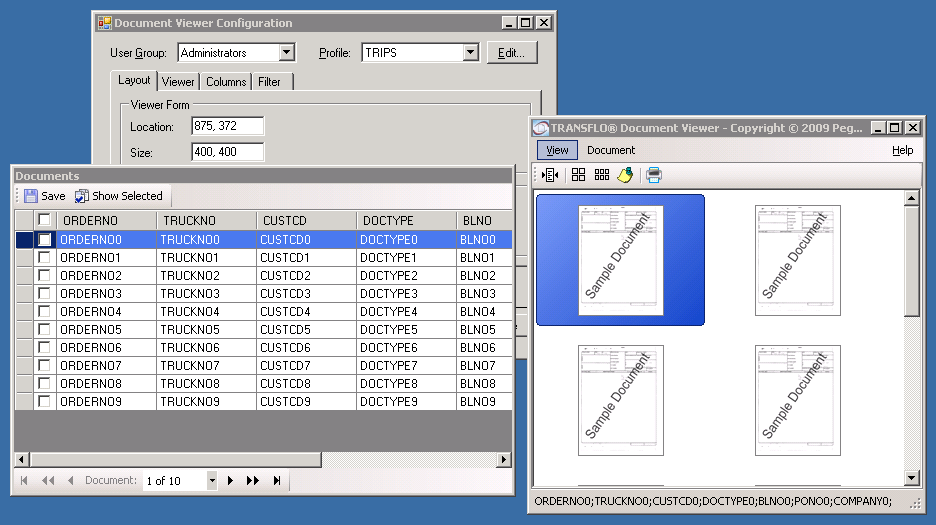
The Document Viewer is composed of two components: the Viewer form and the Documents List. You can set up the default layout for both components. The Viewer can be configured to open in single document or multiple document modes. The Document List fields are also configured with the tool. Configuration is available in two modes: standard and interactive.
Previously limited to Edge, IE, and Firefox browsers, the DMS workflow and workspace browser was updated in early 2024 to support the Google Chrome browser.
Workflow Agent scripts must be configured after you install Workflow Studio, create a process, and publish the process. To configure the Workflow Web Client:
-
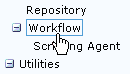
Log in to the TRANSFLO® Administration Tool and click on the Workflow link in the tree view menu.
-
At the bottom of the Workflow Configuration page, click the Workflow Document Viewer Configure... link.

-
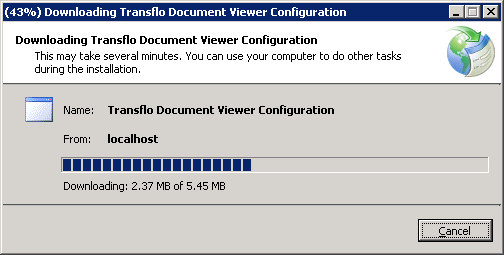
The TRANSFLO® Document Viewer Configuration tool downloads to your computer.

-
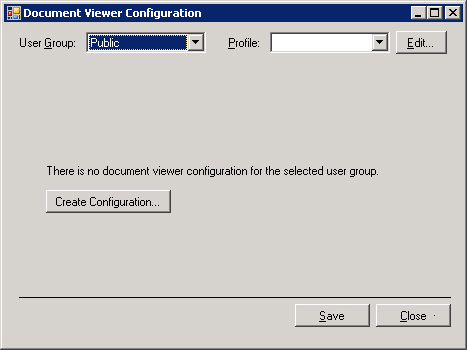
The Document Viewer Configuration utility opens.

-
Select a user group in the User Group drop-down.
-
Create Workflow Profiles and associate them with a Document Class. To create a Workflow Profile for the User Group you selected, click the Edit button next to the Profile drop-down.
-
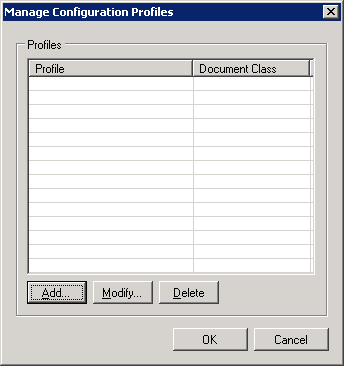
The Manage Configuration Profiles window opens. Click the Add button.
-
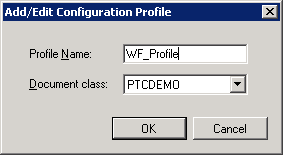
The Add/Edit Configuration Profile window opens.
Enter a name for your profile in the Profile Name text box.
Select the Document Class you want to associate with your new Workflow Profile by selecting a Document Class from the Document class drop-down.
Click OK.
-
If you are using the Gauss document repository and the Document Class you configure does not have any Fields, you will not get an error.
-
Fields from other Document Classes will appear in the configuration. To avoid this from happening, ensure that you have Fields configured for your Document Classes or delete Document Classes that do not have Fields.
-
-
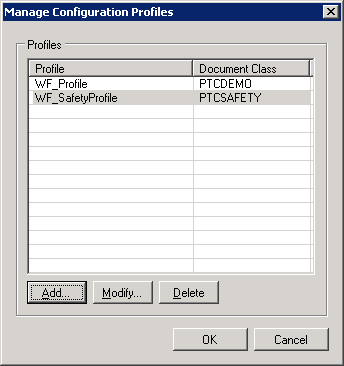
Repeat this process detailed in the previous step until you have created all your Workflow Profiles.
-
You can change the Document Class associated by a Workflow Profile by highlighting it in the Profile List and clicking the Modify... button. You then change the Document Class in the Add/Edit Configuration Profile window.
-
To delete a Workflow Profile highlight it and click the Delete button. You will be prompted with the Confirmation message: “Are you sure you want to delete the selected profile?” Click the Yes button.
-
-
Once you have finished configuring your Workflow Profiles click the OK button on the Manage Configuration Profiles window.
-
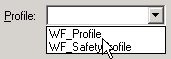
Select the Workflow Profile you want to configure from the Profile drop-down.
-
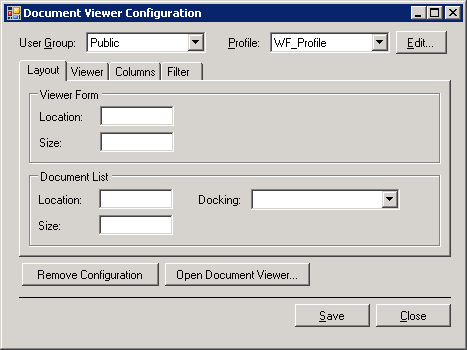
Click the Create Configuration button. The Document Viewer Configuration window opens to the Layout tab.

-
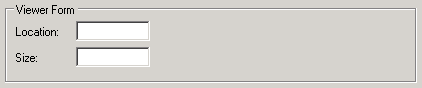
In the Viewer Form group box, configure the default position and size of the Workflow Viewer Form.
-
Enter the X, Y coordinates for the top right hand corner of the Viewer Form in the Location text box. For example, if you want the Viewer Form to be 50 pixels from the left edge of the screen and 100 pixels from the top enter “50, 100” in the Location text box.
-
Insert the Width, Height for the Viewer Form in the Size text box. For example, to set the Viewer form to be 400 pixels wide and 600 pixels high enter “400, 600” in the Size text box.
-
In the Document List group box, set the default position and size of the Document List.
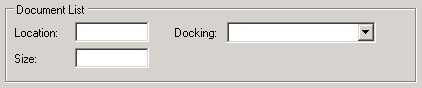
Enter the X, Y coordinates for the top right hand corner of the Document List in the Location text box.
Example: If you want the Document List to be 50 pixels from the left edge of the screen and 100 pixels from the top, enter “50, 100” in the Location text box.
Insert the Width, Height for the Document List in the Size text box.
Example: To configure the Document List to be 400 pixels wide and 600 pixels high, enter 400, 600 in the Size field.
-
Select a docking setting for the document list from the Docking drop down. The available docking options are:
-
Floating: This option keeps the Document List un-docked from any form.
-
DockTopAutoHide: This Docked option docks the Document List at the top of the Viewer Form and hides the Document list but leaves a tab at the top. Hover over the tab to display the Document List.
-
DockLeftAutoHide: This option docks the Document List to the left of the Viewer Form and hides the Document List but leaves a tab at the top. Hover over the tab to display the Document List.
-
DockBottomAutoHide: This option docks the Document List to the bottom of the Viewer Form and hides the Document List but leaves a tab at the top. Hover over the tab to display the Document List.
-
DockRightAutoHide: This option docks the Document List to the right of the Viewer Form and hides the Document List but leaves a tab at the top. Hover over the tab to display the Document List.
-
DockTop: This option docks the Document List at the top of the Viewer Form.
-
DockLeft: This option docks the Document List to the left of the Viewer Form.
-
DockBottom: This option docks the Document List to the bottom of the Viewer Form.
-
DockRight: This option docks the Document List to the right of the Viewer Form.
-
-
-
Click the Save button. As a best practice, after you configure a tab, always save your work.
-
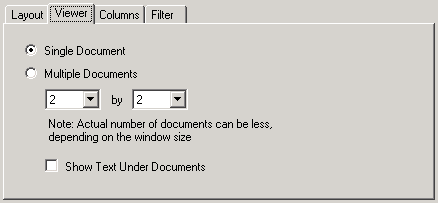
Click the Viewer tab.
-
Select which will be the default view for the Document Viewer Form.
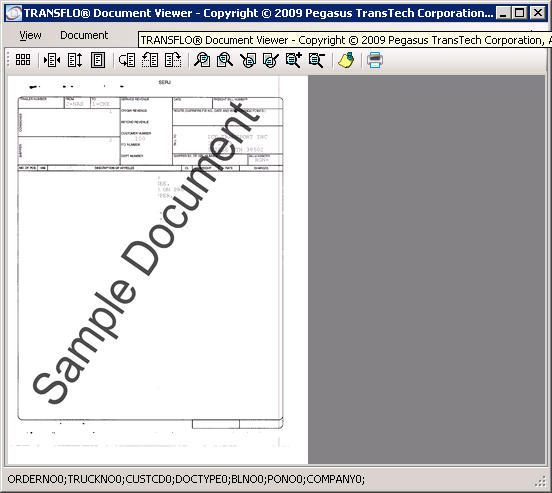
If you wish the Viewer Form to default to only show a single document in fit-to-page format select the Single Document radio button.
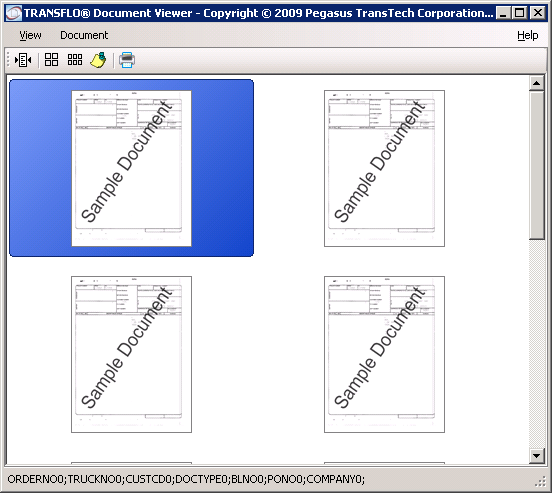
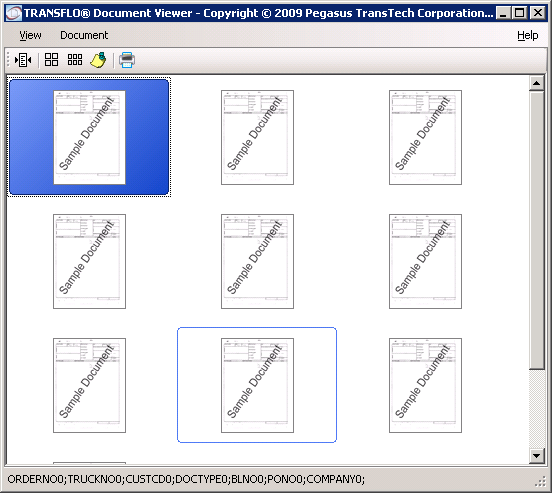
If you wish the Viewer Form to default to show multiple documents, select the Multiple Document radio button and,
-
Select the number of columns of documents that will be displayed in the Viewer Form in the first drop-down.
-
Select the number of rows of documents that will be displayed in the Viewer Form in the second drop-down.
If you wish the Case Key Fields to display beneath the images, check the Show Text Under Documents check box.
-
Click the Save button.
-
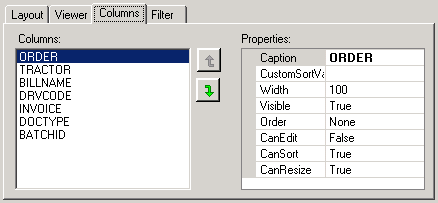
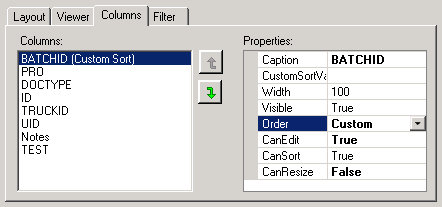
Click the Columns tab.
-
To change the display order of the columns click on a column in the Columns pane and
click on the up arrow
 or down arrow
  until the column is in the position you wish.
 Repeat this until all columns are in the desired display order.
-
For each field configure the column properties as defined in the following table:
Property Definition
Caption
The field name that will be displayed in the column header.
CustomSortValues
Sets the order of values in a column.
This is used if you wish a certain set of values to appear at the top of the list and the remainder to be sorted by the criteria selected by the Order property.
See instructions below.
Width
Width of the column in pixels.
Visible
True indicates that this column will be displayed.
Order
Determines if the Document List will be sorted by this field.
Possible Values:None, Ascending, Descending, or Custom.
Custom must be set if you are using CustomSortValues.
CanEdit
True indicates that this field can be edited by the end user.
CanSort
True indicates that the end user can sort the list by this field.
CanResize
True indicates that the user can change the column width.
-
To configure the CustomSortValues:
-
In the left pane click the column name that you want to add the custom sort to.
-
Select the “Custom” option in the Order property.
-
Click the CustomSortValue property.
An ellipsis appears to the right.
-
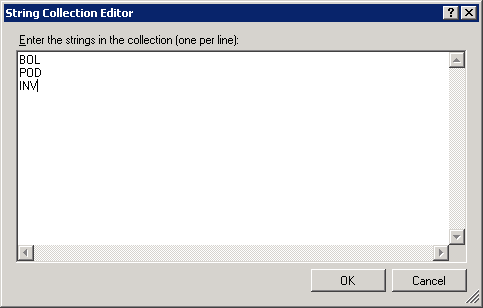
Click on the ellipsis.

-
The String Collection Editor opens.
Enter the sort value list, and click OK.

-
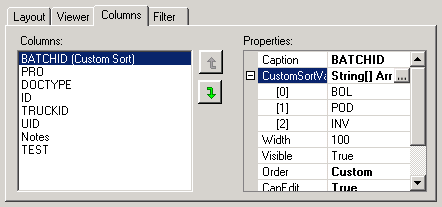
Expand the CustomSortValue property by clicking the + symbol.
The values you entered are shown in the list.

-
-
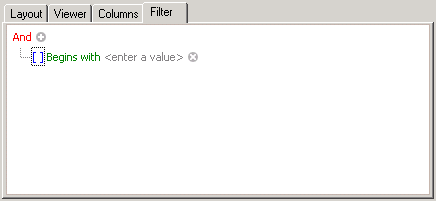
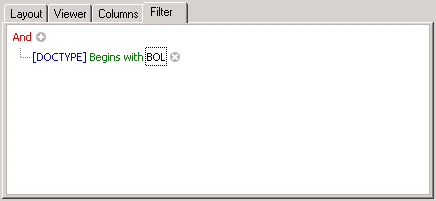
Click the Filter tab. The Filter tab allows you to perform complex filtering using Boolean logic.
-
Click the + icon next to the “And” statement.

-
Double-click on the blue brackets [ ] and select a Field from the list.
-
Click the Begins with operator and select “Equals” from the list.
-
Click <enter a value> and select a filter value from the drop down.
The example below shows a filter that will only show rows where the DOCTYPE Field begins with “BOL”.
-
Click Save.
After the User Group and Document Class have been selected you can configure your Viewer Form and Document List in an interactive mode. This mode is more intuitive than the Standard Document Viewer Configuration.
To configure your Document Viewer interactively,
-
Click on the Open Document Viewer... button.

Note: Do not use the toolbar when using the Interactive Document Viewer Configuration or when testing Document Viewer and Document List functionality.
-
Use a Workflow Client to validate and test your configuration.
-
On the Document List set the size of a column by hovering over its right edge until your cursor changes to a double arrow.
Drag the edge to the desired size.

-
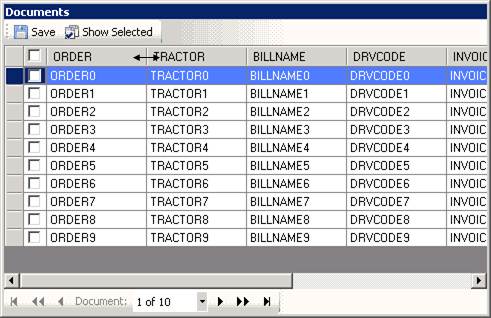
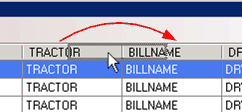
On the Document List click on a column header field to sort the rows. Each click toggles through three (3) possible configuration settings:
-
Sort in ascending order indicated on the header with an up arrow
 .
. -
Sort in descending order indicated on the header with a down arrow
 .
. -
Not sorted indicated on the header with no arrow. When rows are not sorted, they appear in their original sequential order when each row was added.
-
-
To change the order of the columns, drag-and-drop the column headers.

-
On the Viewer Form you can configure the default number of images that the user initially will view.
From the interactive view you can select Single Document, Four Documents and Nine Documents to be the default number of images.
Click on the View Image icon
 to select Single Document as the default.
-
To configure the default view to be a multiple number of Documents, click on the View List of Images
 icon.
icon. -
Click on the View 2x2 icon
 to select Four Documents as the default.
-
Click on the View 3x3 icon
 to select Nine Documents as the default.
-
To close both interactive mode windows close the Document Viewer window.
-
To save your changes, click the Save button in the Document Viewer Configuration window.
You can configure the number of minutes of inactivity before the Web Client browser session times out. This change will affect all users opening the web client so set the timeout period to a reasonable time.
To configure the session timeout do the following:
-
Navigate to the following folder:
C:\inetpub\wwwroot\Transflo.Workflow\JSXAPPS\ipc
-
Open the Config.xml file with Windows® Notepad or another text editor.
-
Locate the following entry:
<record jsxid="SessionMonitor" timeout="30" warning="5" disable="false" type="ipc"></record>
-
Change the timeout value to the number of minutes you want to keep the session open.
-
Save and close the file.
-
Restart the Action Processor.
For troubleshooting purposes you can temporarily override the Document Viewer Log Level from the file system.
To override the log level:
1. With Windows® Explorer, navigate to the log folder.
This typically is C:\Users\Administrator\AppData\Local\Pegasus TransTech\ TRANSFLO®\Transflo.Integration.Controls\4.6\Log.
2. Create a text file in the log folder and rename it to Log.Config.
3. Open the file with a text editor and add the following line to the file:
<Config LogLevel="[Level]" />
where,
[Level] is an integer between 0 and 4 indicating the log level.
The available log levels are:
0-No Logging
1- Errors Only
2- Errors and Warnings
3. Detailed
4. Trace
Example: For the log level to be set to Trace the entry in the Log.Config file will be:
<Config LogLevel="4" />
4. Save and close the Log.Config file.
The log level has changed.
To revert to the default log level, rename the Log.Config file to Log.Config.Old.