Start a Route and Deliver a Load [Loads 1.0]
As a driver, you can start a route to deliver a load for a carrier or broker. Your activity in the mobile plus app automatically changes the load status from Available to Accepted to In-transit to Delivered. For any load, you can also review its chat messages, scanned documents, stops, and maps.
Important! Scroll to the bottom of this KB article to view an important note about new Load Workflow features coming to the Transflo Mobile+ app. The screen examples in this KB article reflect the original classic legacy load features.
-
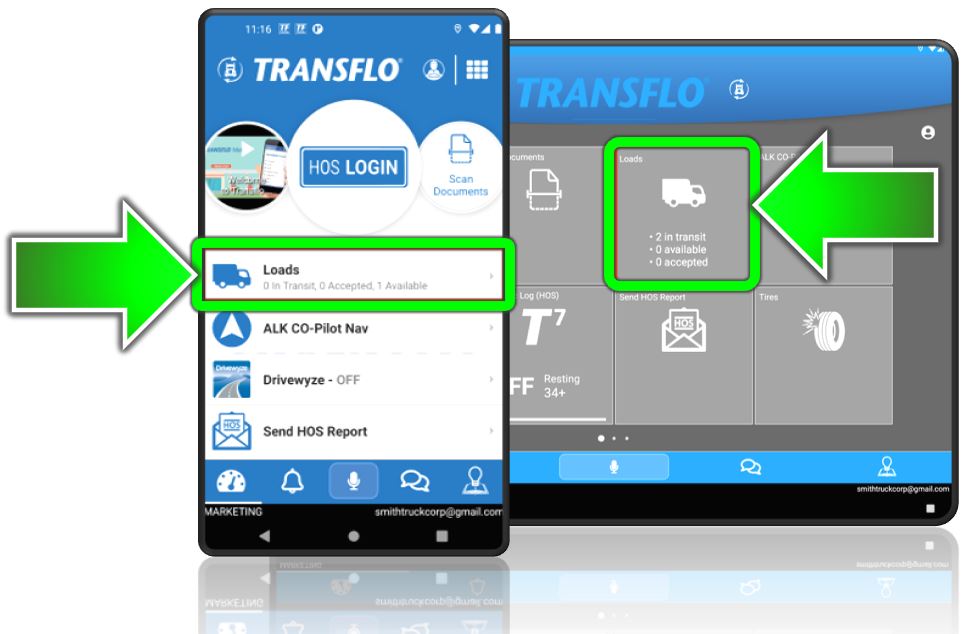
On the Dashboard, tap Loads. Depending on your device and fleet configuration, you might see a Loads menu item, dial, or tile.
-
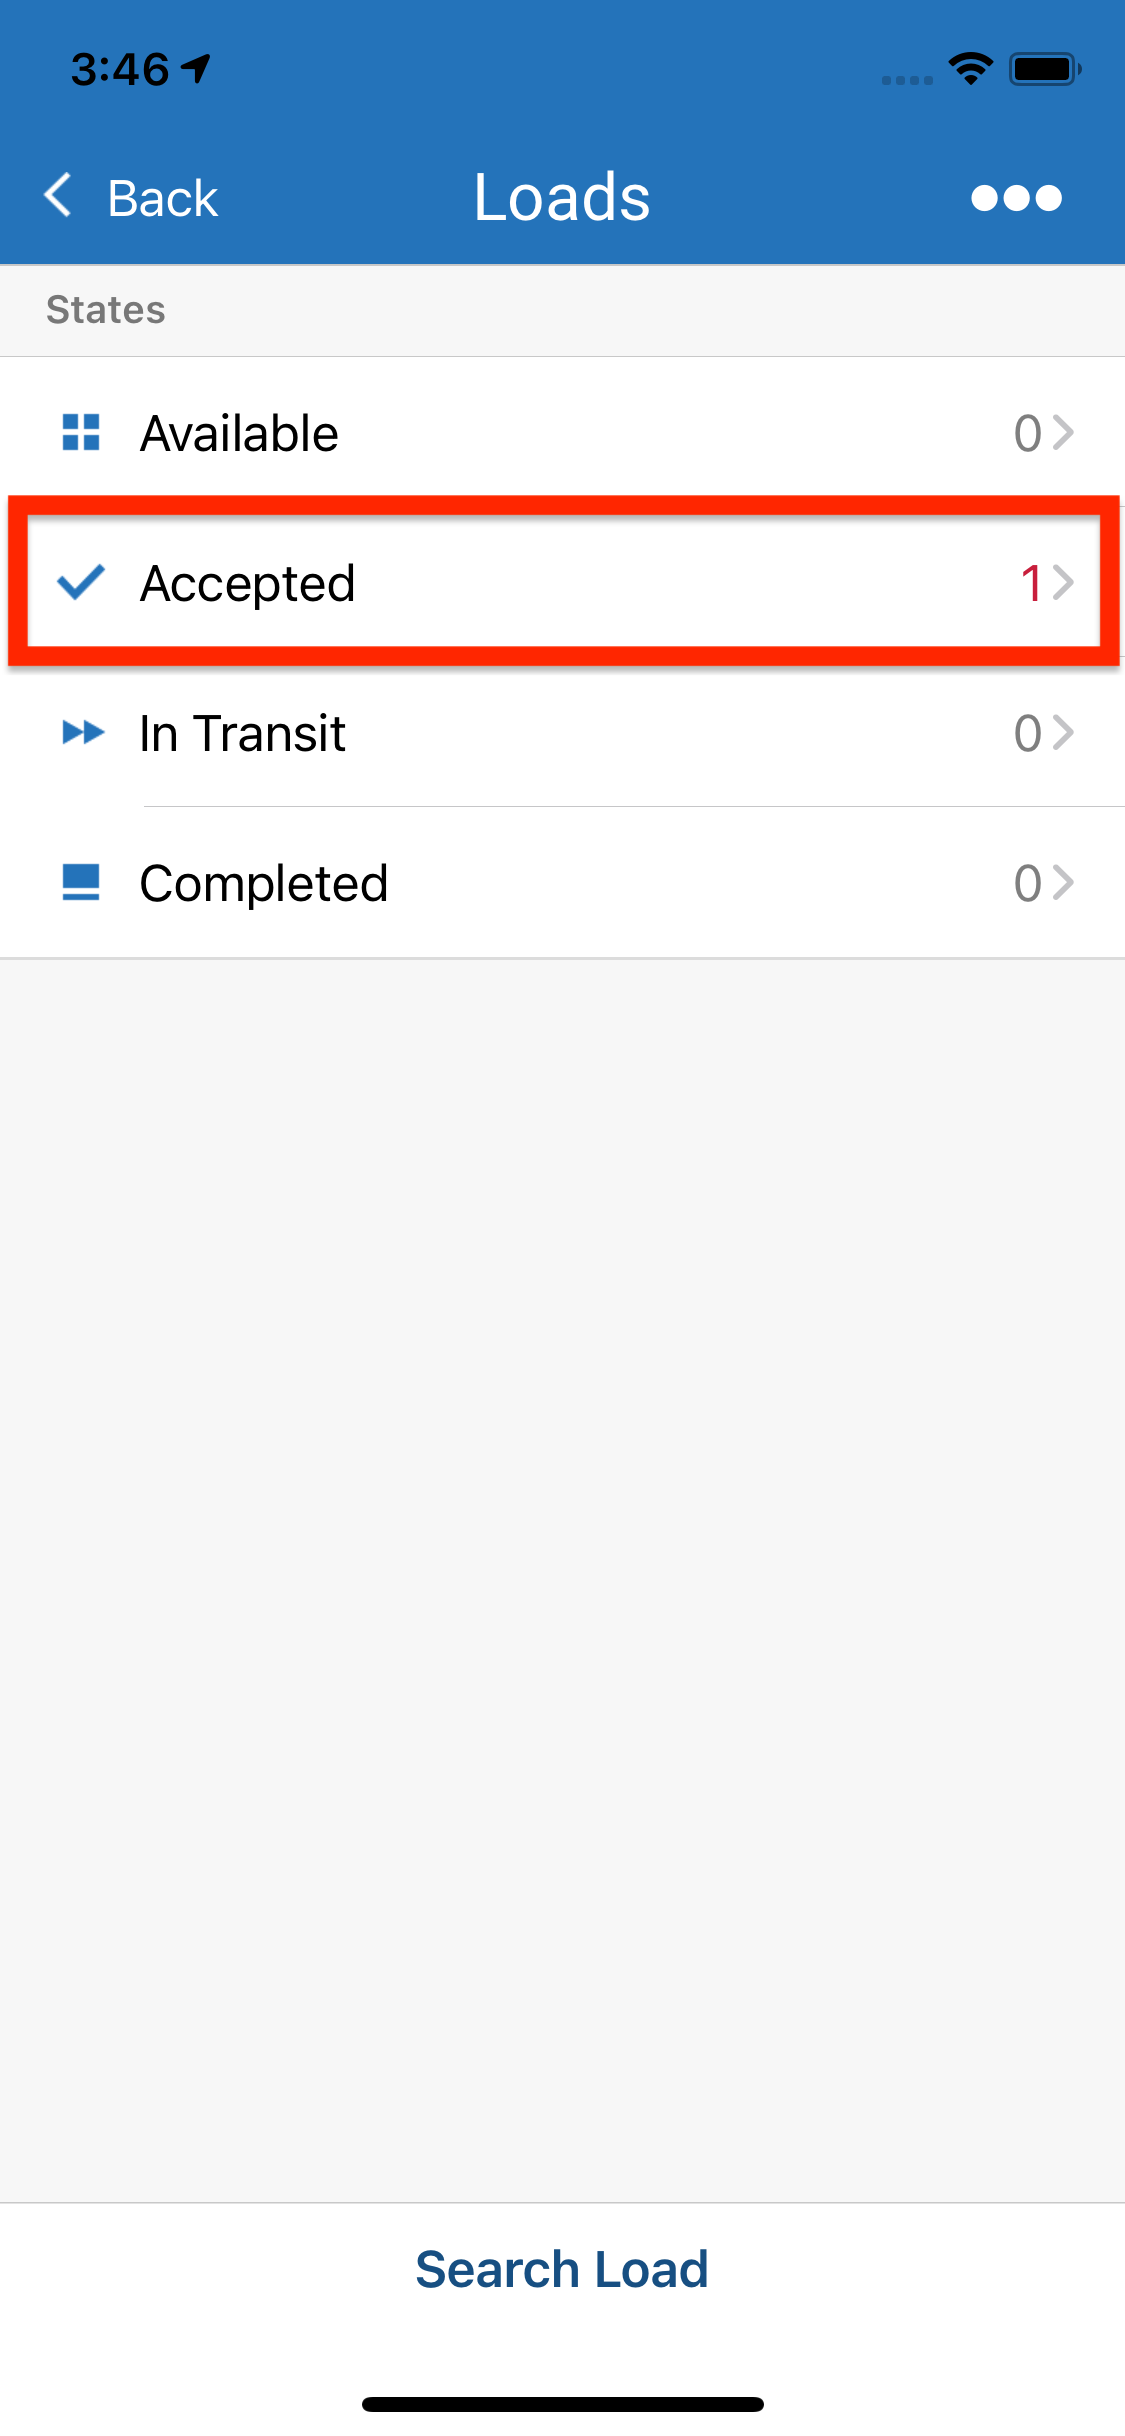
On the Loads screen, tap on the Accepted status tile. Loads that are ready to start and be tracked through delivery show an Accepted status.
-
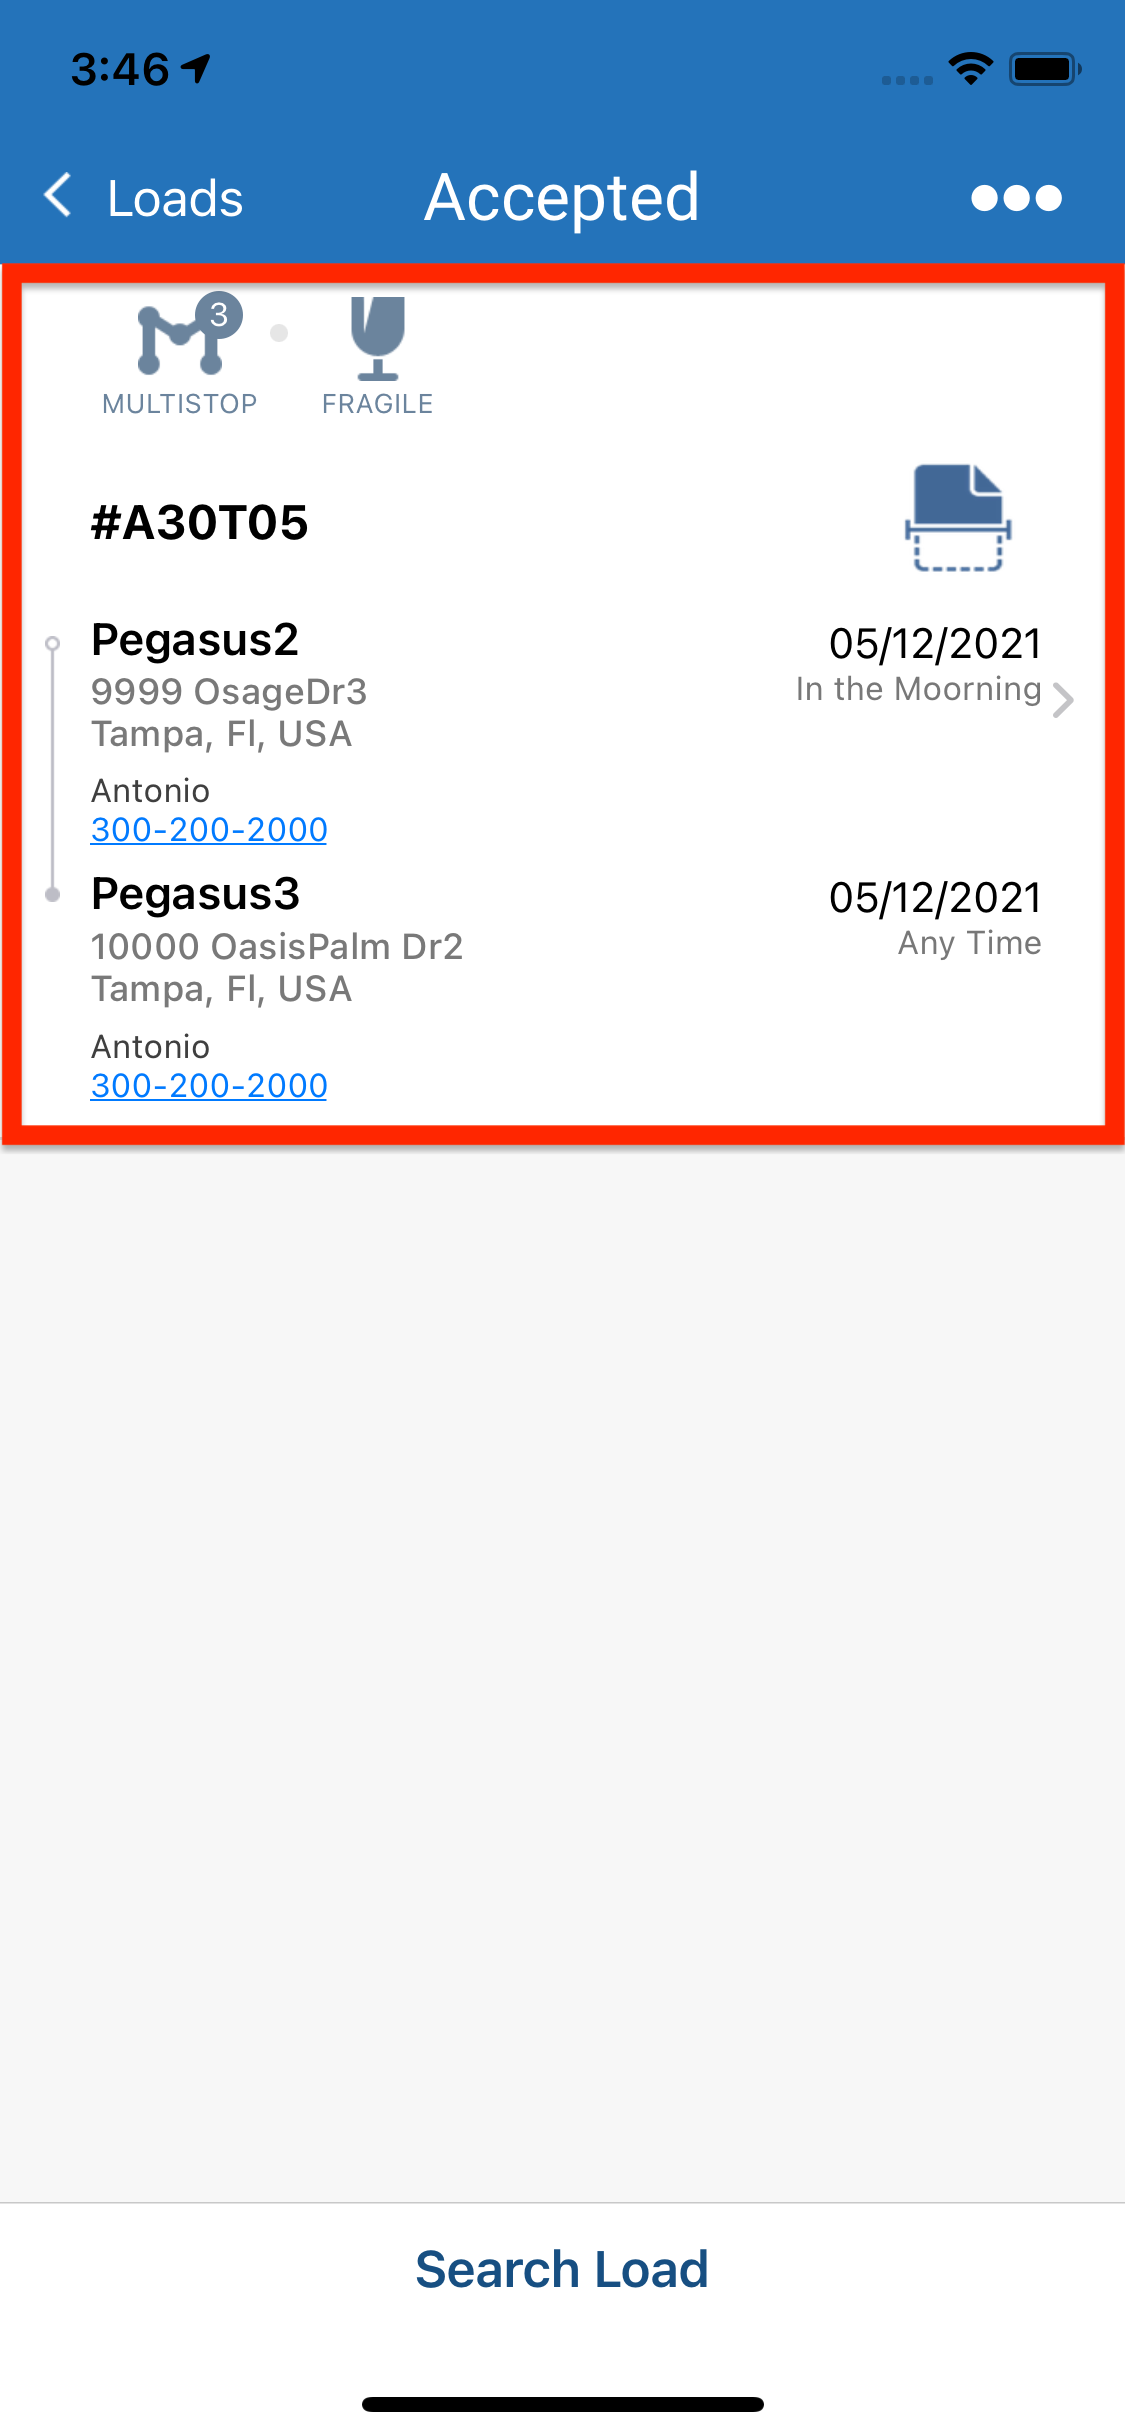
On the Accepted screen, select a load.
-
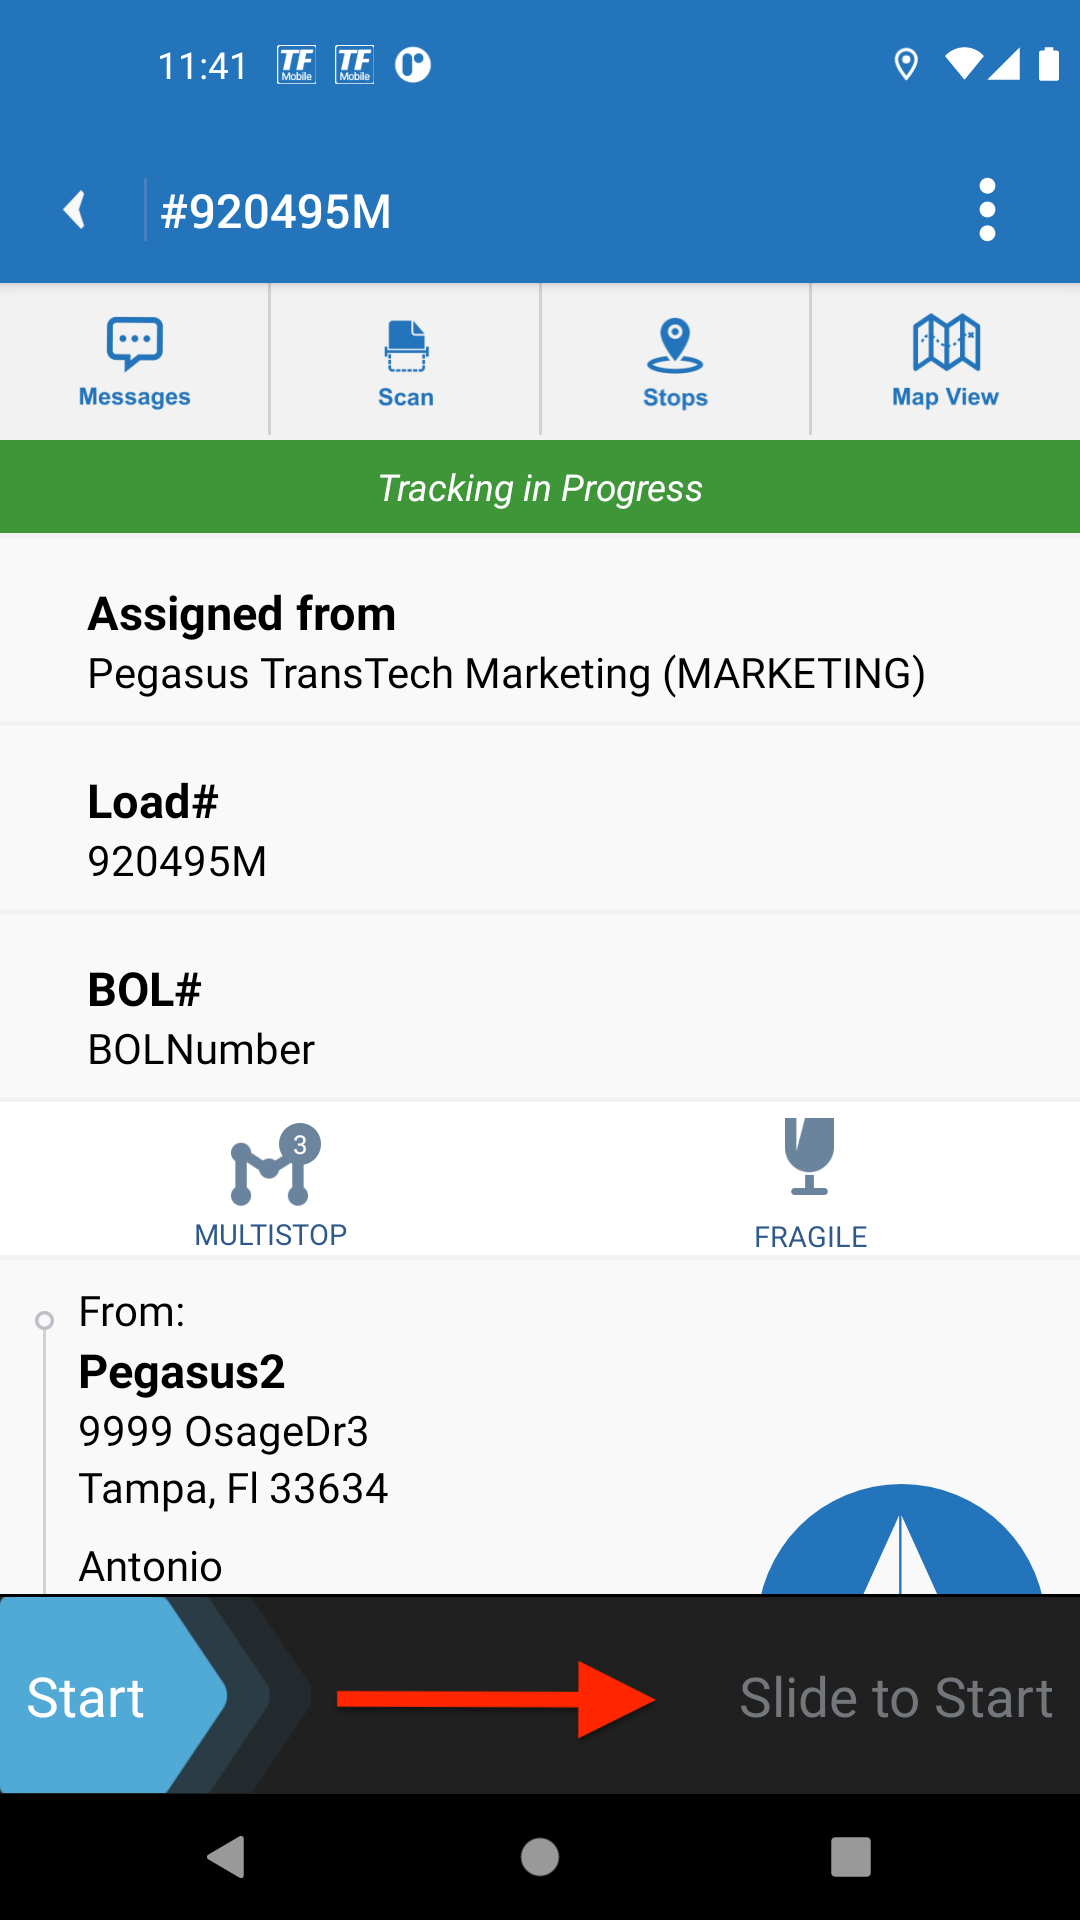
Swipe the Start slider to the right.
-
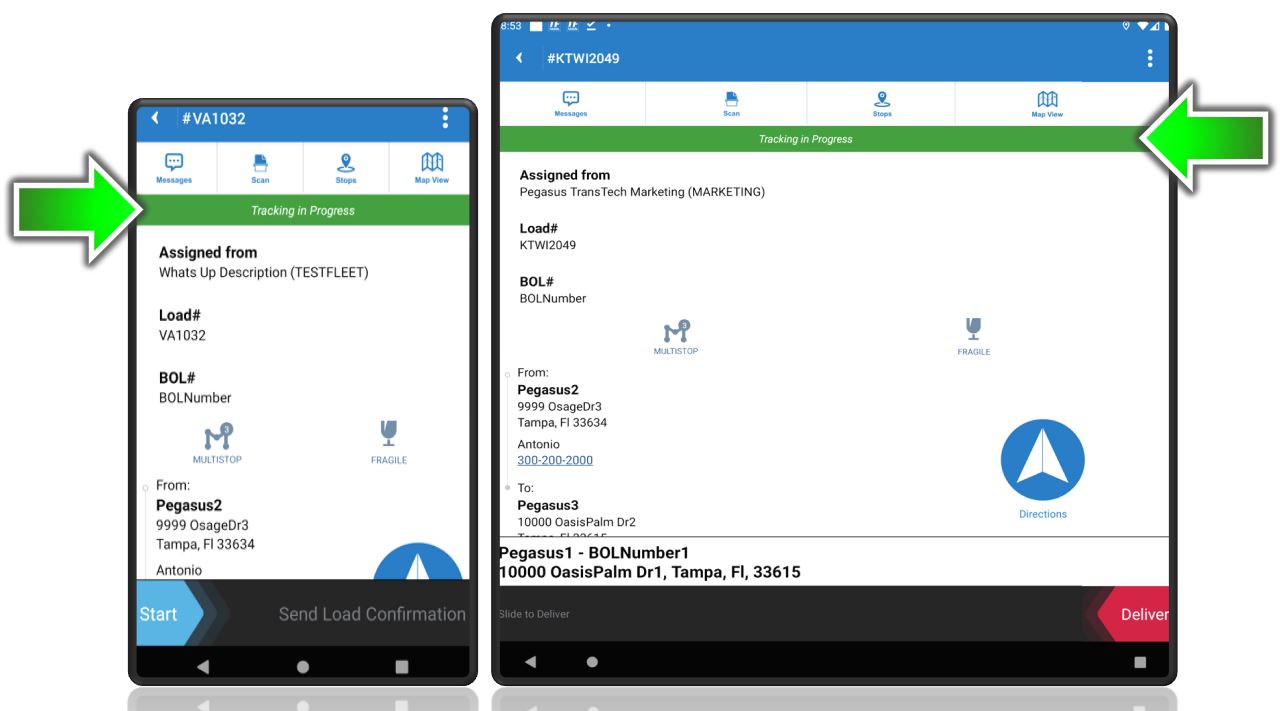
The load status is now In-Transit and is ready to be delivered. Your fleet is notified in the system that you have started a confirmed load. Unless the Allow Location Access and Breadcrumb Tracking features are disabled, the Tracking in Progress message appears.
-
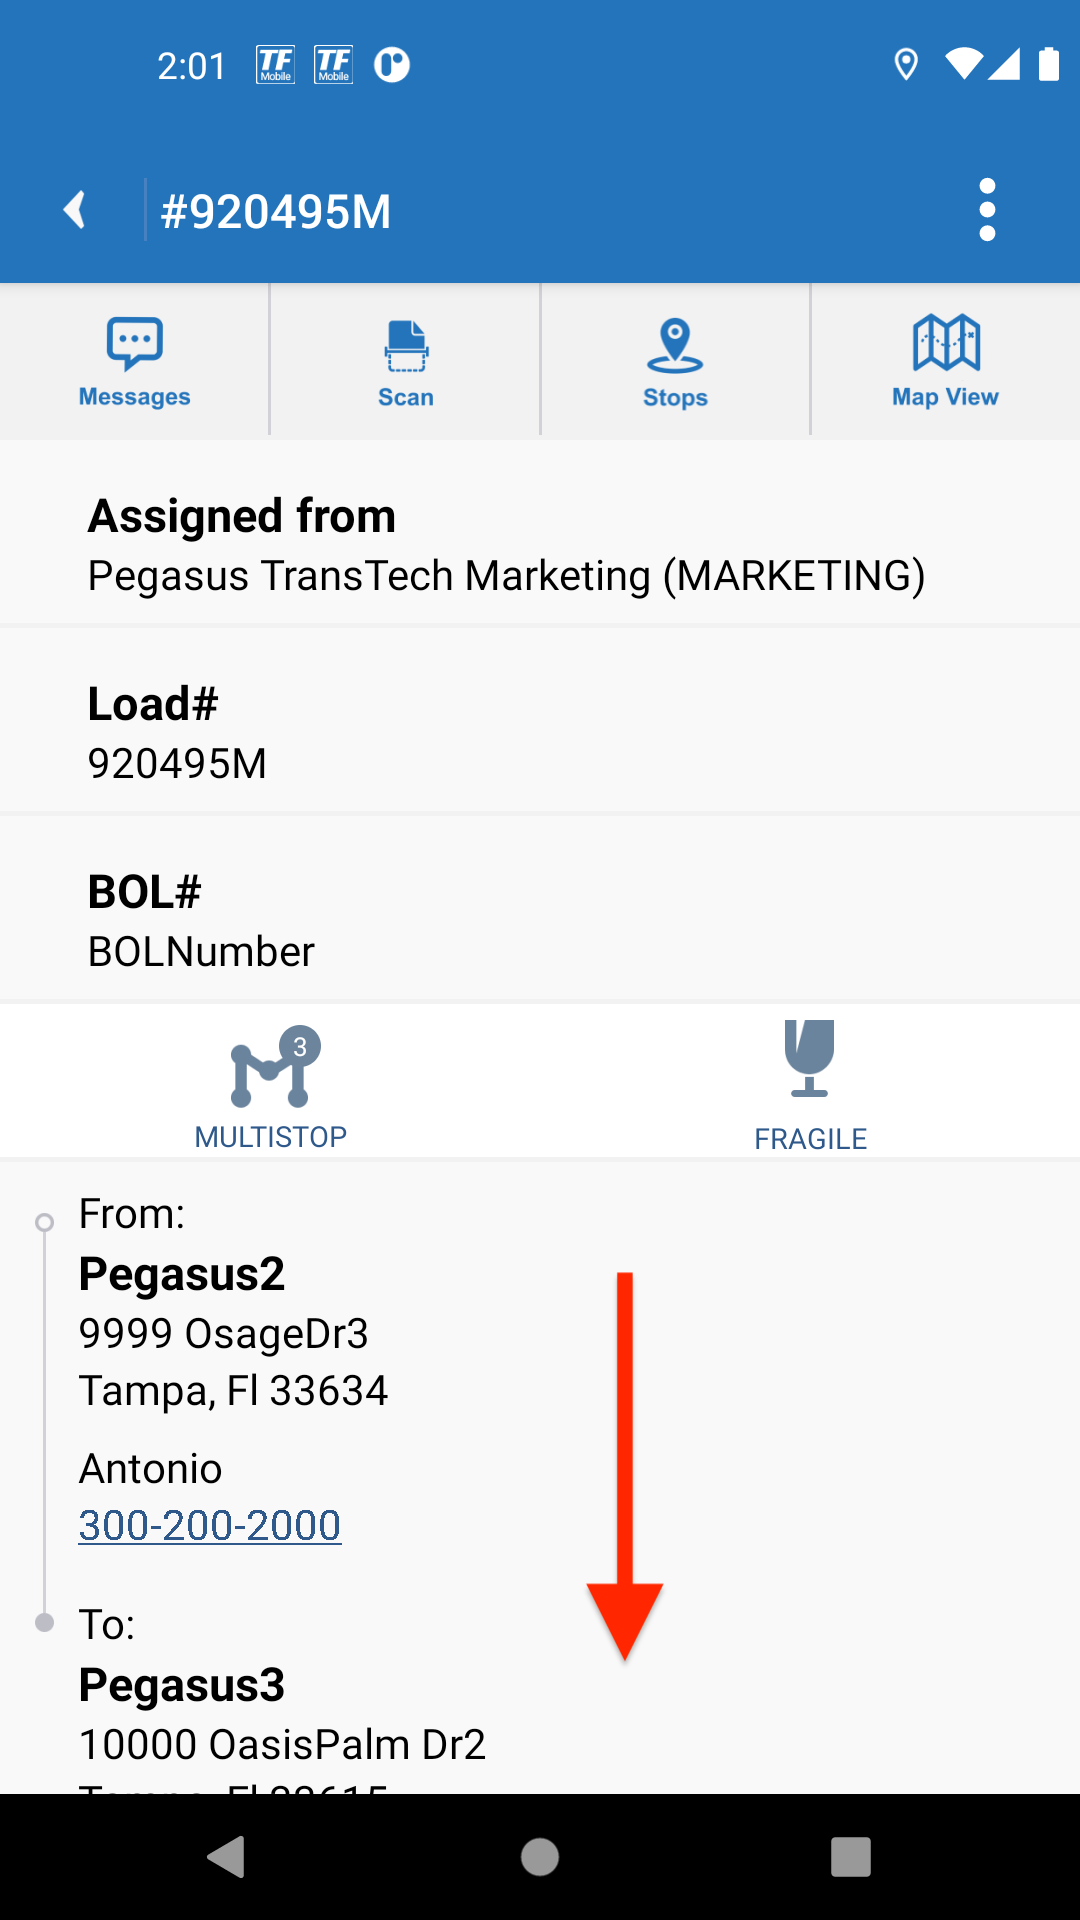
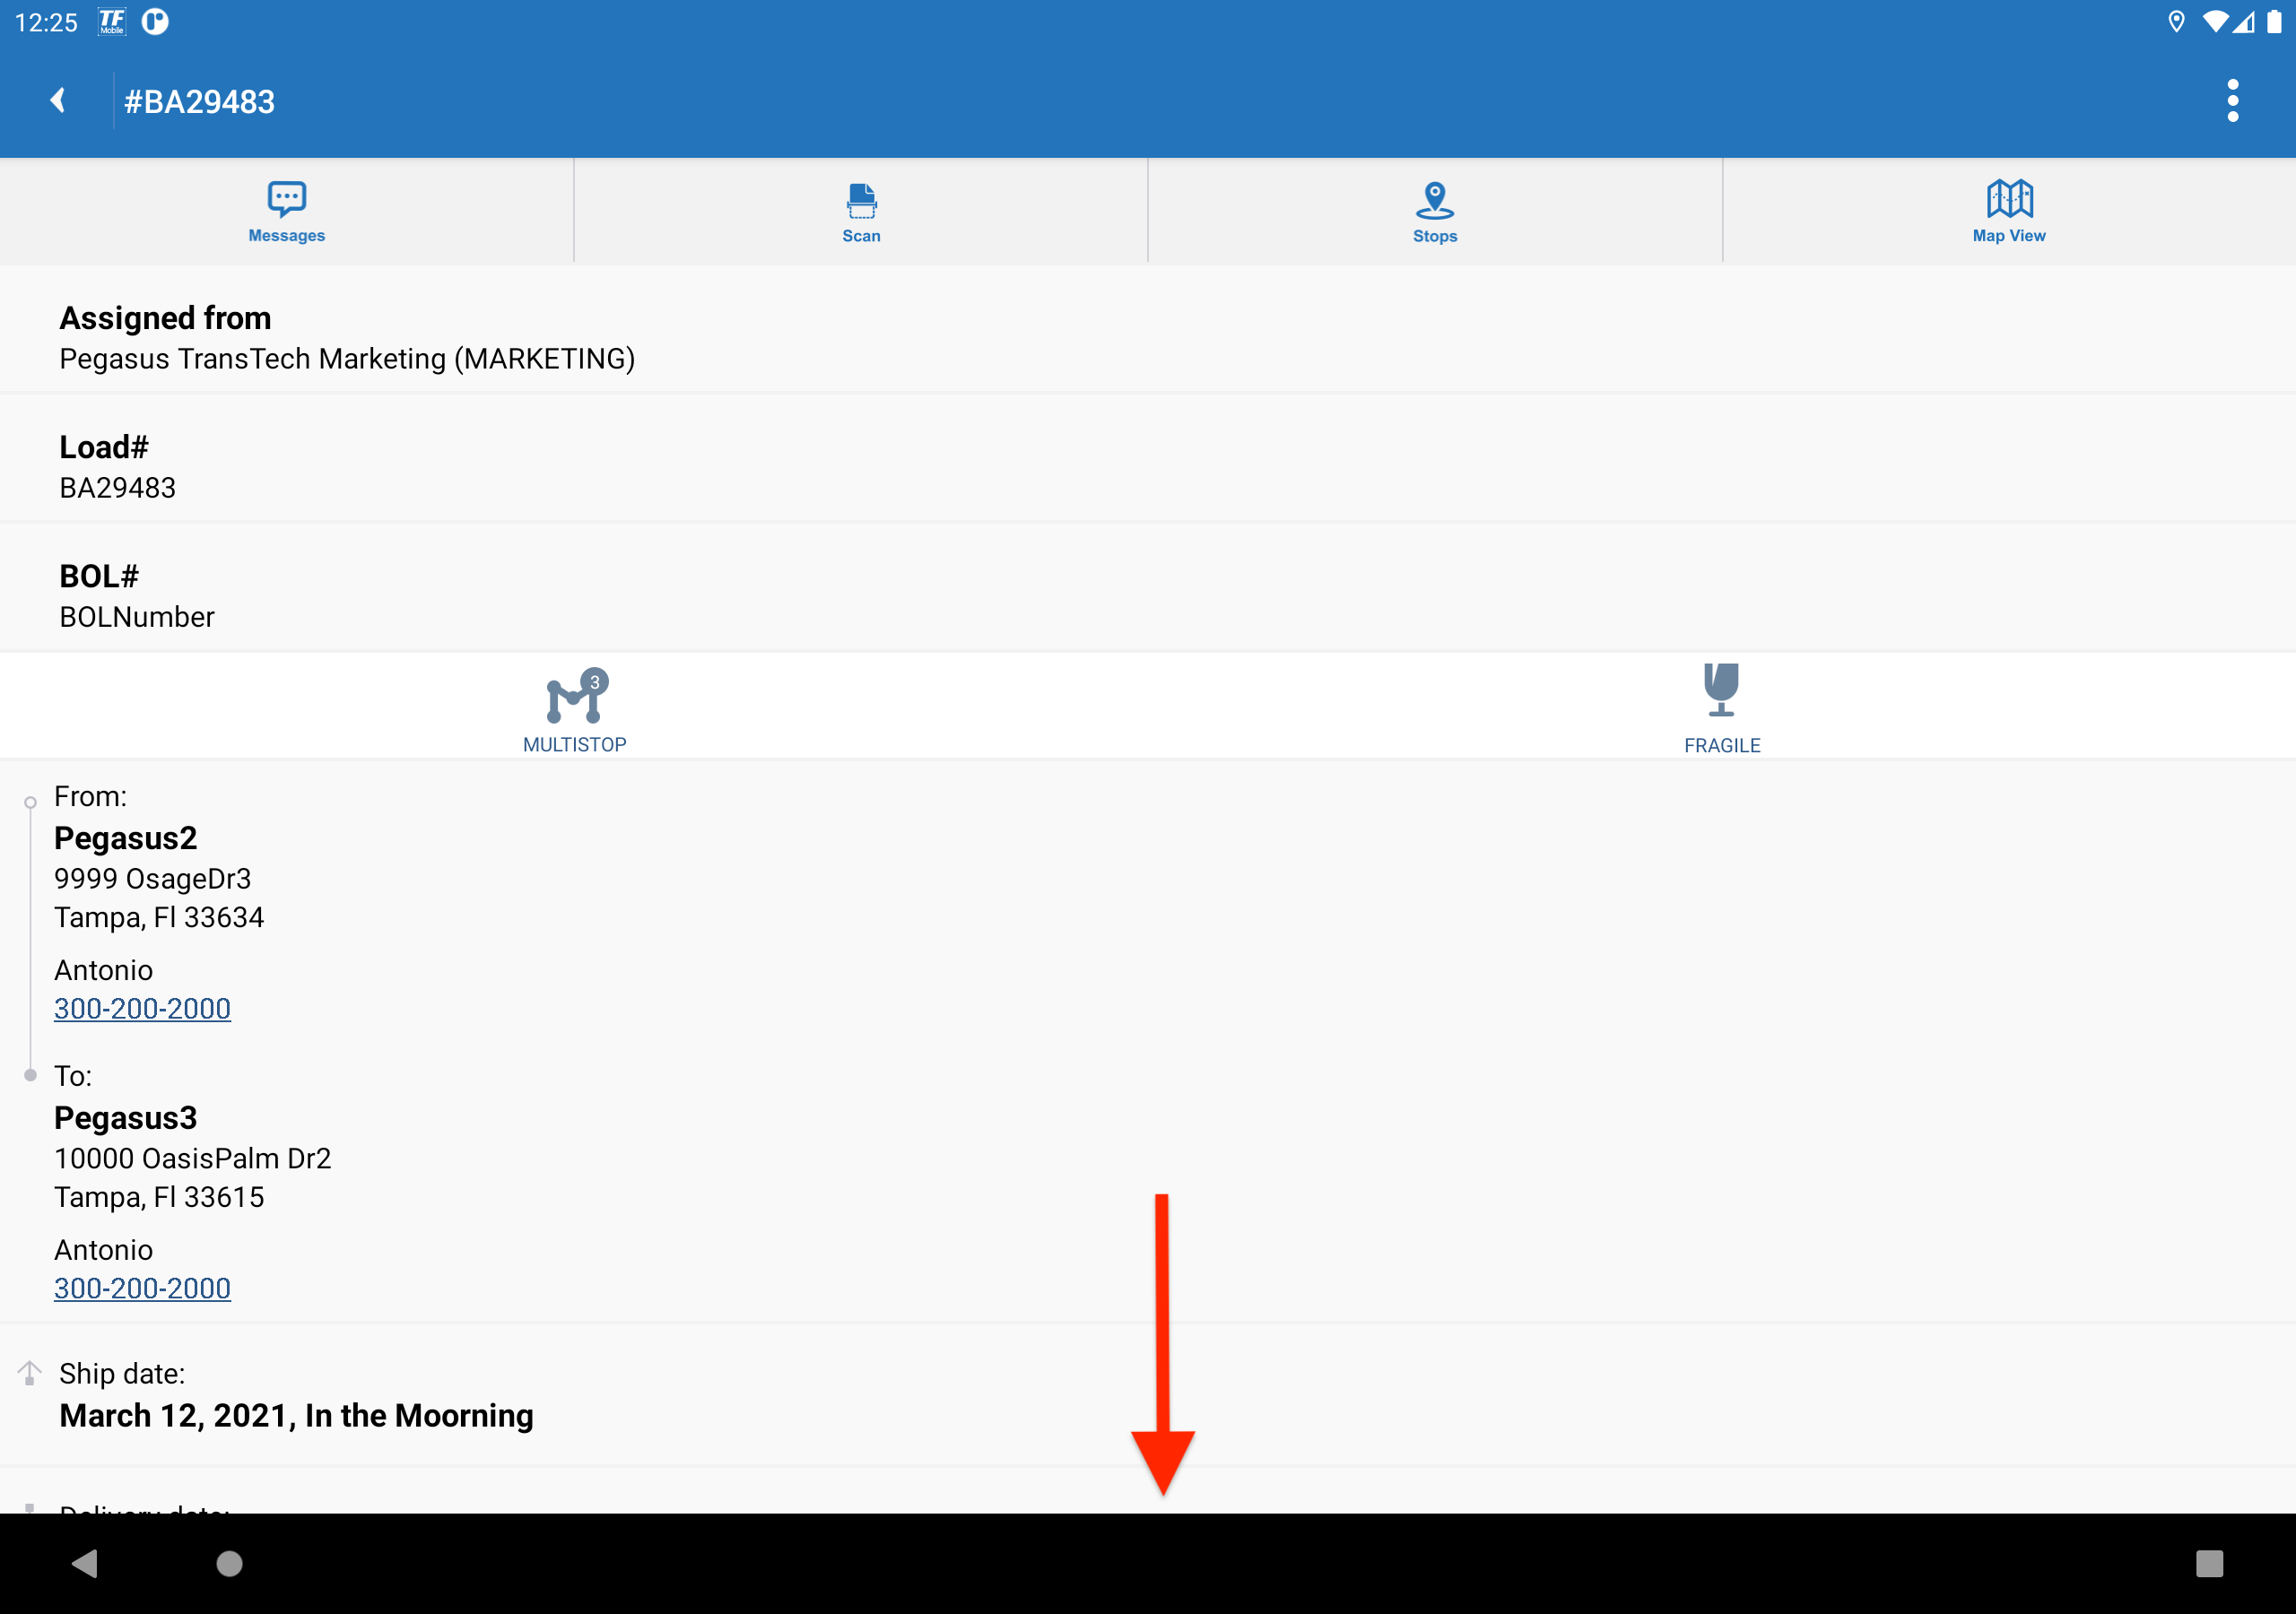
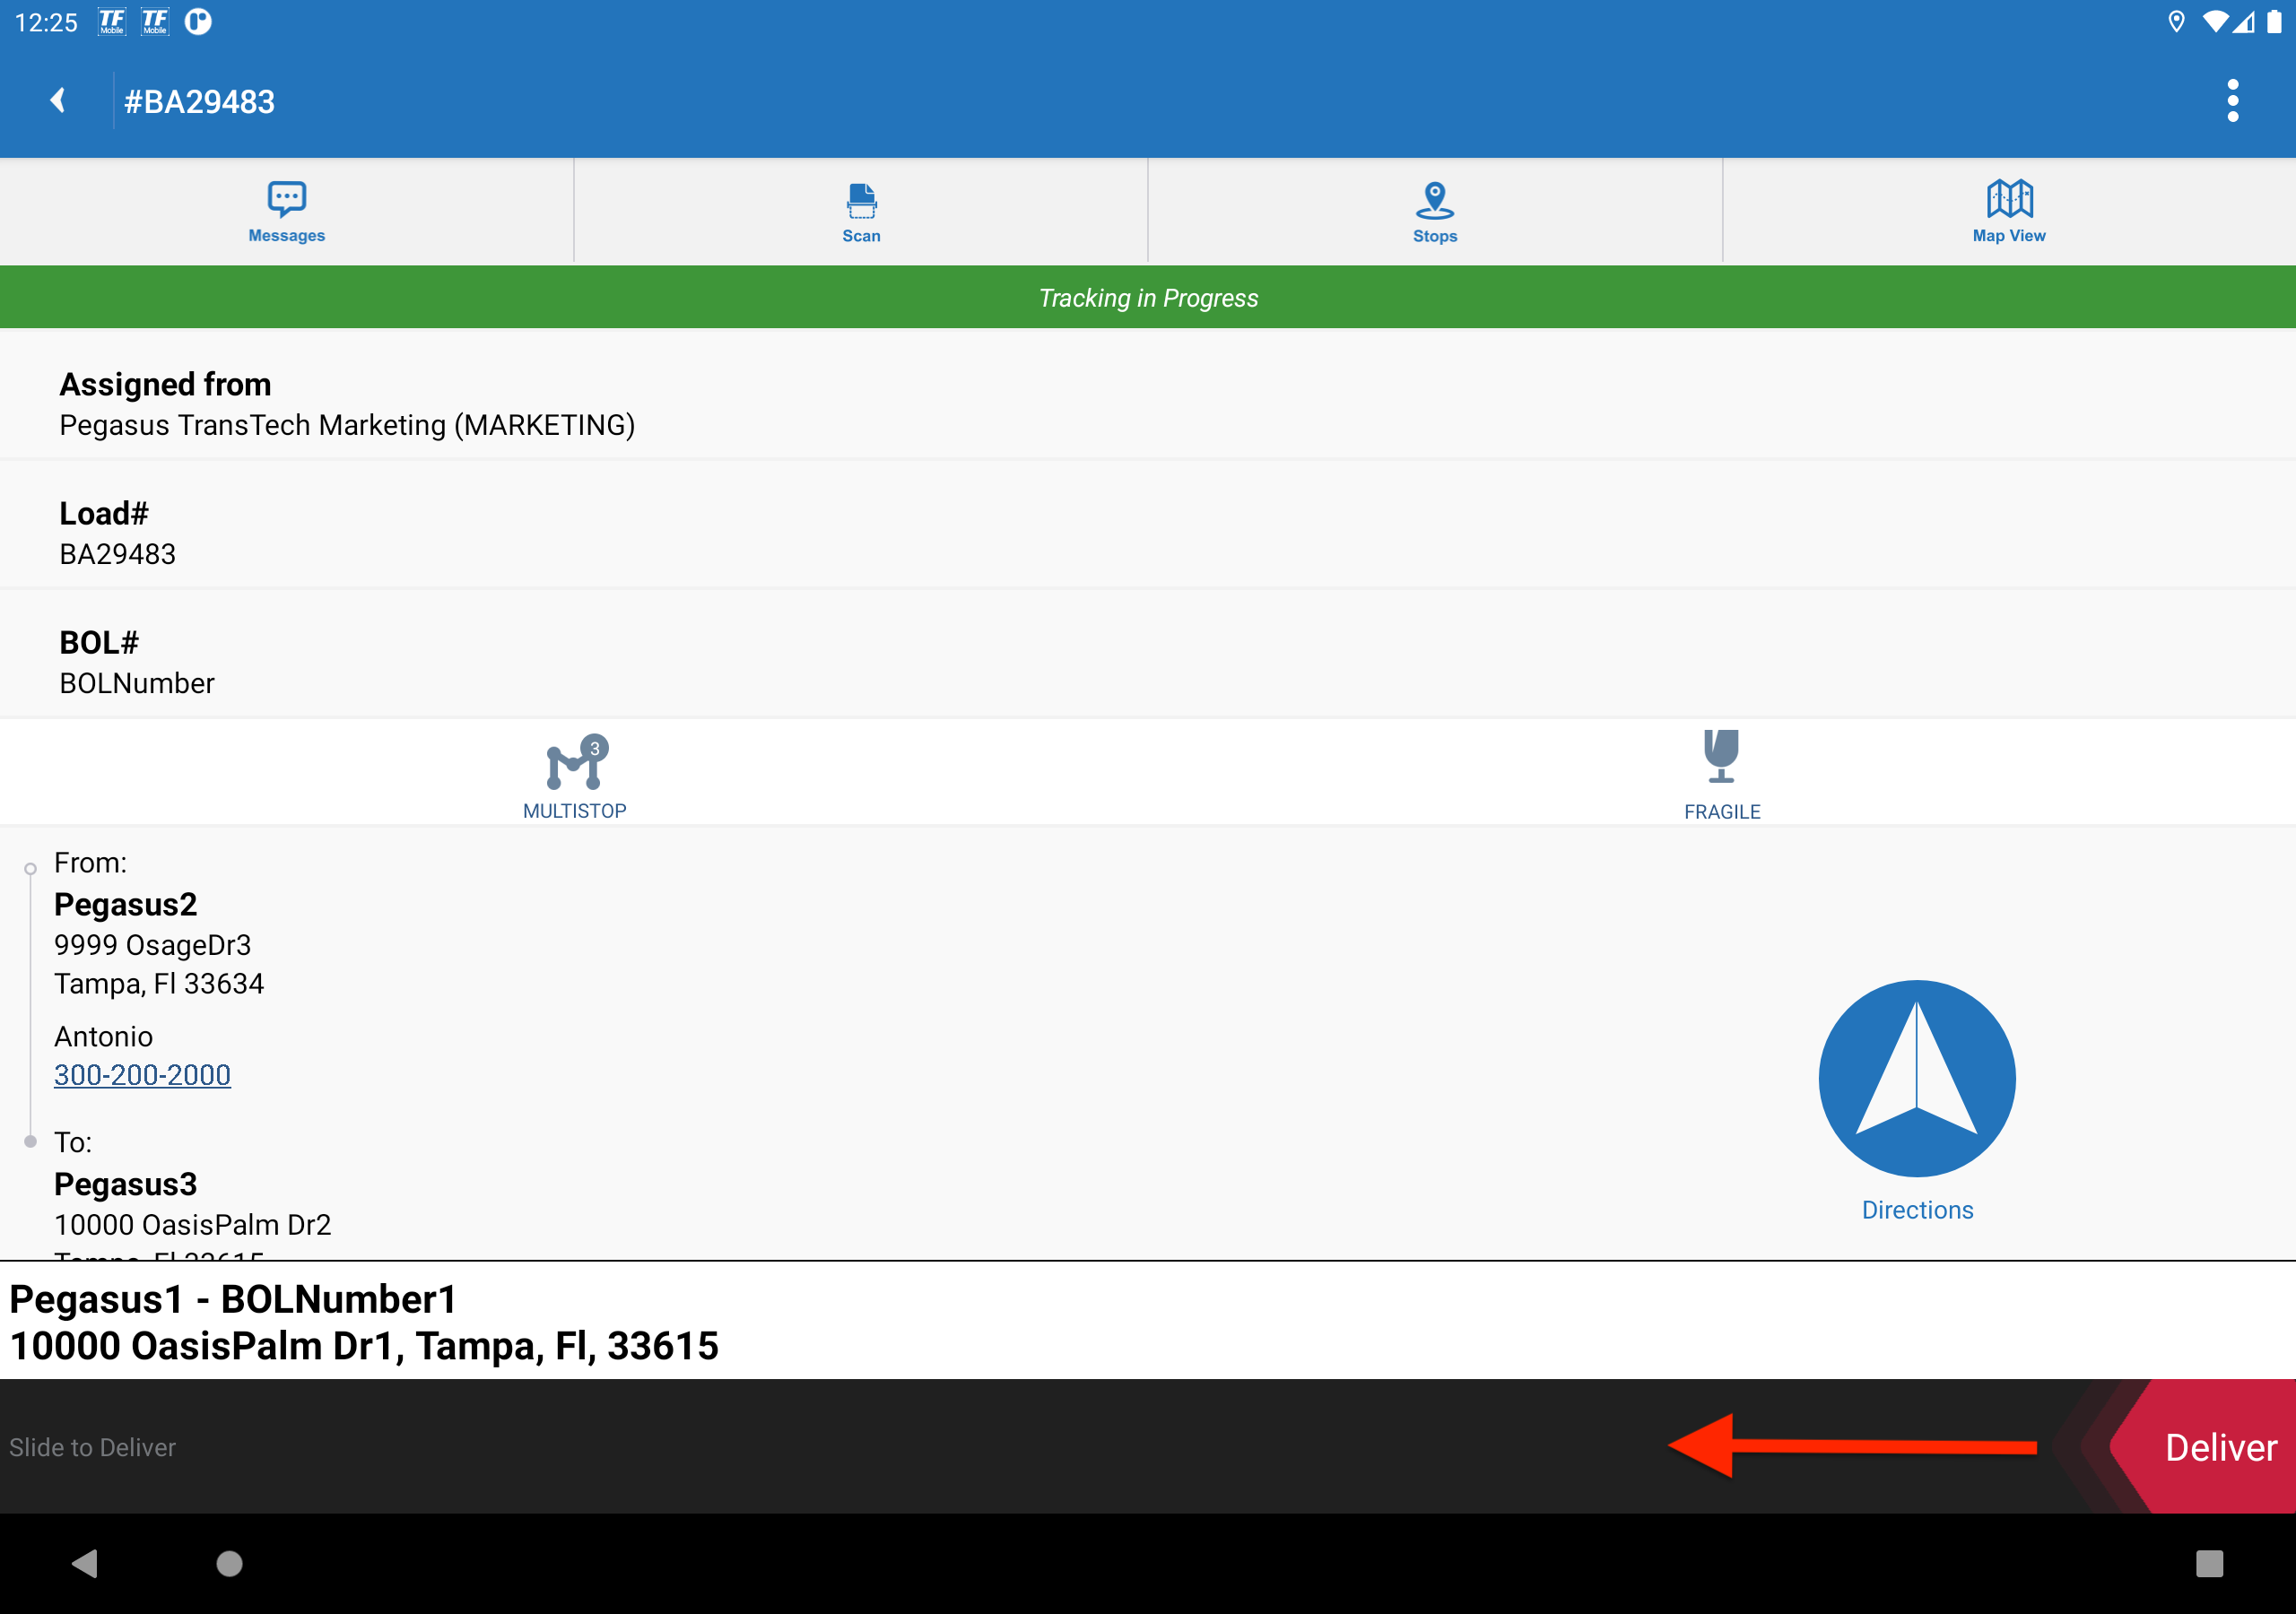
Swipe down the Load Details screen to view more information about the load.
-
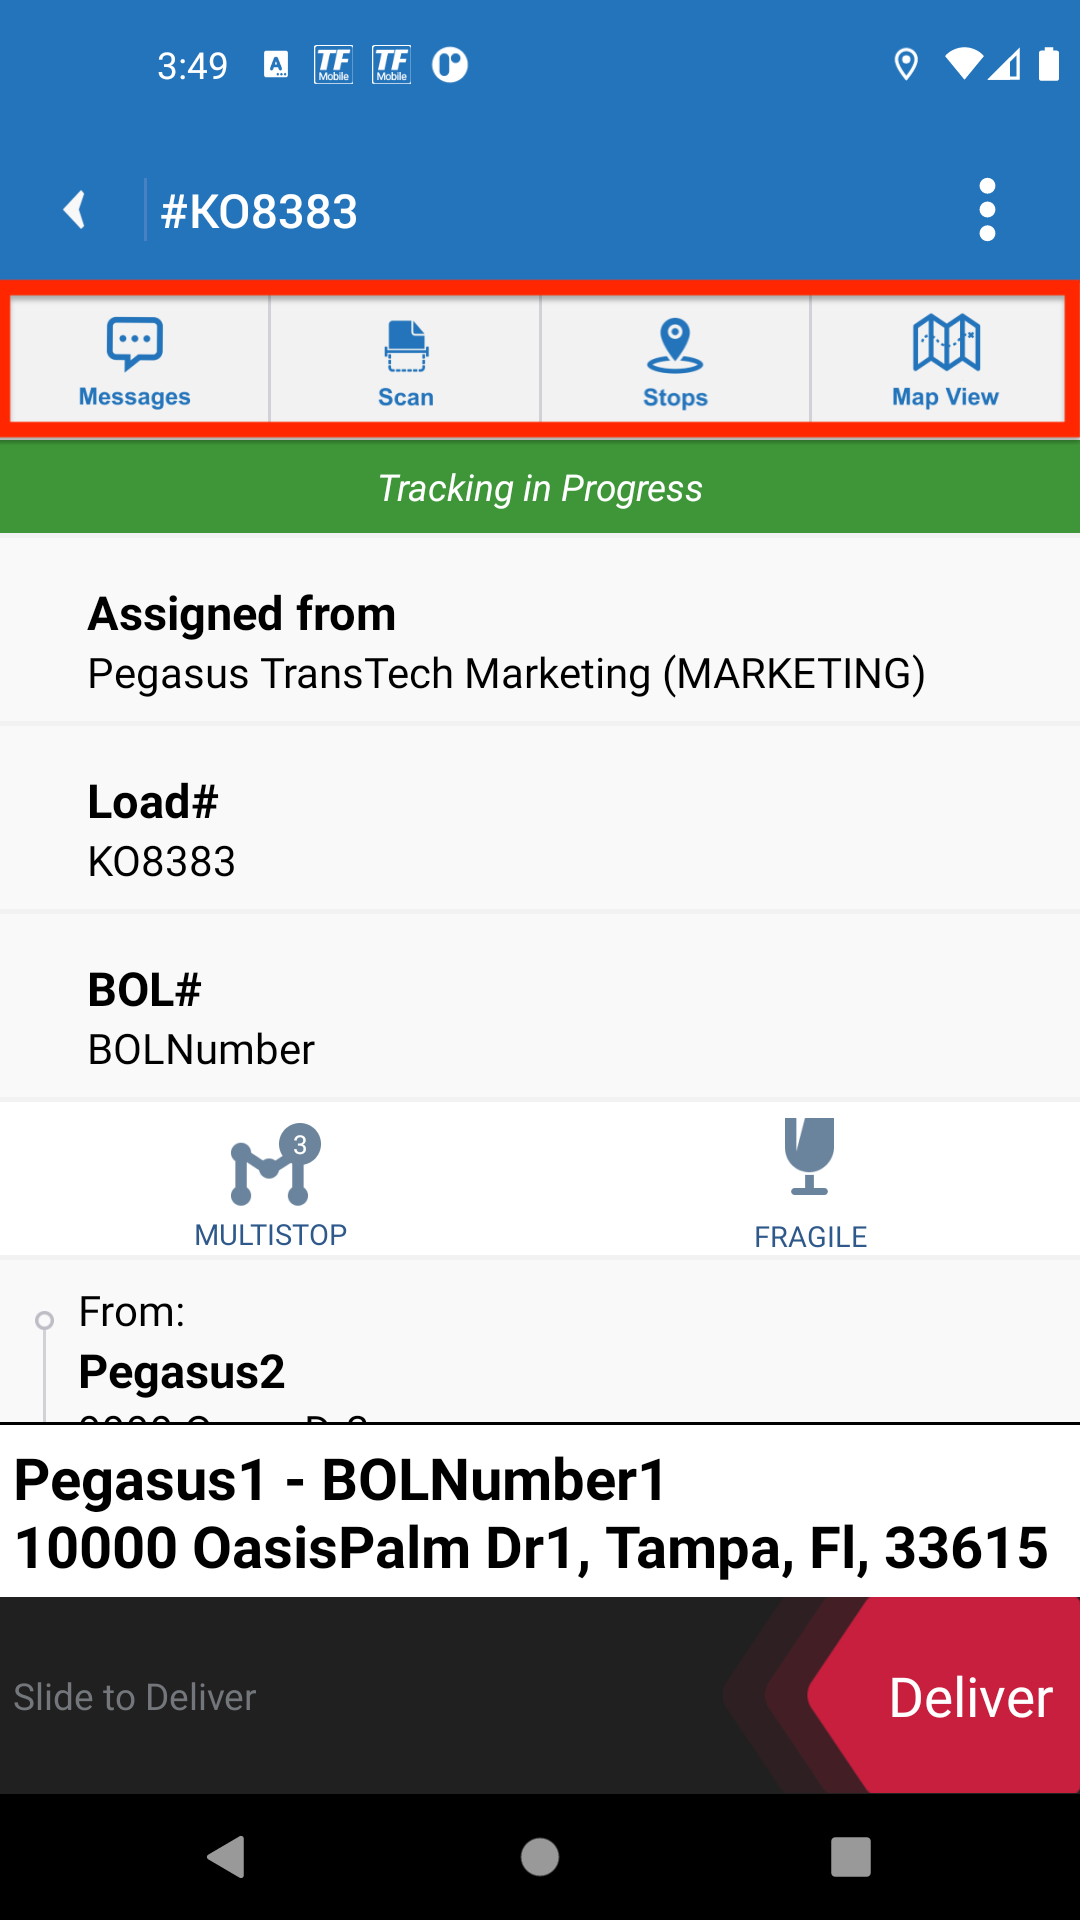
You can also tap one of the following additional load options:
- Tap
 Messages to view load messages with your dispatch team and other drivers.
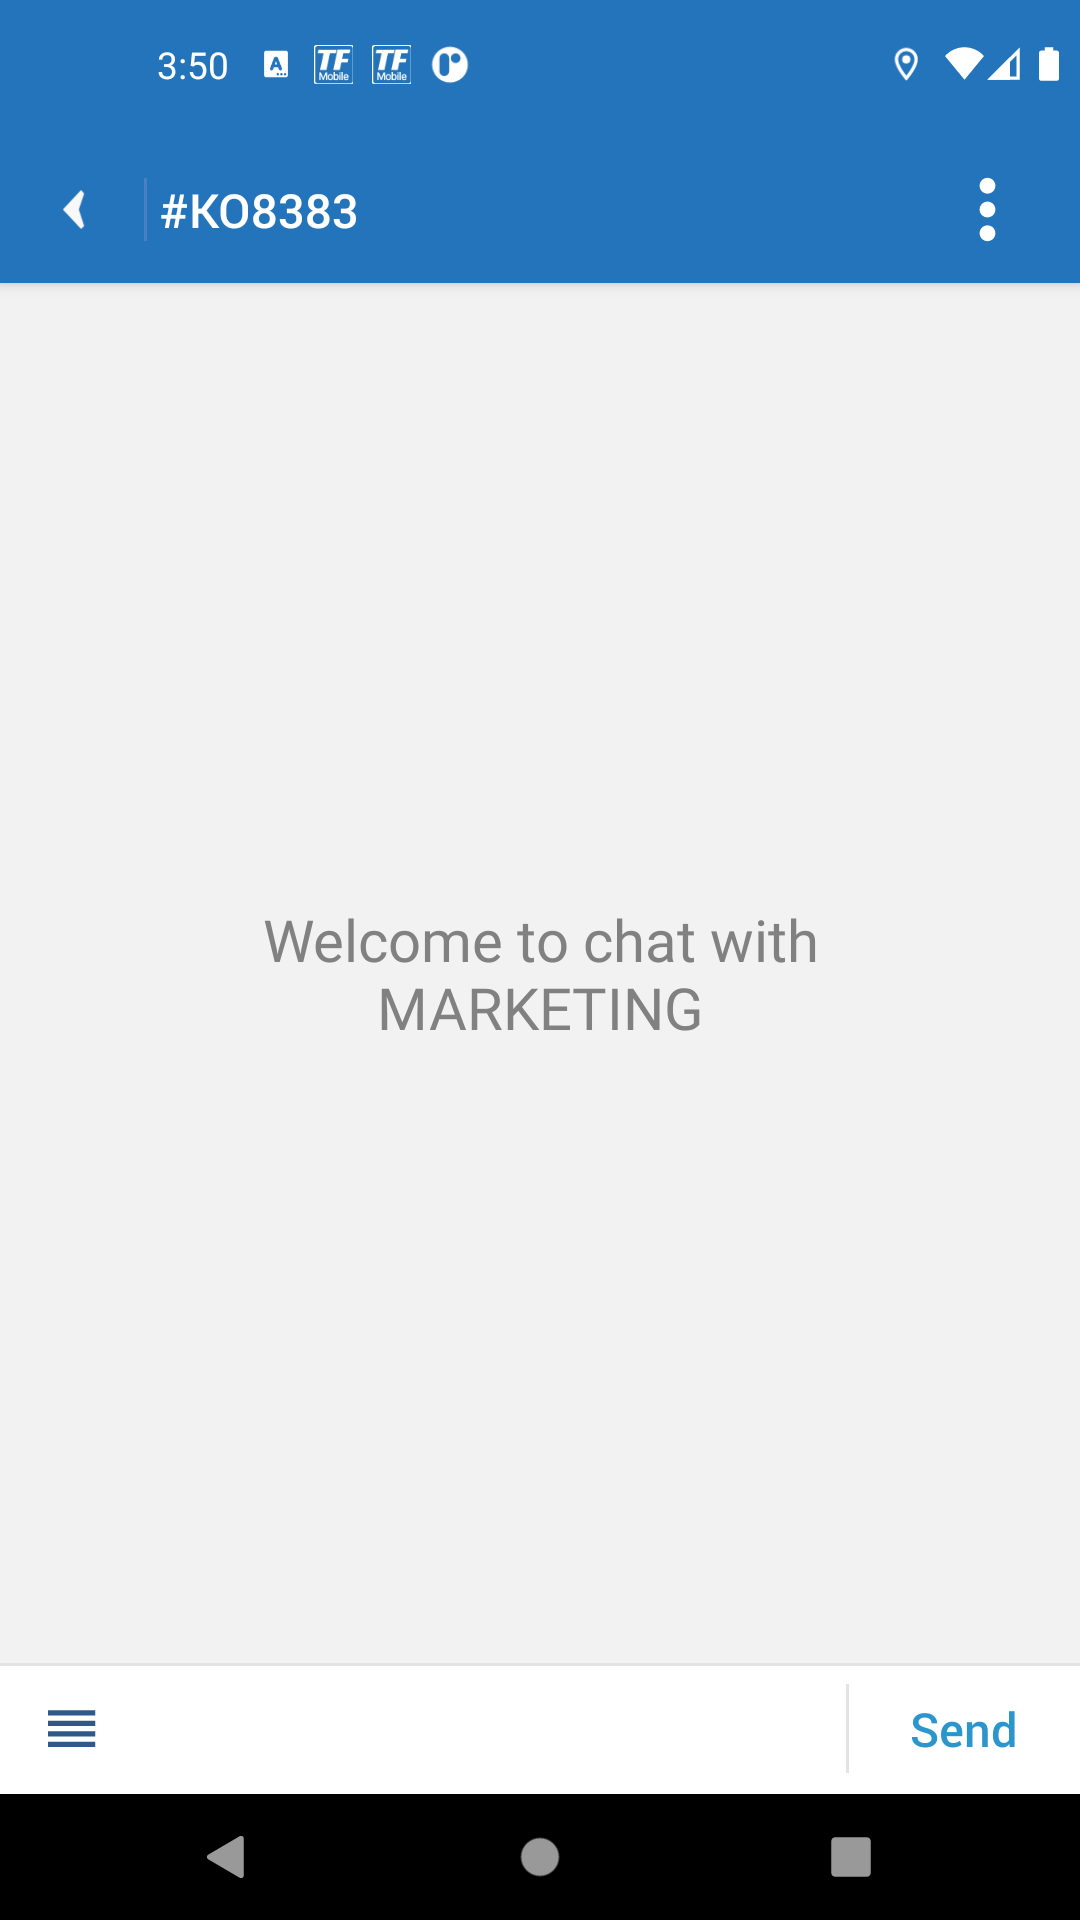
-
Tap
 Scan to scan new documents or photos.
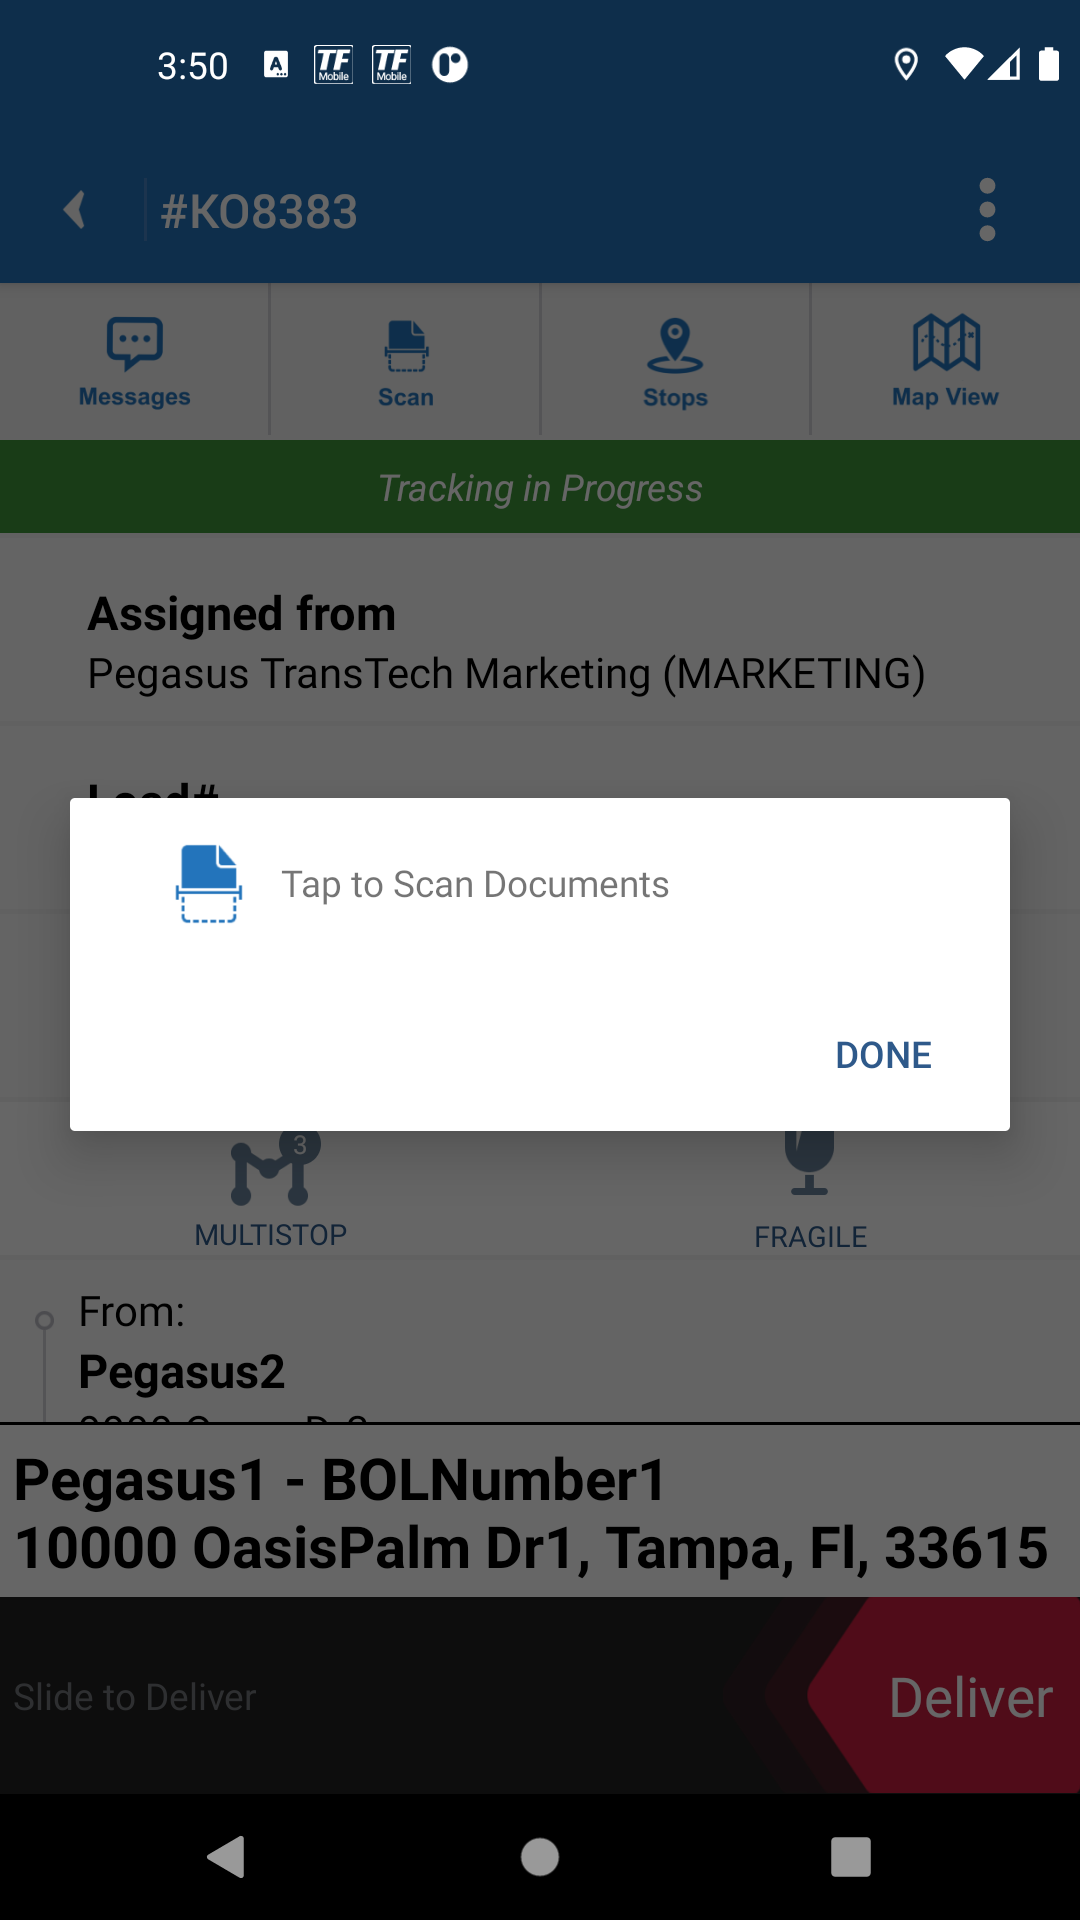
-
Tap
 Stops to view the total number of stops for the load.
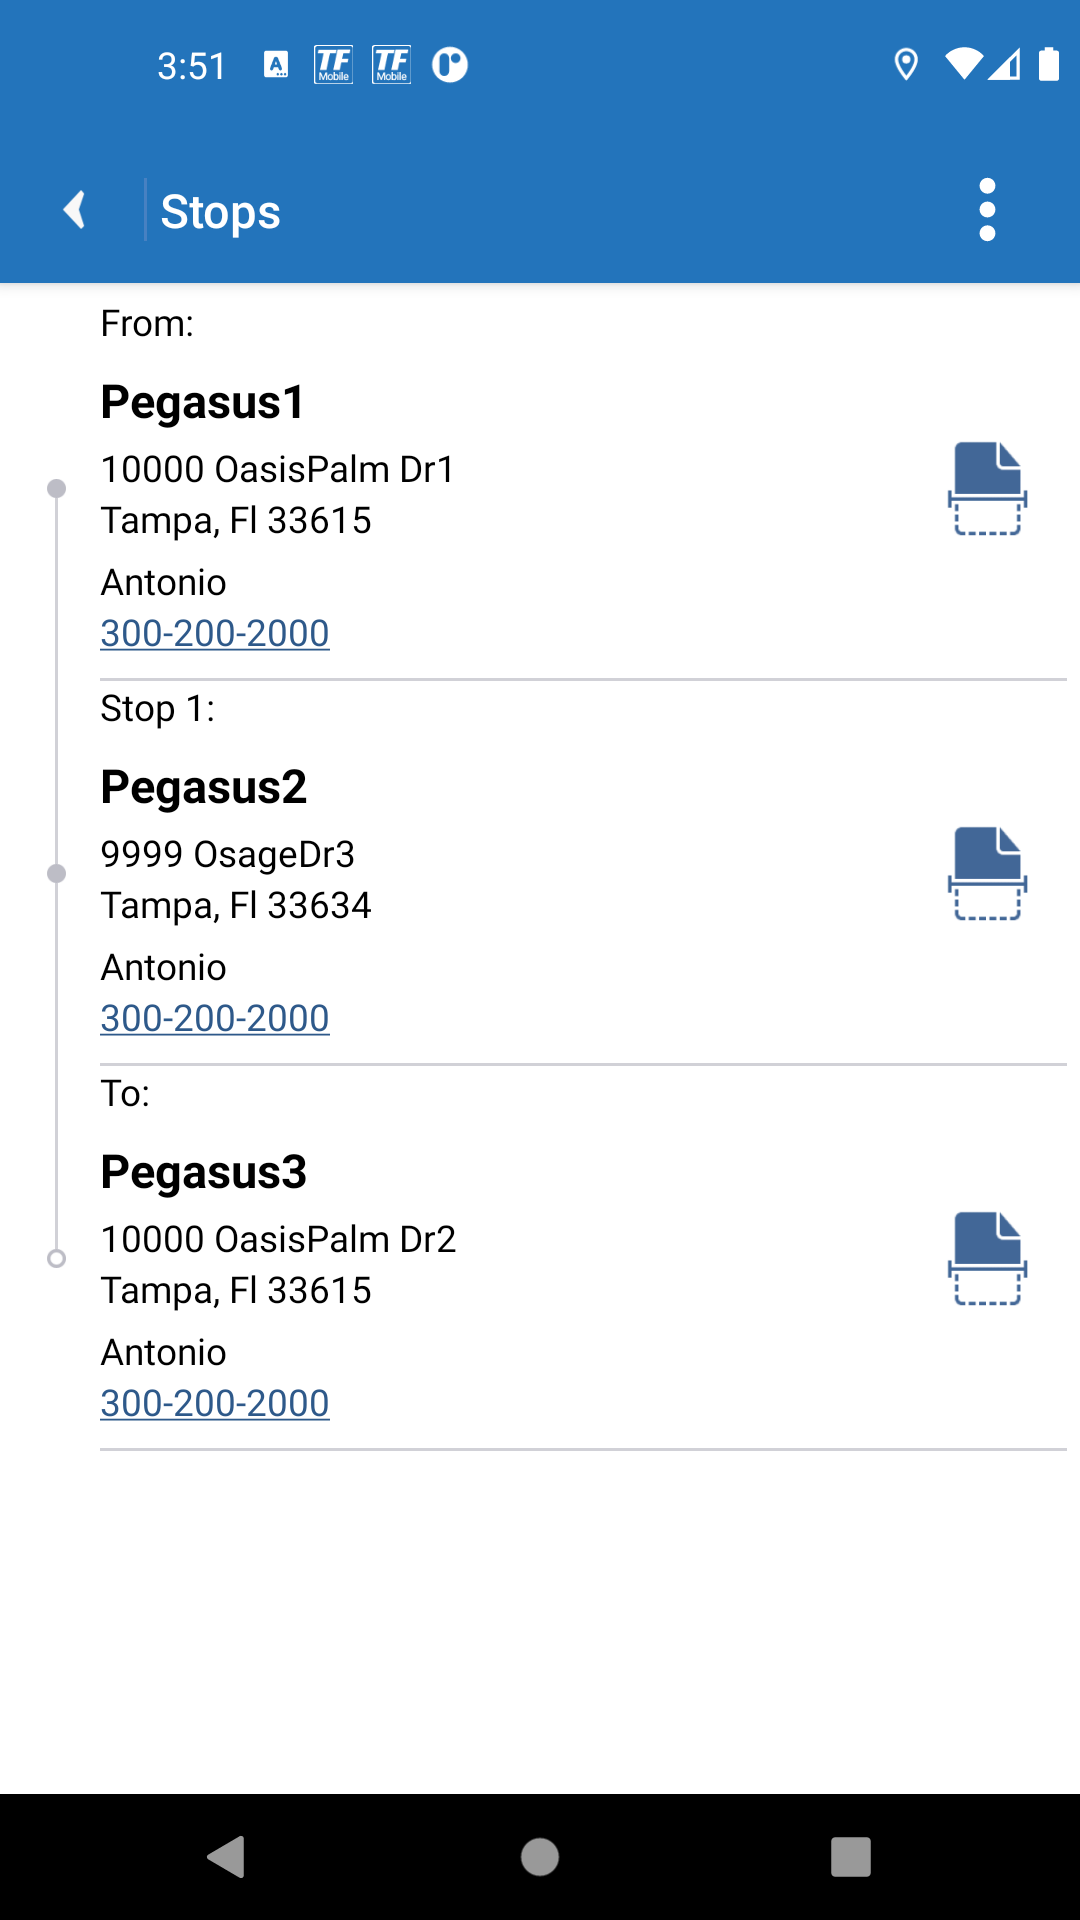
-
Tap
 Map View to view the geographical location for the current load.
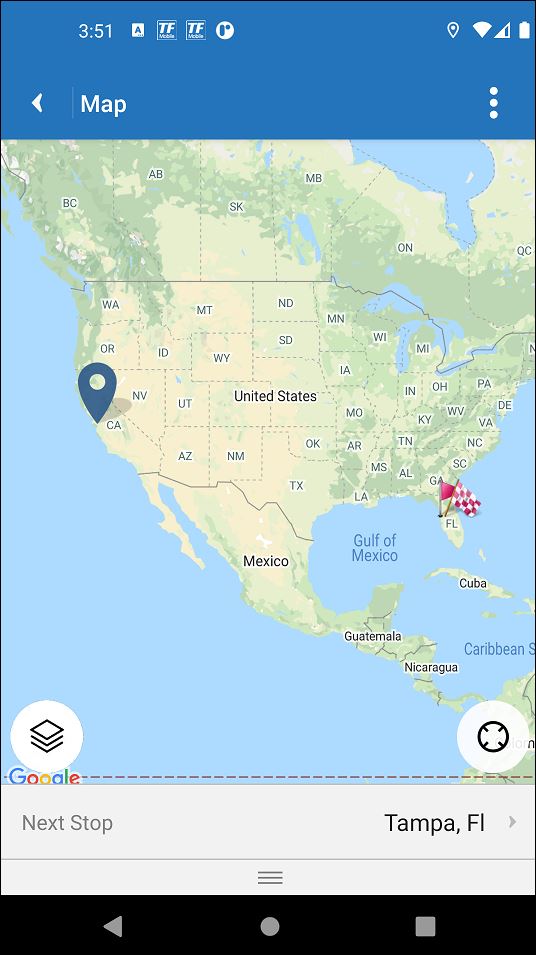
- Tap
-
To go back to the list of loads, tap
 Back.
Back. -
After you begin the route, you can mark each section (portion or stop) of your load as Delivered.
-
Swipe the red Deliver slider to the left. Depending on how many documents and sections or stops are associated with the load, the number of times you see the Deliver slider varies.
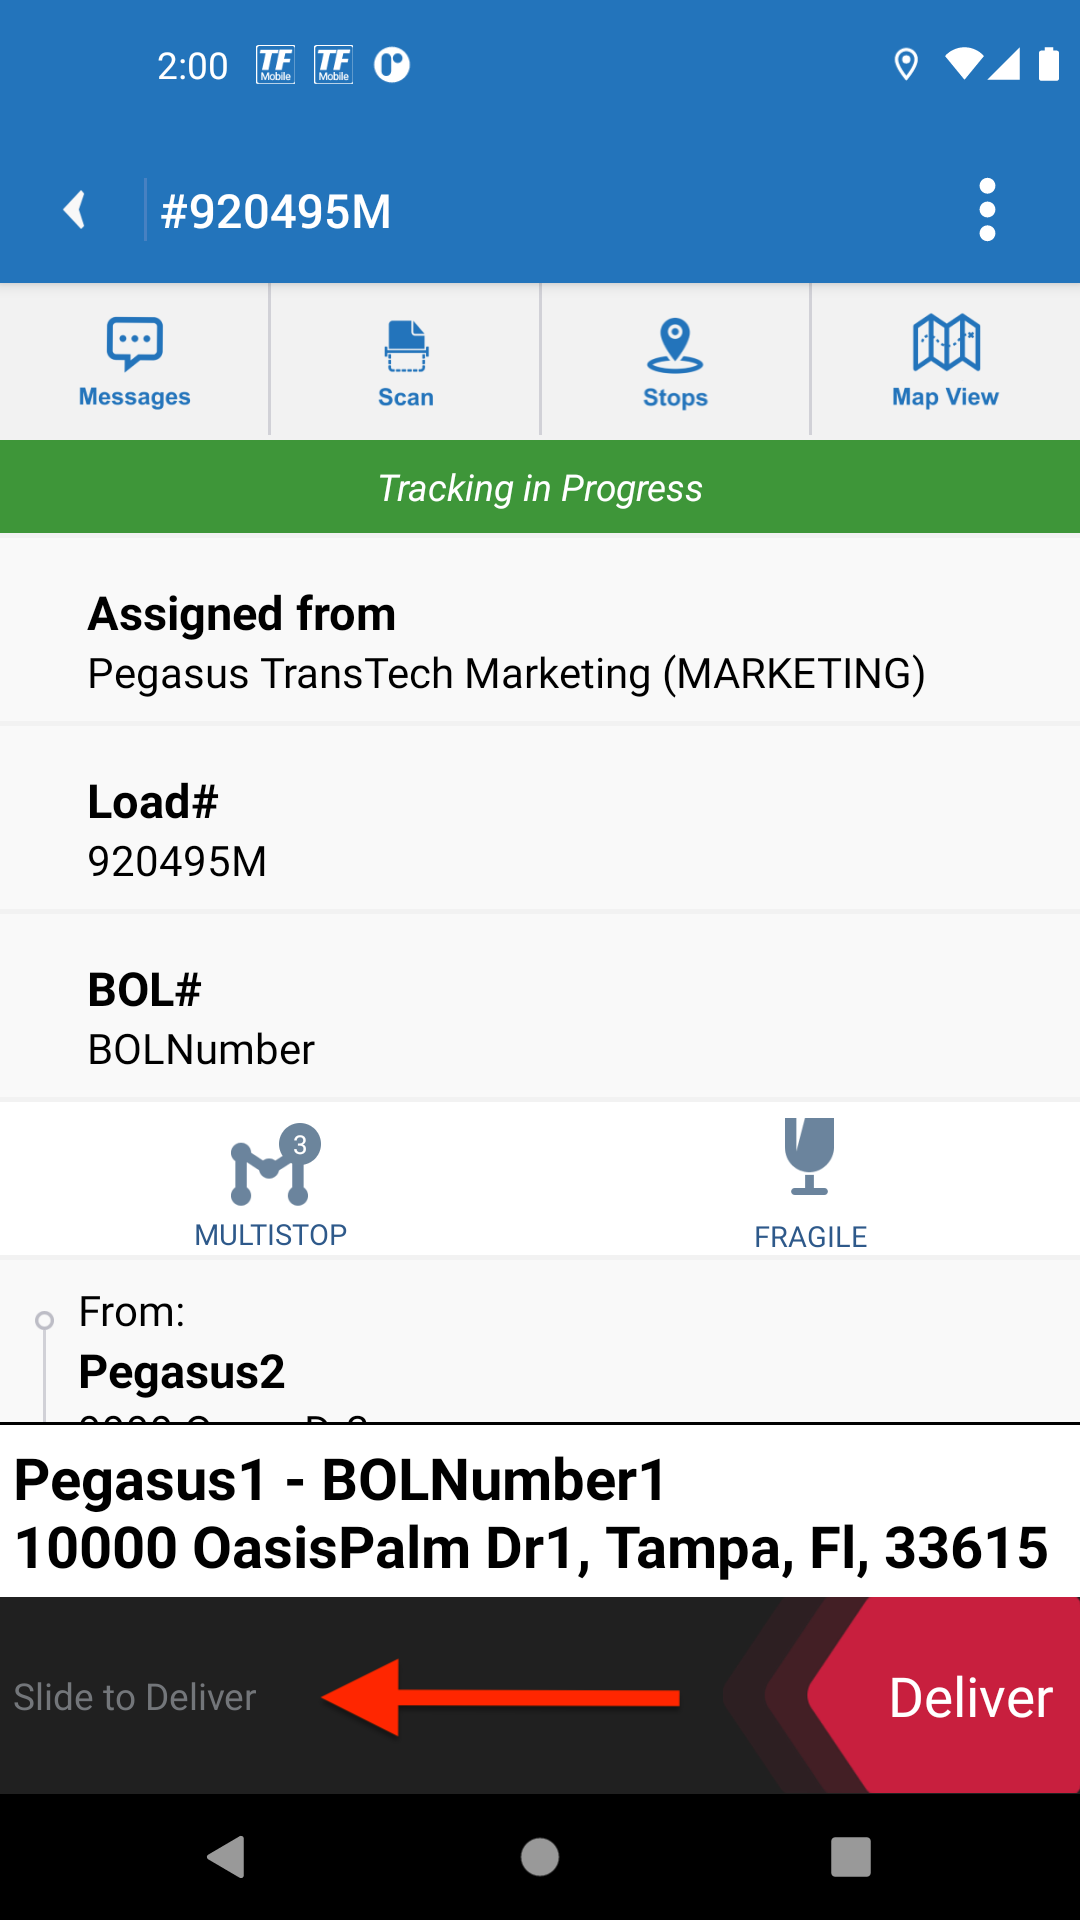
Example: If two (2) Bill of Lading (BOL) documents are associated with the load, swipe the Deliver slider to the left again.
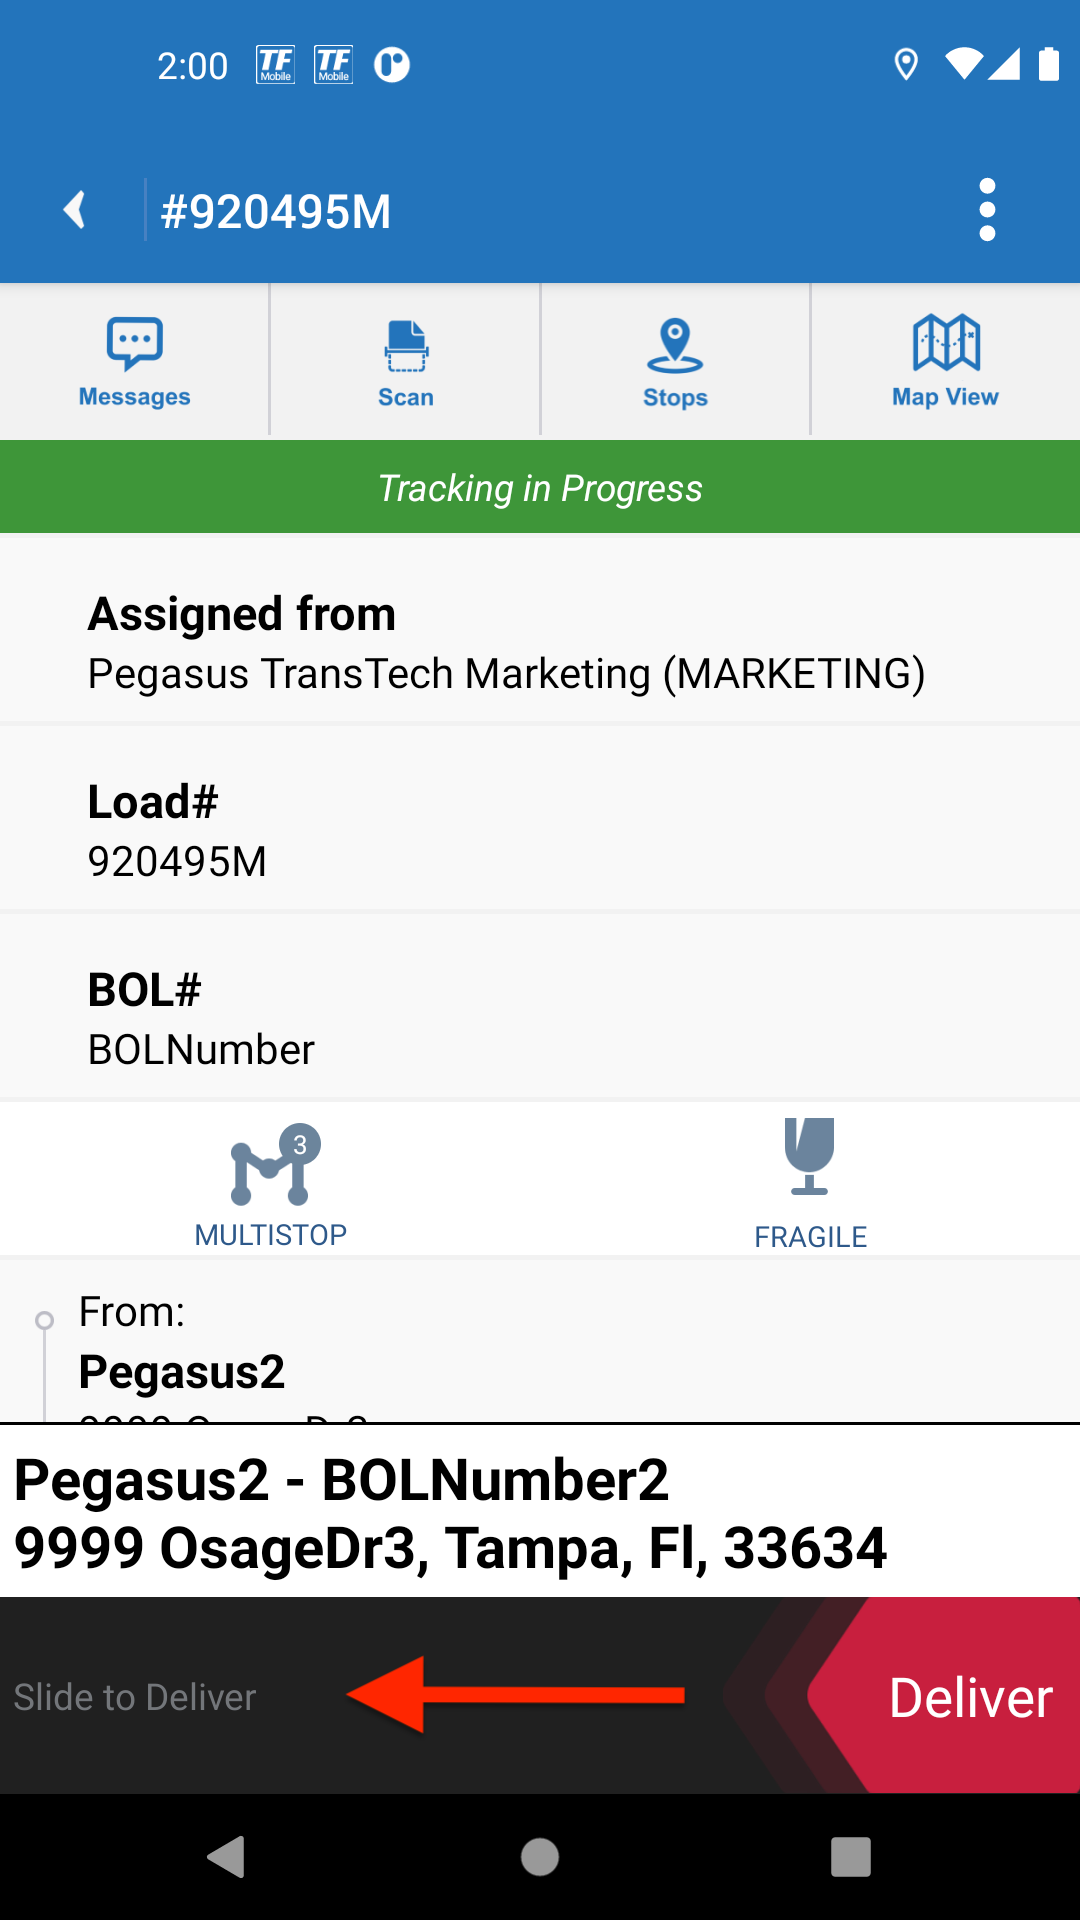
- The load is now delivered.
![]() View a demonstration of these steps in one or more Transflo videos:
View a demonstration of these steps in one or more Transflo videos:
Note: This KB article is about the classic features in Loads 1.0 which will be upgraded to a completely new and improved Loads 2.0 driver workflow experience in 2026. To learn more about Loads 2.0, see the New! Loads 2.0 KB. As a driver, use the KB articles that match the screens and steps you see in your Mobile+ app.
How Fleets Will Be Upgraded from Legacy Classic Loads to New User Workflows:
-
As a fleet manager, you will receive an initial e-mail announcement from Transflo in March or April 2026.
-
Over the next two (2) weeks, a Transflo administrator will create your core load workflows and save them as templates so you can modify them in the future if you need.
-
One (1) week before your migration date, you will receive another follow-up reminder e-mail. Work with your Transflo Customer Success Manager (CSM) to firm up a day and time window for your migration upgrade. For example, Tuesday, March 24 between 7:00 am and 7:00 pm (12-hour cutover).
-
On your migration day and time, your drivers will need to restart their devices and might need to un-install and then re-install the latest 7.x version of the Mobile+ app and register again. As of December 2025, to view the new user workflows known as Loads 2.0, you must be running Release 6.7.3 or later of the Mobile+ app. As of March 2026, Mobile+ Release 7.x is required.
-
As a fleet manager or training instructor, it is very important that you provide all your drivers with your fleet ID, their driver ID, and other essential registration data.
-
By the end of the cut-over period, your drivers will now be using the new Transflo Load Workflows to manage all the required and optional steps to deliver their loads, submit load documents, and complete any other tasks you assign.
-
To learn more about the Load Workflow 2.0 features for drivers, fleet administrators, and the developer SDK and API options, see the New! Loads 2.0 KB.
White label apps such as Crete, KLLM, Decker, Averitt, and many more and in-cab edition tablets will be updated in Summer 2026.
Minor known issues in the user interface, although inconvenient for some drivers, are not major bugs. The data and features are typically still available after migration; however, load data or a button might have moved. If you believe an important feature or data you previously had with Loads 1.0 is no longer available after your migration to the new Loads 2.0, try scrolling up or down or navigating to a different screen. An option might not be available until you complete the next step in the workflow.
If you cannot find a data field or button and believe it is blocking you from performing your job, escalate to your supervisor or fleet administrator. They can work with Transflo to resolve the issue in a configuration fix or future update. Only in the most severe cases, if warranted, your fleet leadership can request a temporary rollback from Loads 2.0 to 1.0 again until the issue is resolved. By mid-2026, the legacy load features will be discontinued and all fleets will eventually be migrated successfully to the new load workflow features.