Report Tire Damage
If your edition of the mobile app supports this safety feature, you can report tire damage or a flat tire. You can indicate exactly which tires are damaged and submit any supporting documents or photos to your carrier, dispatcher, maintenance shop team, or fleet supervisor. After reporting which tires are damaged, contact your supervisor or fleet dispatcher to follow up to get the needed tire change, tire repairs, or new tires.
The steps below apply for all releases. New screens for adding documents and photos were included in Release 6.0 and were improved over 2024. To view more details about the new R6.0 scanning user interface, see Scan and Send Load Documents.
|
|
Reminder: Transflo is the premier provider of popular commercial apps, custom white label apps, in-cab tablet editions, embedded handset editions, and thousands of additional fleet-specific integrated features. Due to all the possible product configuration changes for your specific fleet, it is possible that user interface labels, buttons, links, dials, tiles, icons, colors, logos, and placement on the screen can vary. Features can also be hidden from your view based on customer account, fleet ID, or user permissions. In the documentation, we cover a default setup with screen examples that are generally similar for smart phones and tablets running either iOS or Android OS. Adjust certain steps, if needed, to reflect your actual device, product configuration, and company policies.
|
-
On the Home screen or dashboard, tap Safety. You might have to tap
 Main Menu first and then select Safety.
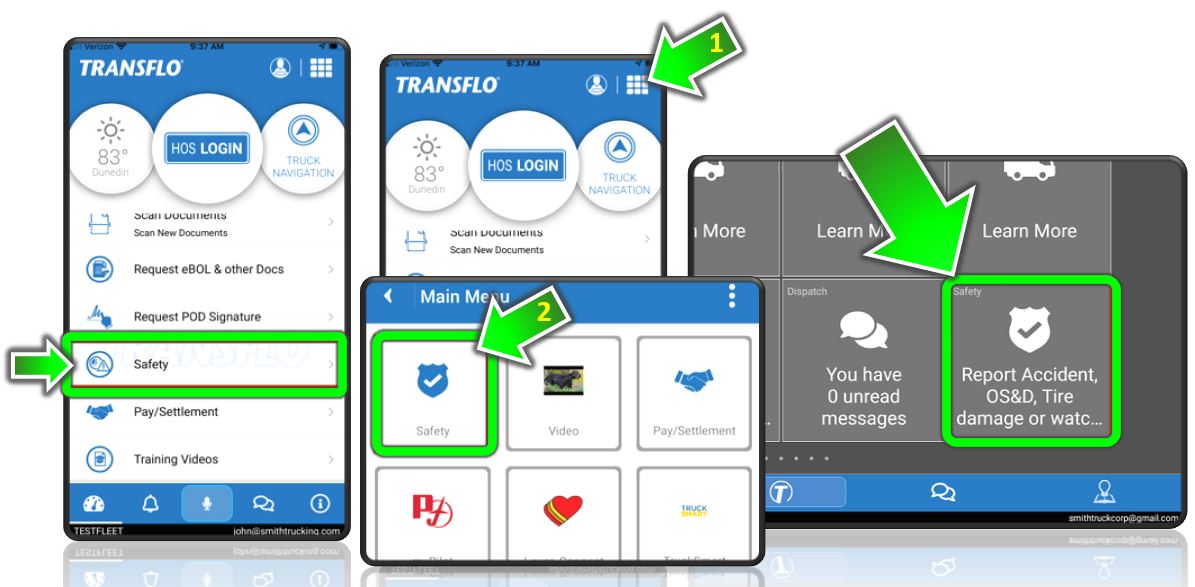
-
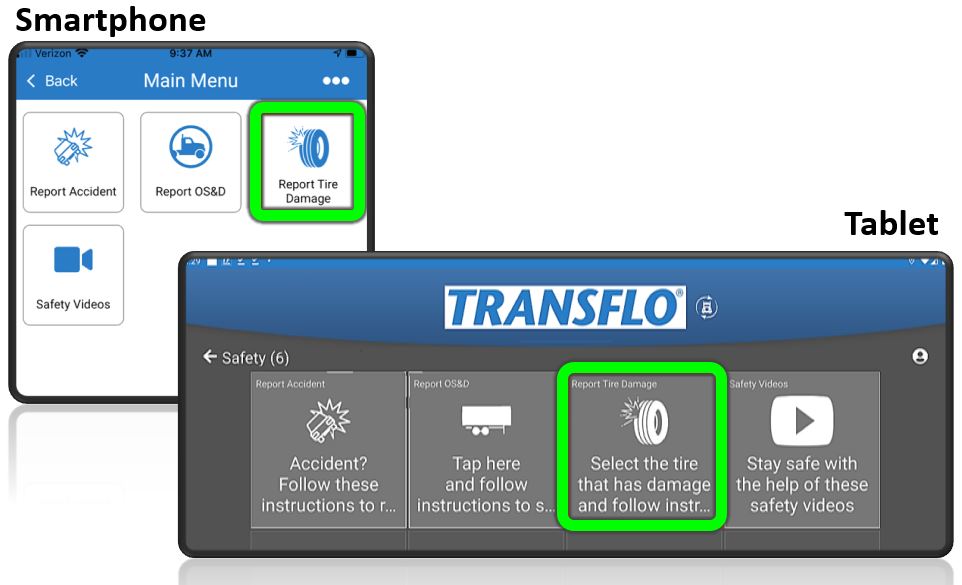
Tap Report Tire Damage.
-
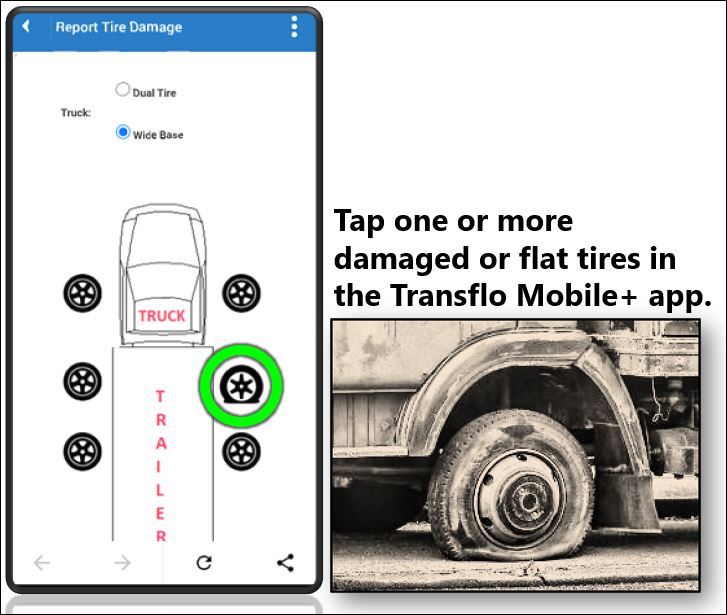
On the Report Tire Damage screen:
-
Select Dual Tire or Wide Base for the truck.
-
Tap one or more tires where the damage has occurred.
-
For each tire, complete the short form to identify the tire, driver ID (auto-filled for you by the app), and description of the damage including how it happened.
-
Tap Next.

-
-
(Optional) You can upload photos on your phone or take a new photo.
If you updated your Transflo Mobile+ app to the latest release (6.1 or higher), you see the following screen:
If you are still using an older release, you might see the following screen:
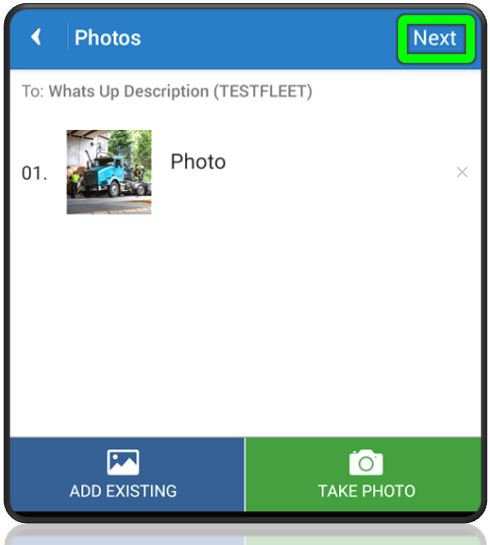
When done, tap Next.
-
(Optional) You can upload documents already on your phone or take a new photo of a document to upload. For some fleets, signatures are required for this step. For example, due to extensive tire damage, you need immediate repairs or a new truck to deliver a $15 million time-sensitive load. In this scenario, you might have the BOL signed with a damage acknowledgment and then send the signed BOL to your fleet manager with two photos in compliance with your standard company policies.
-
After you scan a document, tap the green COLLECT SIGNATURE button.

If you updated to the 6.0 Release in July 2023, you might be prompted if you attempt to send documents without signatures. Tap an item in the list and then tap Add Signature.

-
Hand your device over to someone who can sign and get their signature. If required, you can also sign a document. Sign the screen using your finger or a stylus, then type in your name below to verify the signature.

-
To erase and start over, tap CLEAR NAME or CLEAR SIGNATURE.
-
When finished, tap Next.
Example: R6.0 or newer

Example: R5.x (older releases)

-
-
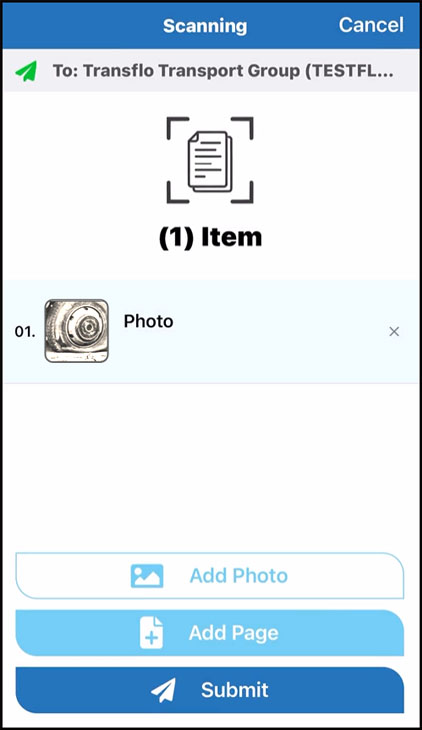
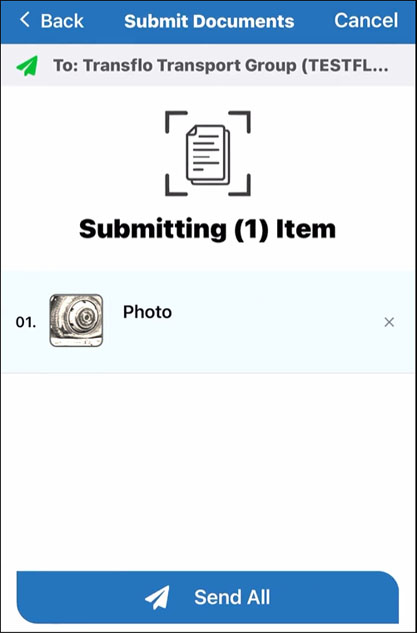
When you are done selecting photos, documents, and signatures, tap Submit.
Your device shows Submitting (1) Item or Submitting (X) Items. At this point, you have indicated which items to send but they are not sent yet.
-
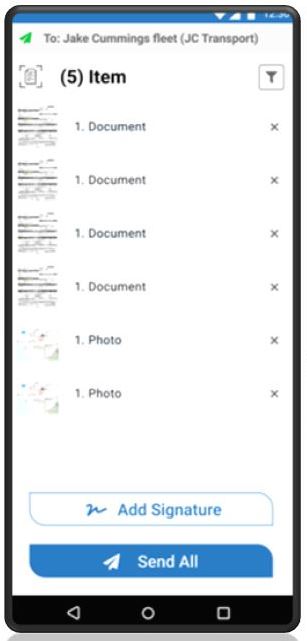
Look everything over one more time. When you are ready to send the photos and documents you just collected, tap Send All.
For true techies out there, technically speaking, your device will show Preparing for upload... as it gathers your photos and documents into a standard batch and looks for a wireless network or data signal. When you have a good network connection, your device shows a spinning Sending... status message.

If you are still using an older release before the Feb 2024 6.1 Release, your screen might still look like this example:

-
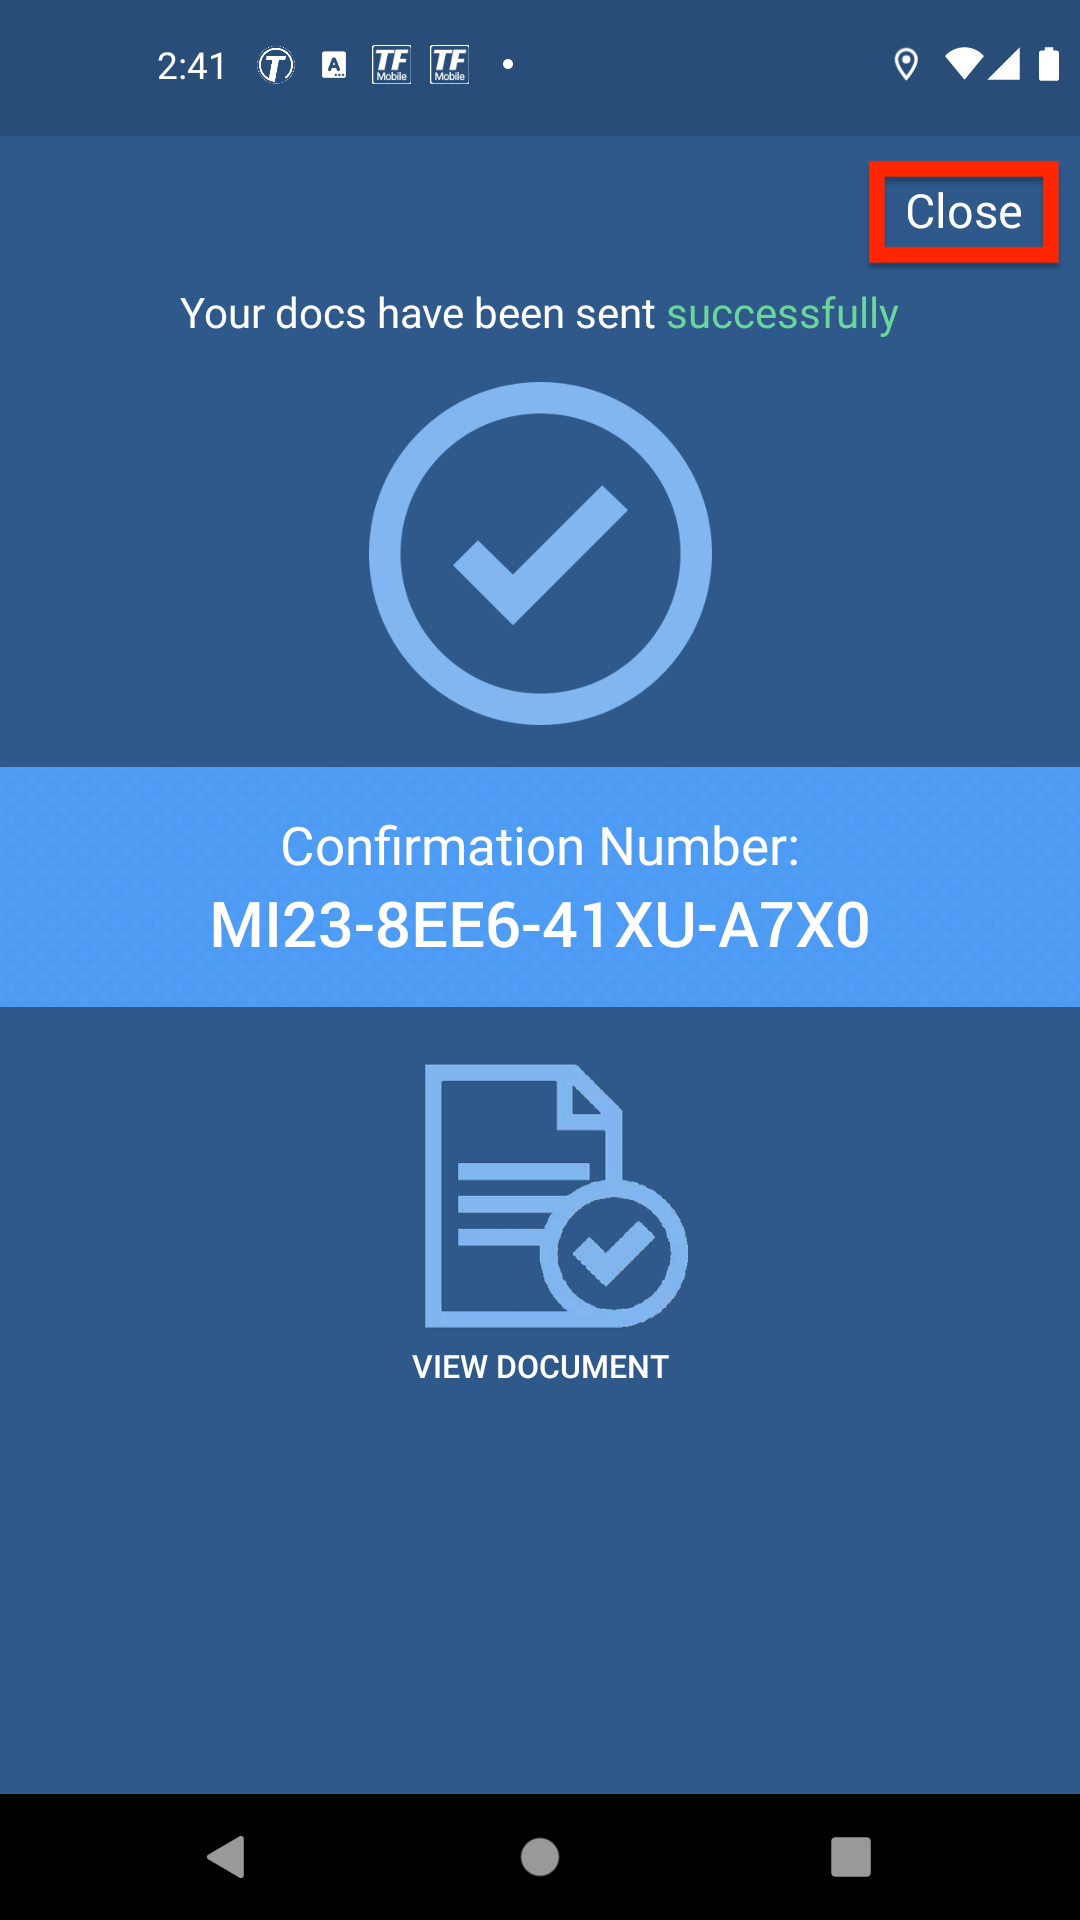
After you select Send All, the Confirmation screen appears with a confirmation number you can save or receive in your e-mail to pull up the tire damage report, documents, and photos again within the next 14 days. Tap Close to go back to the Safety menu.
-
Contact your supervisor or fleet dispatcher to follow up to get the needed tire change, tire repairs, or new tires.
![]() View a demonstration of these steps in one or more Transflo videos:
View a demonstration of these steps in one or more Transflo videos: