Start Using Transflo Workflow AI Carrier
In Transflo Workflow AI for Carriers, load documents are received in batches through e-mail, text, mobile app, or an API import process and then processed through the Transflo OCR engine. The entire workflow is automated. However, when automated processing encounters one or more exceptions, business users are needed to apply company policies and procedures to resolve any issues.
Ultimately, work items from Transflo Workflow AI for Carriers can be sent to one or more of the following downstream systems:
-
Transflo Workflow AI for Factors
-
Transflo Workflow AI for Brokers
-
Additional Factor, Broker, or Carrier Systems
-
Integrated Transflo Systems such as Velocity Plus Command Center, DMS, or Synergize
-
Integrated Carrier TMS, financial systems, or other downstream systems
The steps below are now superseded by the new portal steps at Log In, Log Out, and Reset Password.
-
In a supported web browser, navigate to the URL for your organization assigned by Transflo.
-
Click Forgot Password?
-
On the Reset Password page, enter your e-mail address and click Reset.
-
After a few minutes, open your e-mail inbox.
-
Click the link in the e-mail from Transflo to open a page where you can set a new password.
-
After you set and confirm your new password, click Back to Sign in where you can now log in with your e-mail and the new password you just created.
To reduce the number of work items in the list and focus only on the most time-critical aging items, select a time period in the Older Than drop-down list. In general, each time you select a progressively more historic value for Older Than X Days, the dashboard shows a progressively lower number of aging work items.
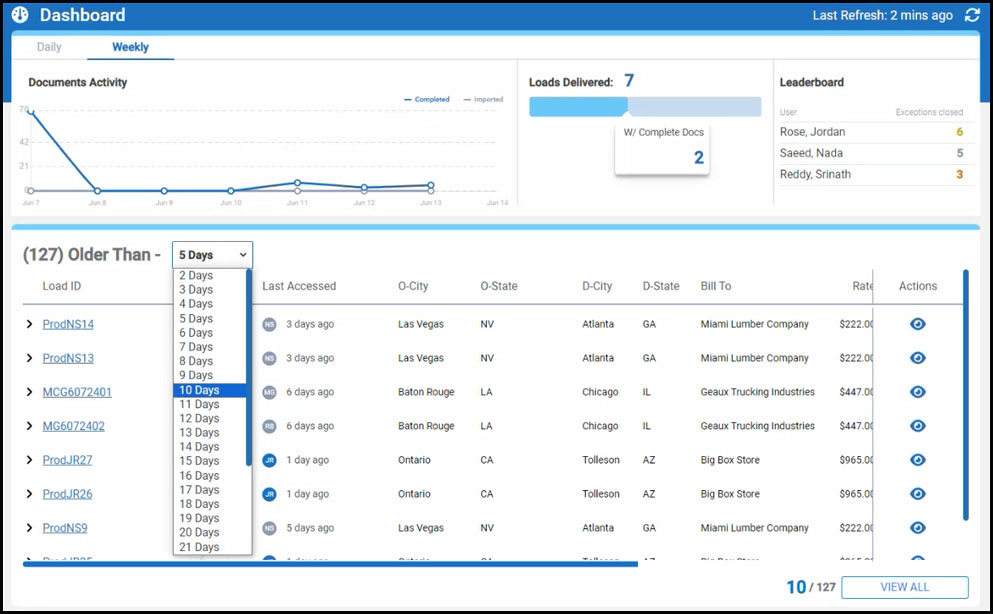
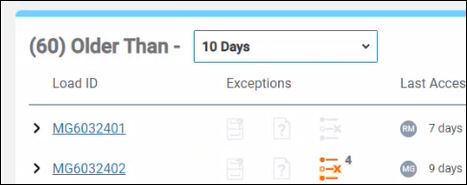
As your team resolves exceptions and completes load documentation in chronological order as they are received, the number of work items should go down over time. For example, in the example images in this KB article, 127 work items might be older than 5 days but only 60 are older than 10 days.
Tip: As a best practice and to help motivate staff, set a goal to make progress on a small again subset of work items. For example, if only 10 items are Older Than15 Days, work those 10 items down to zero (0) and then try resolving work items Older Than10 Days, and so on.
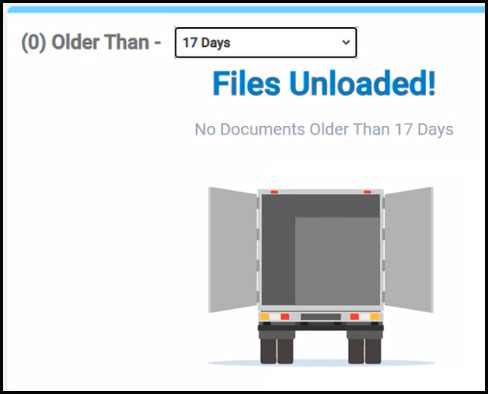
Eventually, your team should be caught up with closing unresolved work items. As of a specific date in the past (for example, work items Older Than 17 Days, the No Documents Older Than X Days message should appear with zero (0) Older Than appearing as the dynamic label for the drop-down field:
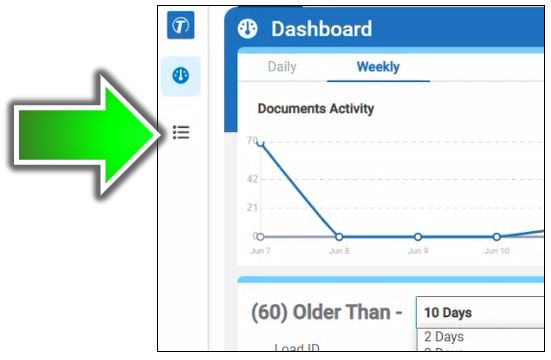
As a user, you can focus on a subset of open work items based on your choice of Older Than days. To expand your focus, you can choose either of the following actions:
-
Click Queues in the left navigation menu.
-
Click VIEW ALL in the bottom right corner.
Example:
-
The Dashboard page shows 10 of 28 items older than 13 days. As a user, you can continue to scroll through this list and resolve work items.
-
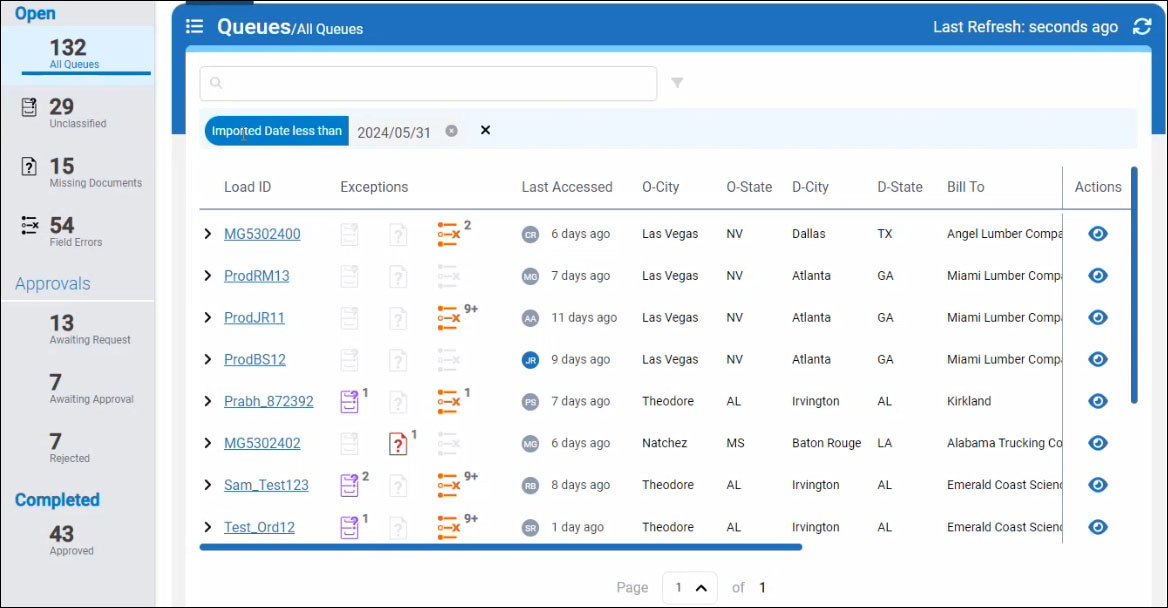
To view more details, including which queue each work item appears in, you can click VIEW ALL.
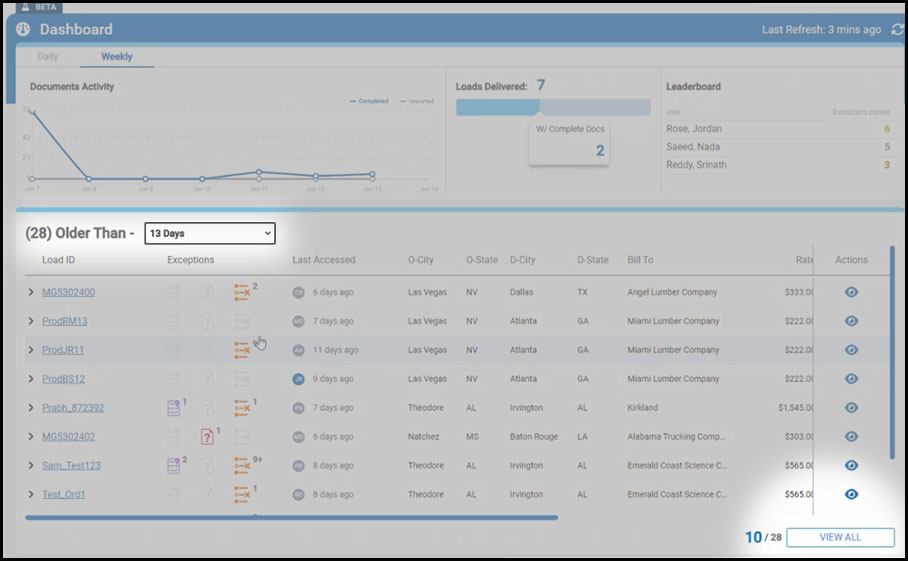
Tip: The Older Than13 Days dashboard filter criteria are automatically converted to Imported Date Less Than YYYY/MM/DD for you and the full list of work items appears (28 in this example).
-
You can now work on the items in their respective queues and apply any additional search filters.
To help you focus on only specific work queues and even specific column data in work item lists, you can personalize your view of the data in Workflow AI. For example, de-clutter your views and columns to hide irrelevant data so you can concentrate on the data that is essential to your work goals.
If you cannot perform this task, you might not have access. Contact your administrator who can set the views for you and your team.
-
In the lower left corner of the application in your web browser, click your avatar or user initials and then choose Settings.
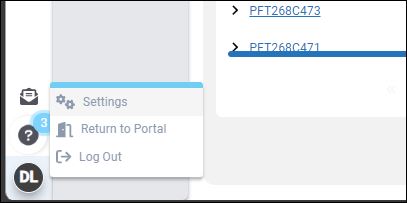
-
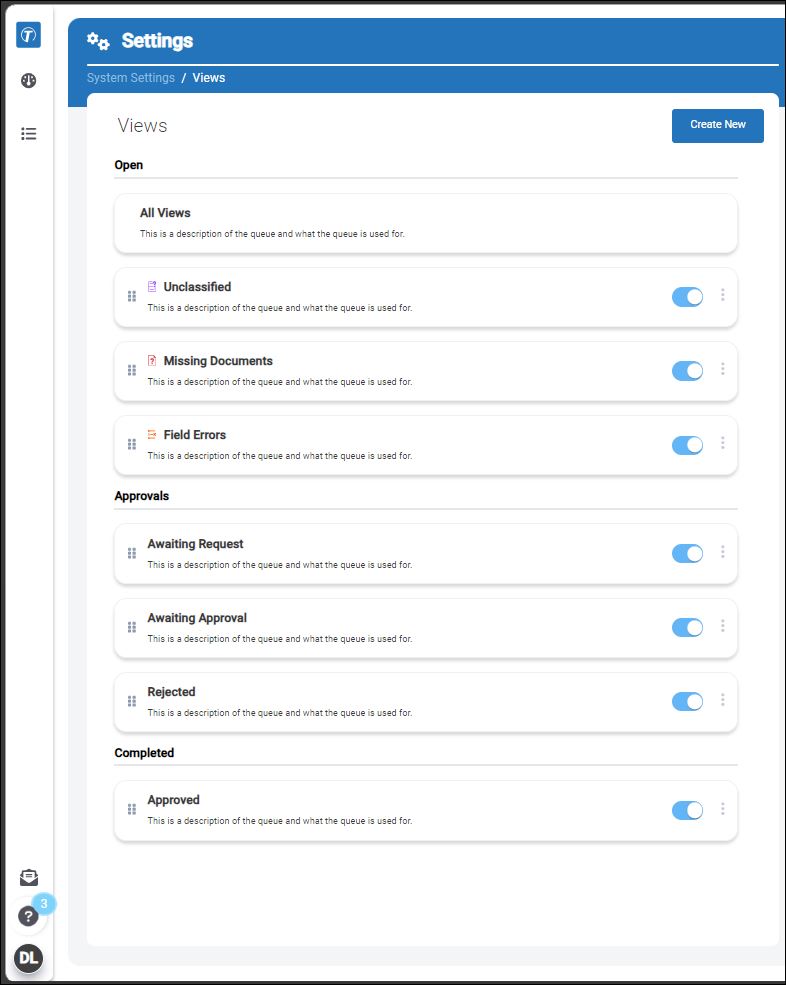
On the Settings page, click Views.
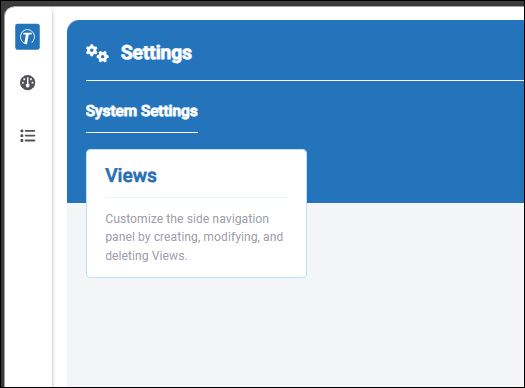
-
The current view settings appear.
-
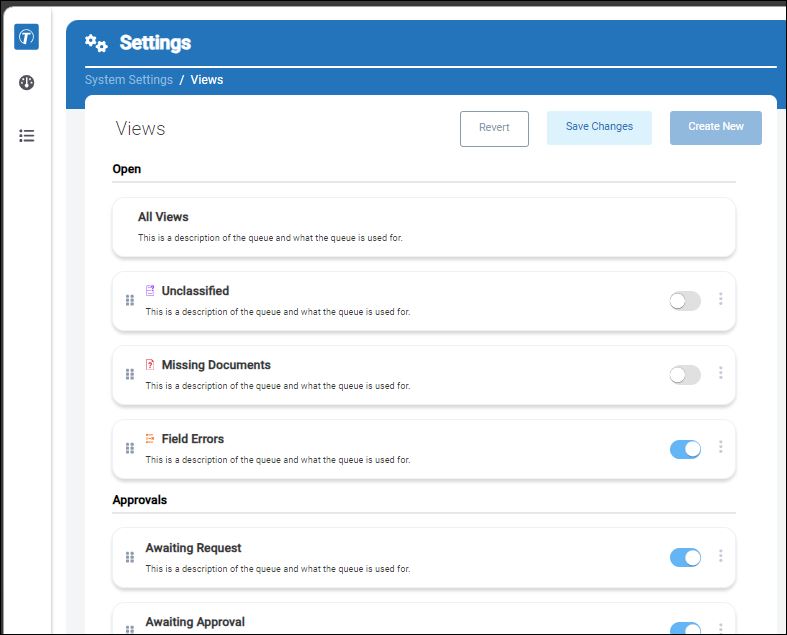
Adjust the view settings. In this example, a user hides the Unclassified and Missing Documents queues to focus their attention on the Field Errors queue. Click Save Changes.
-
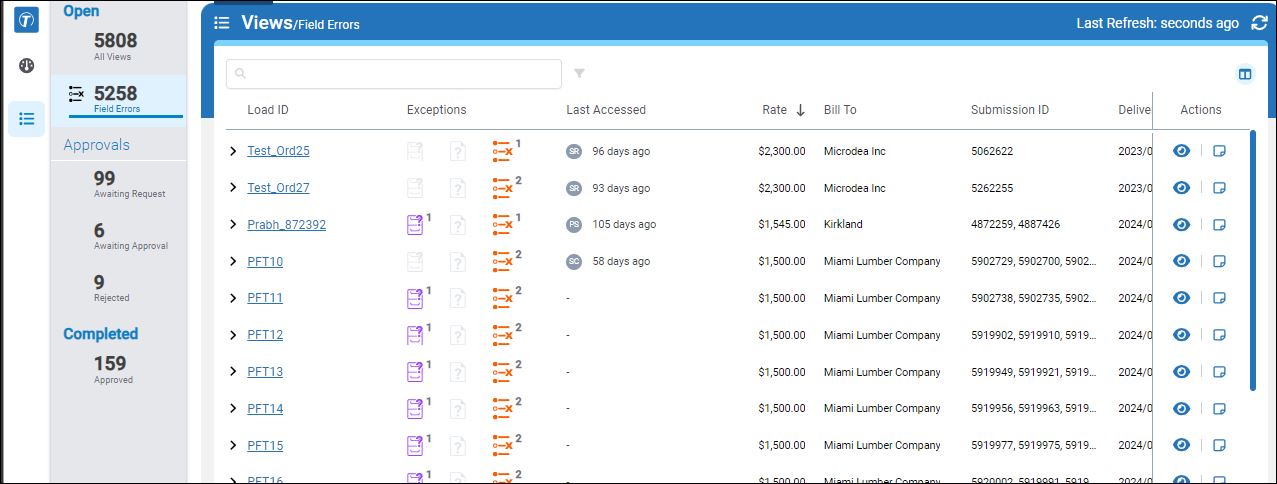
The personalized view no longer shows the two hidden queues in the Open section.
-
Open any queue.
-
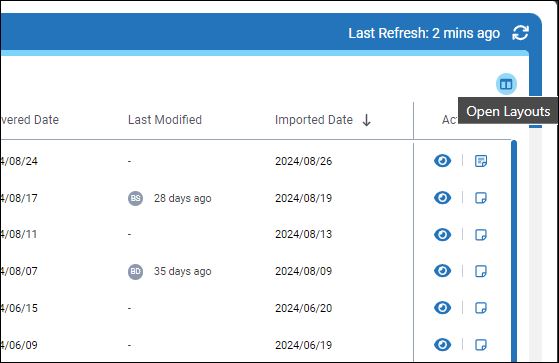
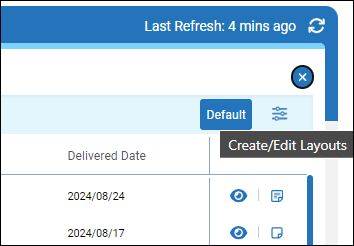
At top right, click Open Layouts.
-
Click Create or Edit Layout.
-
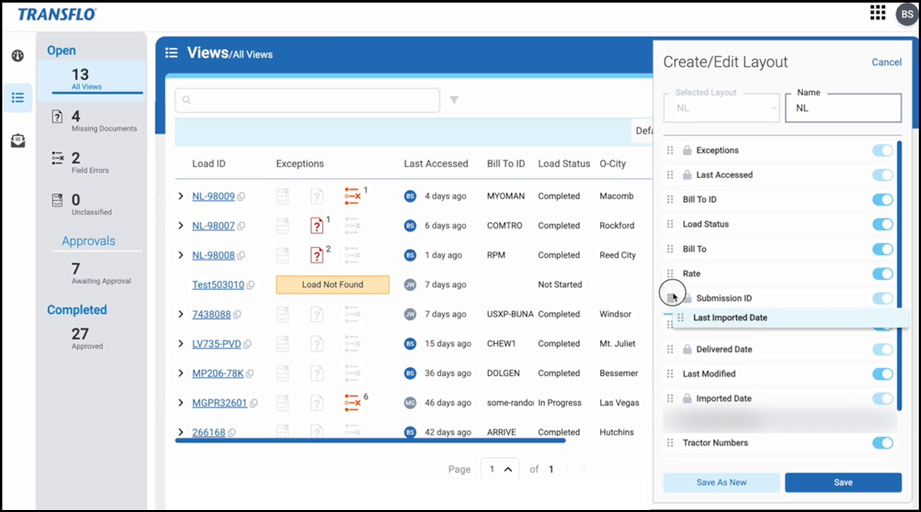
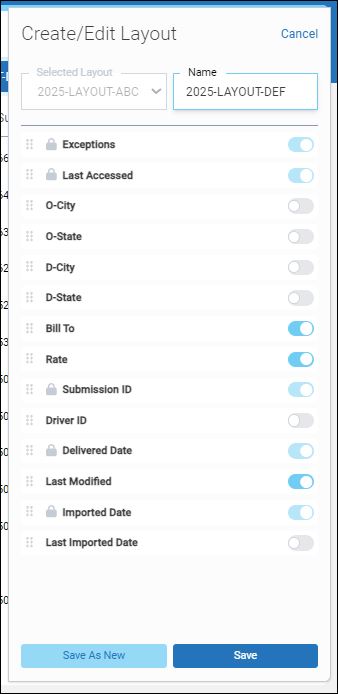
In the Create or Edit Layout panel, enter a name for your layout. Make any of the following adjustments to personalize your layout:
-
To show or hide a column, set the slider ON or OFF.
-
To adjust the order of appearance from left to right in the list, drag-and-drop each field up or down in the sequence you want.
-
-
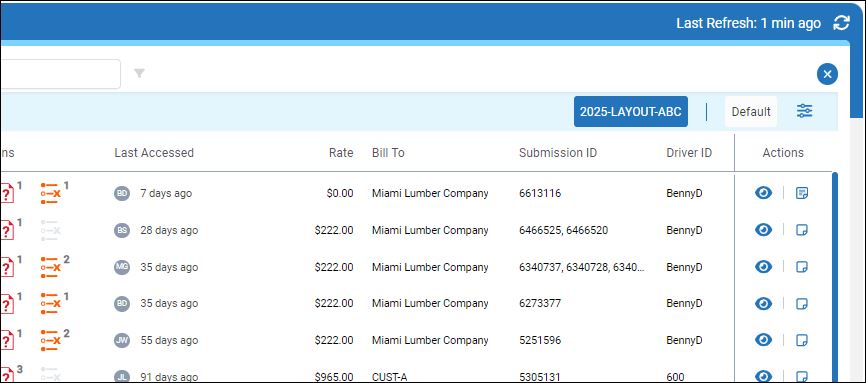
Click Save. A button for your new layout appears in the top row above the list.
-
To apply a layout, click one of the named buttons you defined.
-
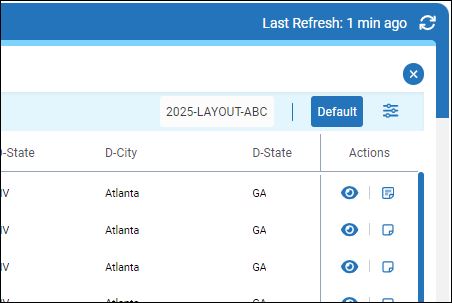
To reset to the original layout, click Default.
-
-
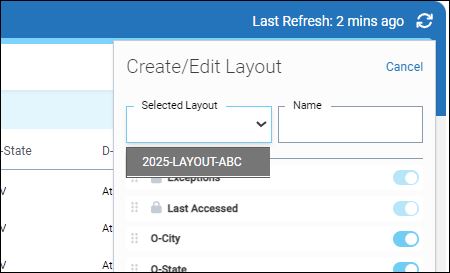
To add or edit a layout, click Create or Edit Layout.
-
To create a new layout, enter a name in the Name field.
-
To edit a previous layout or to create a new layout based on a previous layout, select one from the drop-down list in the Selected Layout field.
Example A: In this example, the user made edits to the layout and clicked Save to save the changes.

Example B: In this example, the user made changes to an original layout (ABC) and clicked Save as New to create another layout (DEF). The original layout (ABC) remained the same.
-
-
Buttons for all saved layouts appear at the top of the list in layout mode. To exit layout mode, click X Close.
