Configure console.microdea.com
Microdea's console.microdea.com helps you manage the assignment of licensed users for various TRANSFLO® products. TRANSFLO® uses the tool to assign a set number of licenses based on what you have purchased.
As an administrator at your company, you can then create users and assign them to particular licensed products. Once the number of assigned users matches the purchased number of licenses, no additional assignments can be made. However, additional users can always be added to the system.
This means that you have complete control over a pool of valid users and a pool of licenses. You decide who is assigned to use a particular product, at any given time. With access to console.microdea.com, you can do the following:
-
Manage users at your company, add new ones, or update names and email addresses.
-
Within a user record, you can assign a license for a particular product. (In the first release, LoadPal was the only product supported.) After all licenses in a product license pool are assigned, no additional users can be assigned a license but you can add users to the system.
-
You can manage categories, which is a shortcut to get to the repository, document types, and key fields your Users should be using. Add a new category, then configure it in a separate step.
-
Once users start logging in to the system with their mobile devices, you can see their entries on the User Provisioning tab, which includes the list of all users and the devices they have used to access the system.
Users are the people using the applications you'll be assigning to them (for example, LoadPal Users are usually truck drivers).
-
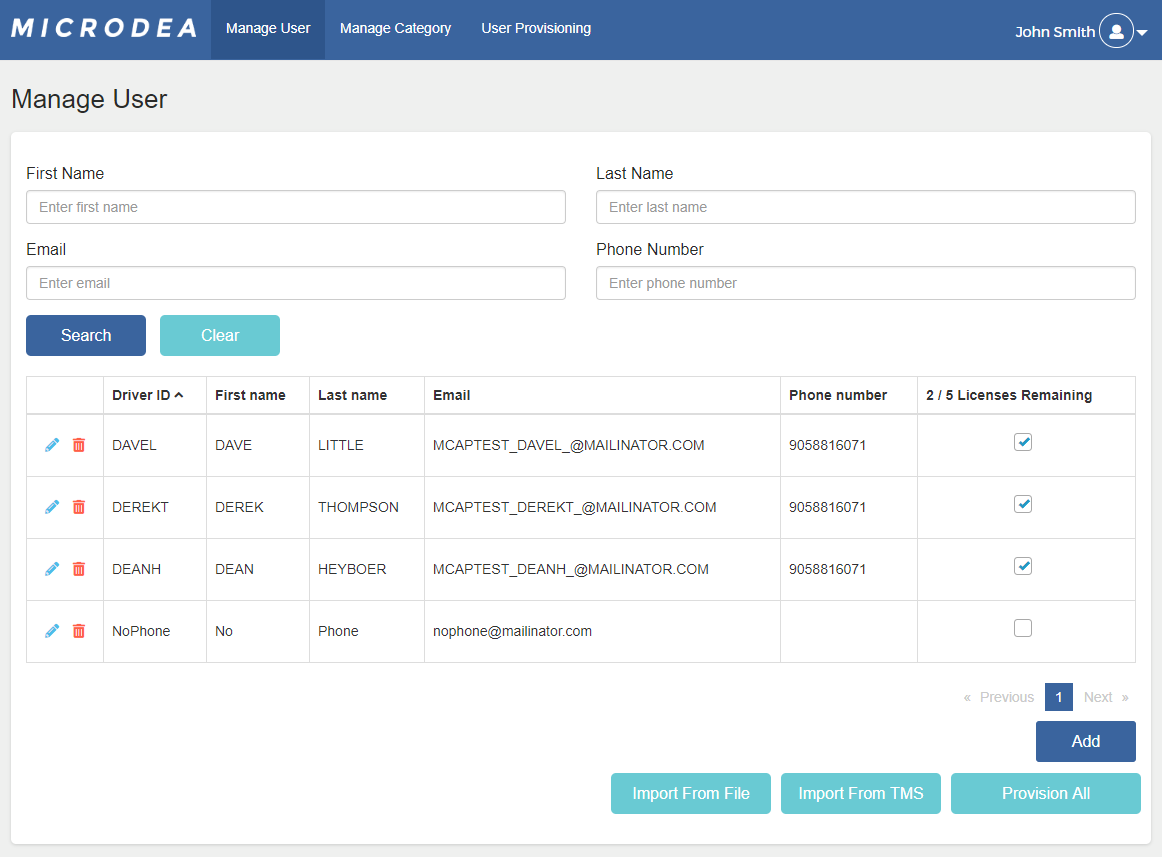
On the Manage User tab, you can search for existing users or add a new user. As of version 2.0, you can also import Users in bulk using an Excel spreadsheet.
-
Enter search criteria in the top part of the screen, then click Search.
-
To edit a user, click on the pencil icon beside the name of the user.
-
To delete that user, click on the garbage can icon.
-
-
As licenses are provisioned, you'll see how many are used of the total number of licenses your deployment owns.
-
To add a new user, click Add. (The search criteria at the top are not used for adding a user.)
-
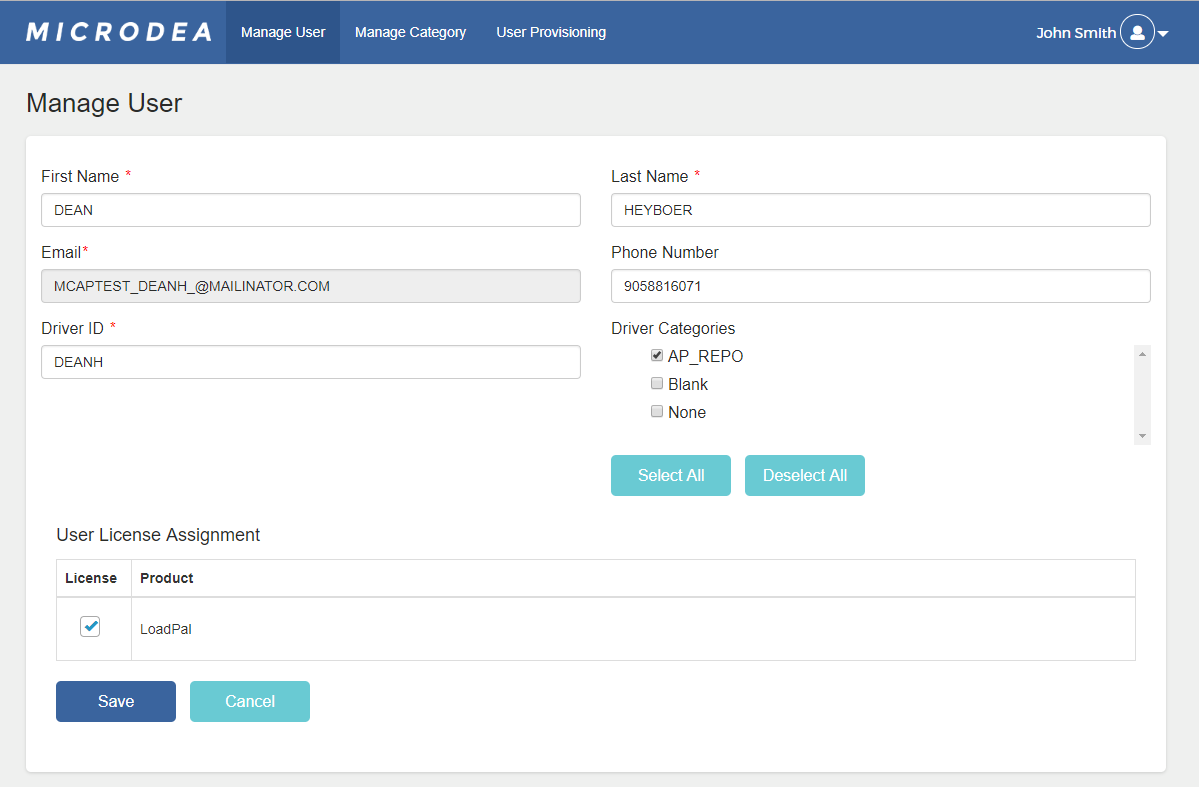
Fill out the new User's information on the next screen. Select the products that the user should be allowed to access in the license grid. You can select which categories a driver can access.
We recommend that you create your categories before creating all your Users. Whenever a new category is added, all Drivers have access to it by default. Whenever new Drivers are added, they have access to all categories by default.
-
Driver categories can be added or removed while editing a user or creating a new user.
To import users from an Excel spreadsheet, click on Import From File.
If your company has a TMS configured by Microdea, then you'll also see Import From TMS.
Note: Importing attempts to add new Users or update the information for all your existing Users. If their email address is already in the system, their information will be updated. If any required field is blank, an error will be shown and only valid entries will be added or updated.
To help you find the problem entries, an error list shows the row number in the Excel spreadsheet or the email address of the driver in the TMS.
Import Format
To create multiple Users in console.microdea.com, you can import from a TMS or import from a spreadsheet.
If your system has been set up to integrate with a TMS, the Import from TMS function is active.
If not, then you'll see an Import function which brings user information in from an Excel spreadsheet.
If you have TMS integration, there must be values for the mandatory fields for every driver.
If there is a missing value, the import will not proceed.
If you do not have TMS integration, create an Excel spreadsheet with columns in the correct order for the mandatory fields.
The mandatory fields are:
1. DriverId
2. FirstName
3. LastName
4. PhoneNumber
5. Email
For the Excel spreadsheet, each driver you want to add as a user in the system can be added on a separate line.
To provision the imported Users, you can select Provision all from the User Management screen.
If you have a set of Drivers in the system, you can assign available licenses to all of them. Click Provision All, to assign licenses to all users. If you do not have enough licenses, you'll get an error.
You can manage the information that your Users can select on the mobile application, by configuring categories. Similar to the user screen, you can search for existing categories, edit or delete them, and add new ones.
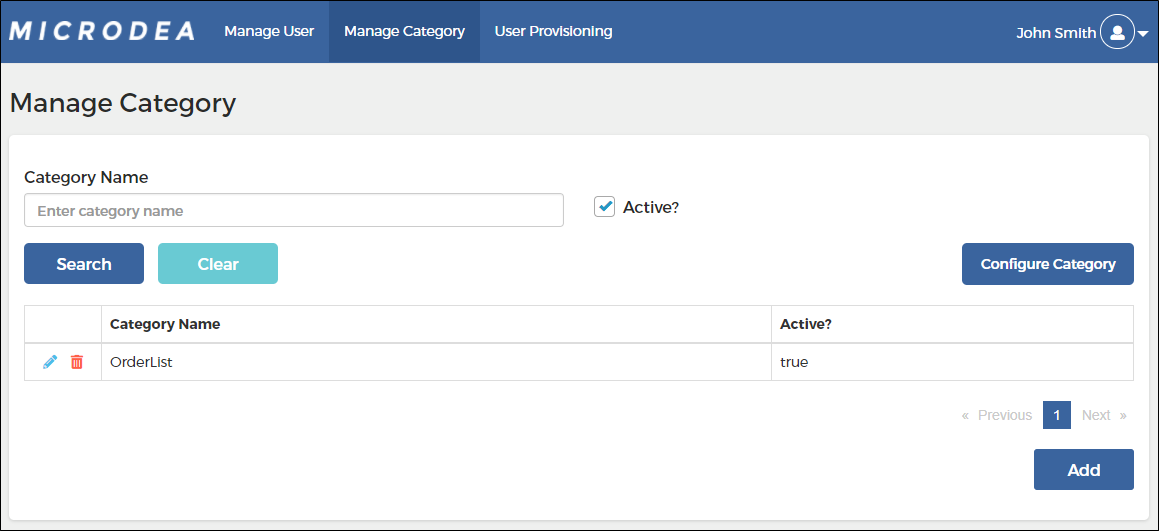
To add a category, click Add, then enter its name and decide whether it should be active right away or not.
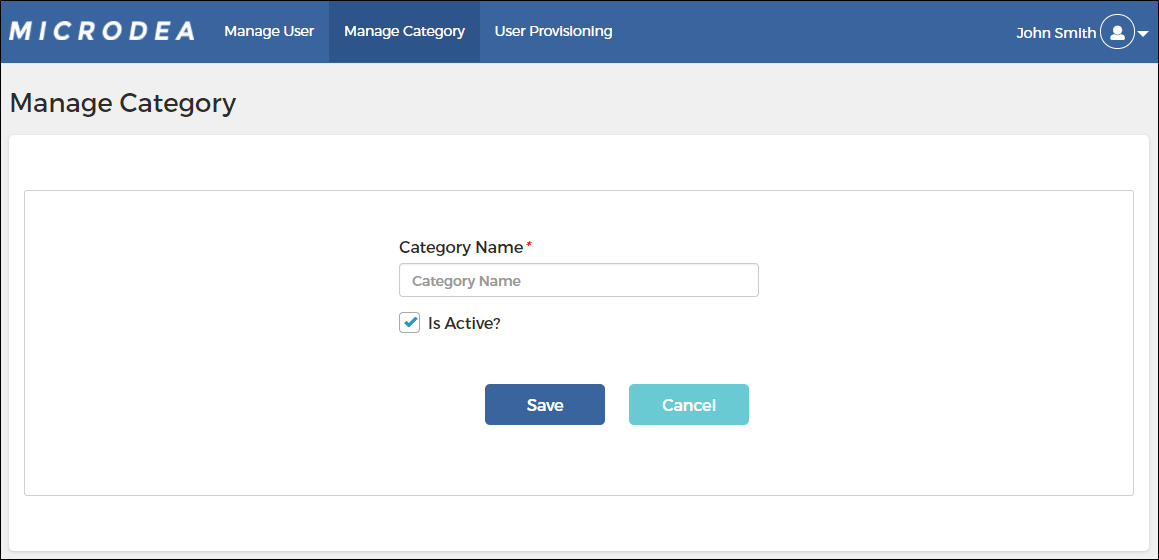
The Manage Category tab allows you to set up the information on a newly created category, by clicking Configure Category.
Be careful when specifying repositories and document types. Your users must have access to the repository you choose.
Click Manage under Lookups Configuration, to set up the data sources that will allow you to connect your Drivers to their loads.
Often you'll be connecting to a view in the TMS database.
On the main category configuration screen there is a Key field to define.
If you want, you can make the result field the same as the key field.
The allowable document types are used if there is no required document lookup defined on the load lookup configuration screen -- or if that lookup returns nothing.
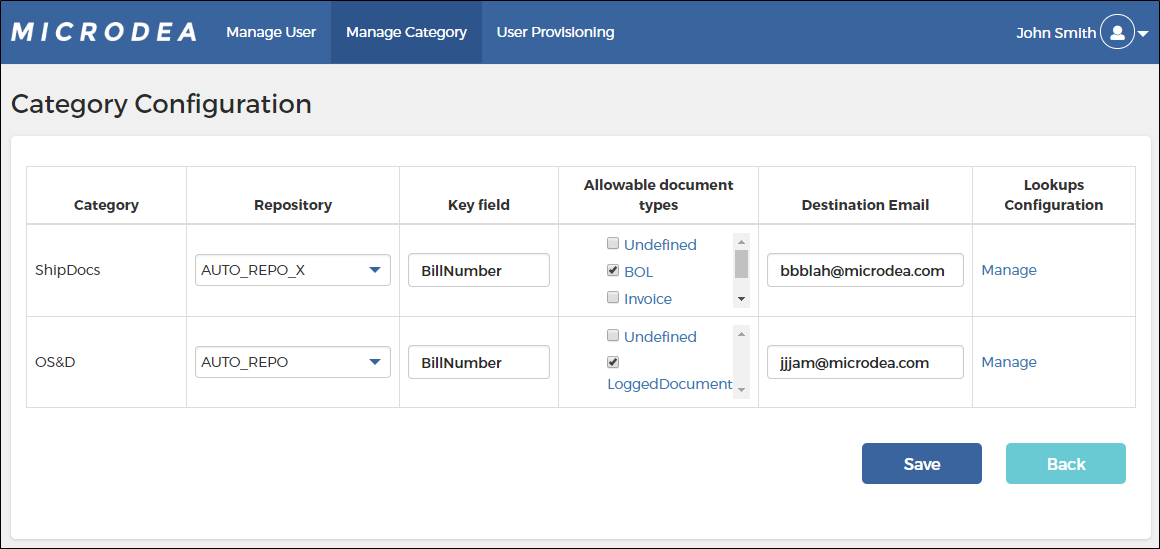
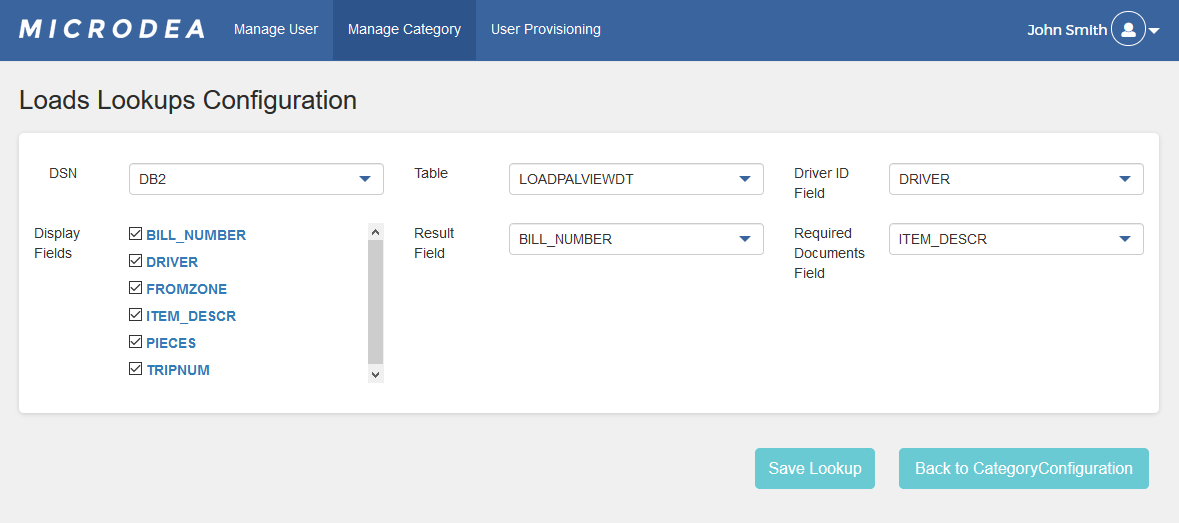
On the load lookup configuration screen the Result field takes the load for which the driver is capturing documents and assigns data, from the lookup to the email subject line.
You may, however, decide that you want load and non-load documents to be entered into the Synergize repository differently.
The Required Documents Field entry tells the system which TMS field contains the list of required documents.
If this entry is None or blank, then the system will use the document types from the Category's Allowable Document Types field.
Configuration Results
The email generated from the driver will have the following characteristics, which makes the ingestion into Synergize (through Inbox Monitoring) work in different ways. Remember, the Result Field is set on the load lookup configuration screen and the Key Field is set on the category configuration screen.
-
For a document captured after the driver selects a load:
-
Subject line: REPOSITORY_ResultFieldName_ResultFieldValue
-
Attached PDF name: ResultFieldName_ResultFieldValue_DocumentType
-
-
For a document captured without first associating it to a load:
-
Subject line: REPOSITORY_KeyFieldName_KeyFieldValue
-
Attached PDF name: KeyFieldName_KeyFieldValue_DocumentType
-
You can see which users have been accessing the system and which devices they have been using on the User Provisioning tab. This view also provides you with information about the user including their assigned company ID.
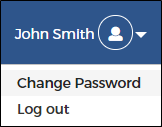
Options to change your password or log out appear under your username near the person icon. When you first use the system you are forced to change your password from the one were originally assigned in your welcome email.